
This chapter explains how to create and play cutscenes in games and covers the following recipes:
- Using the
AnimationView to animate the camera
- Changing cameras with animation
- Synchronizing animation of multiple objects
- Importing a whole cutscene from a 3D package
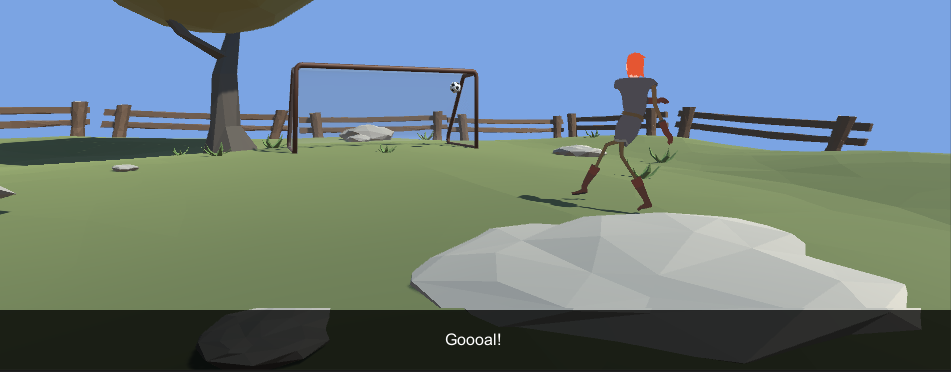
- Synchronizing subtitles
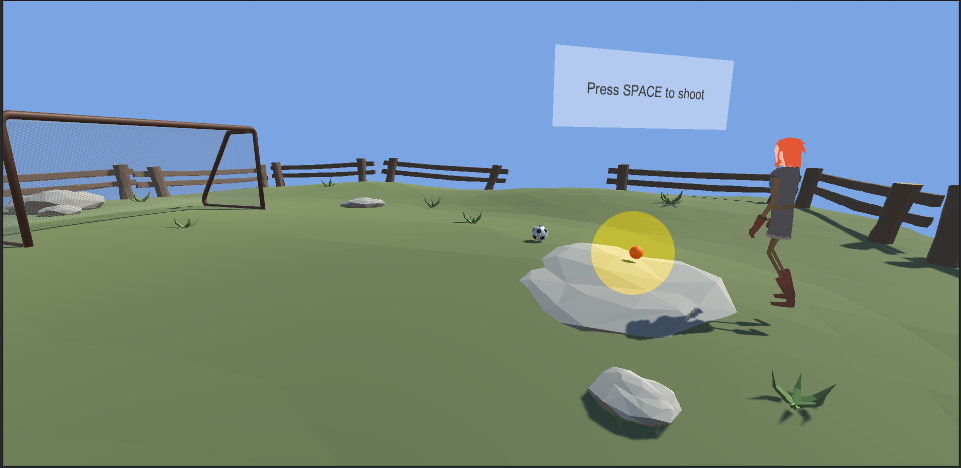
- Using root motion to play cutscenes in gameplay