
This chapter explains usage of animations in combat and covers the following topics:
- Using Sub-State Machines in Animator Controller
- Using Animation Events to trigger script functions
- Using transitions from Any State to play hit reactions
- Using root motion to create a dodge move
- Checking what Animator state is currently active to disable or enable player actions
- Using Animation Events to draw a weapon
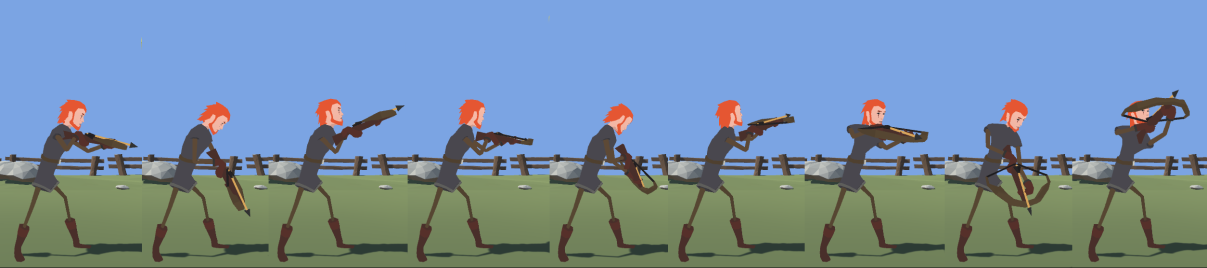
- Using Avatar Masks and animator controller layers to walk and aim
- Using the
LookAt()method to aim - Using Blend Trees to aim
- Detecting the hit location on a character