
In the previous chapter, we were introduced to Unity's UI system. With this knowledge, we'll be able to understand and change the player's UI to our advantage, should we need to.
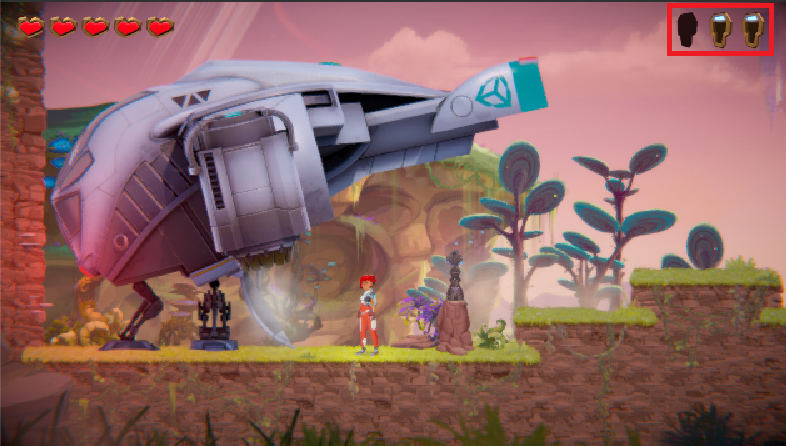
In this chapter, we will use the UI to display information about the player's inventory, about the items held within. In order to do this, we'll learn how to create and use inventory items.
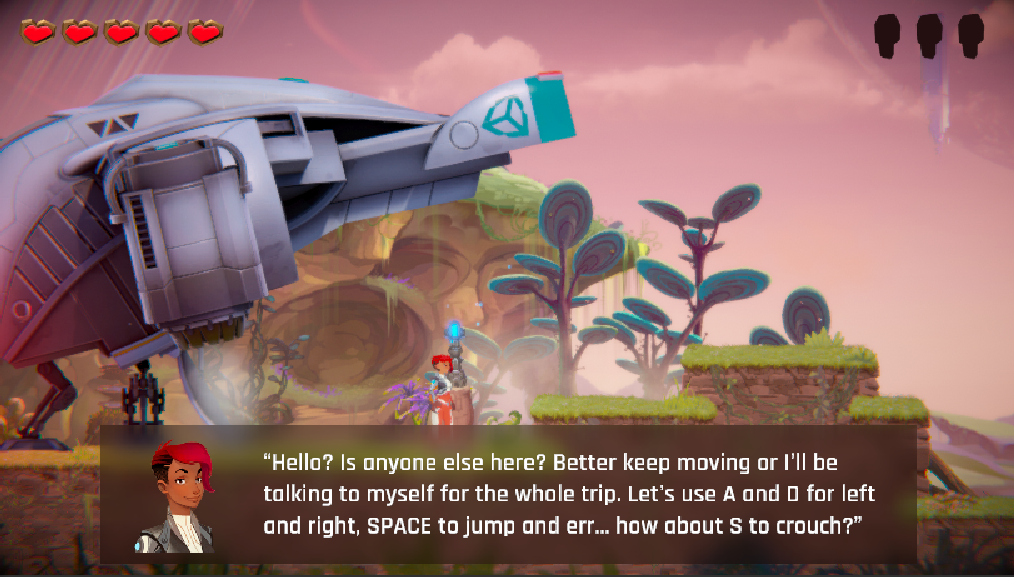
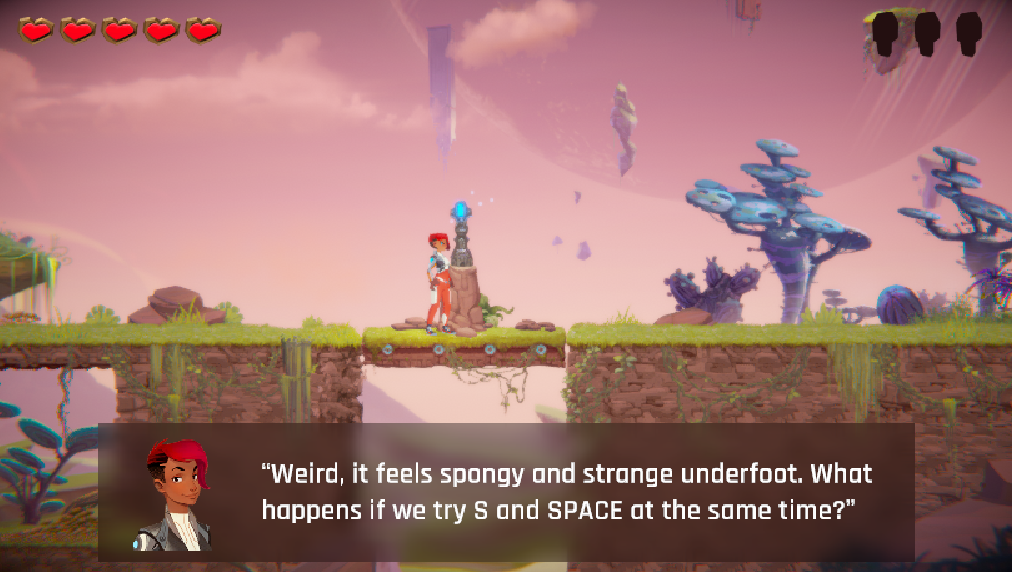
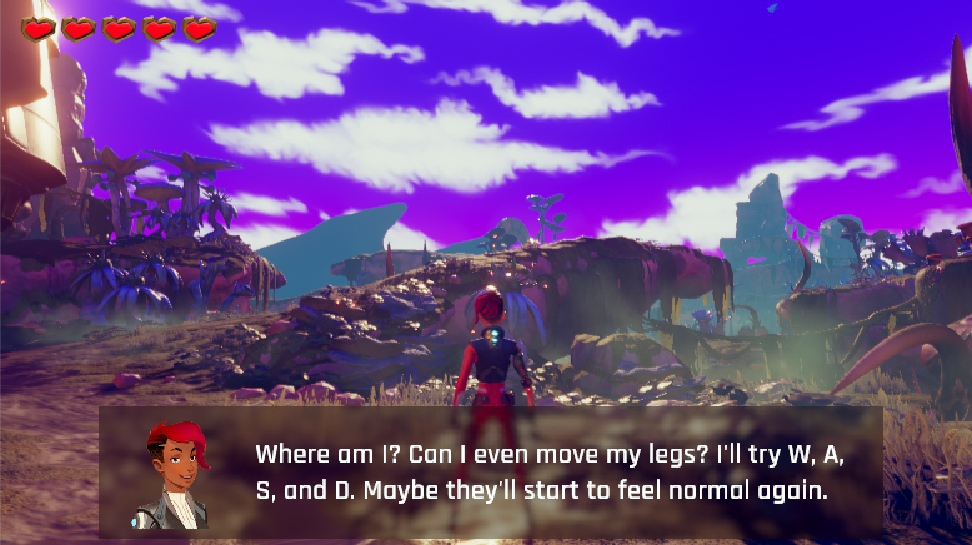
In addition to this, we will learn how to communicate with the player by showing health and dialog boxes.
The following topics will be covered in this chapter:
-
- Inventory items
- Inventory UI
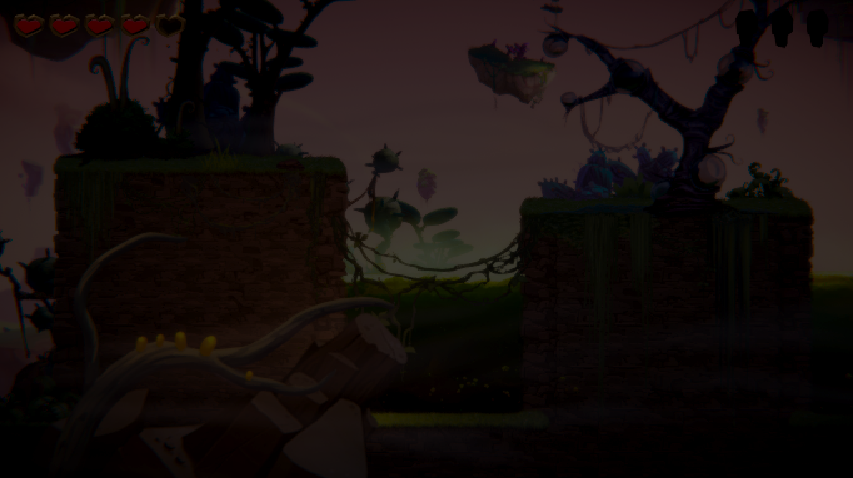
- Player Health
- Dialog boxes
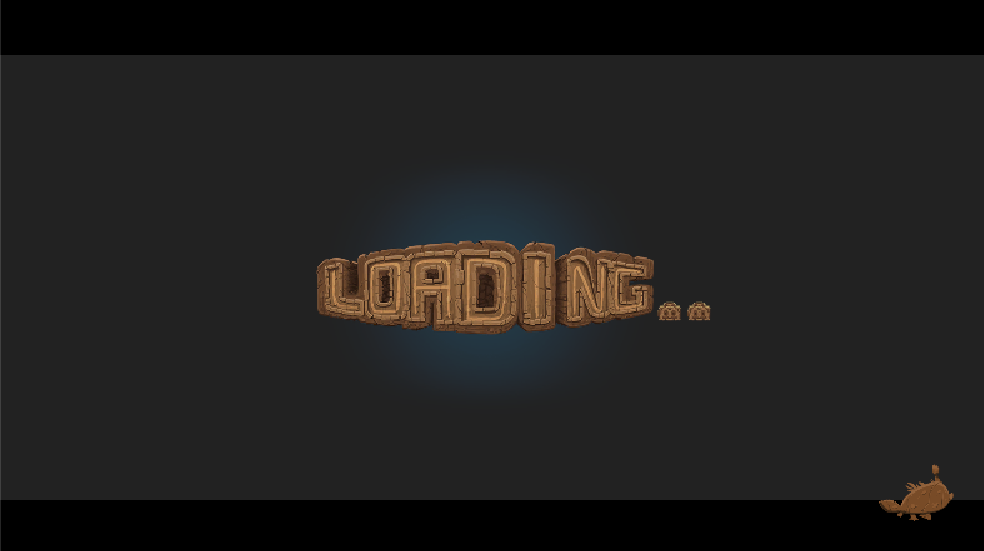
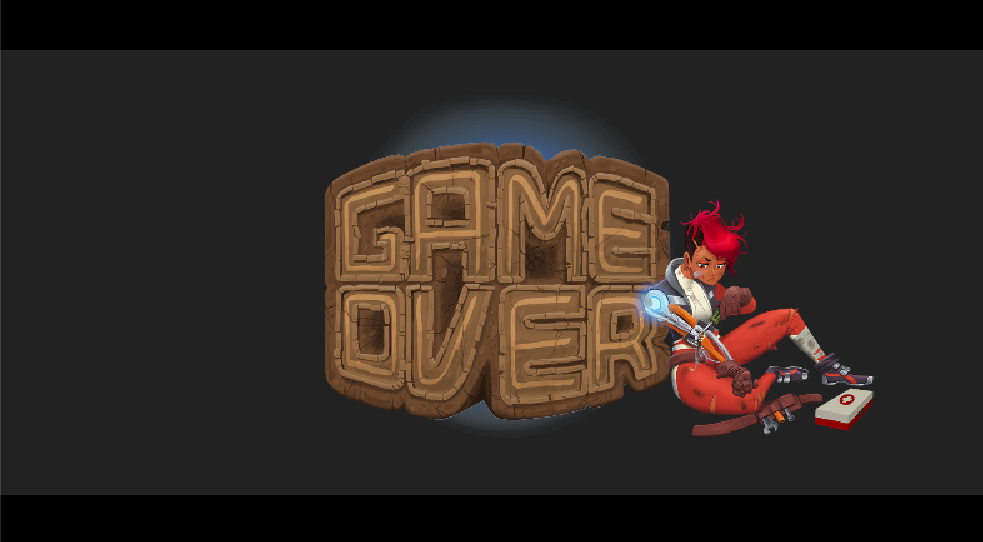
- Transition screens