
Generating Texture Maps with Cycles
In this chapter, we will learn to acquire or create texture maps both inside Blender and with the help of GIMP. GIMP is a popular, free image-editing program that we will use throughout this book to create texture maps and custom decals. We will begin by exploring ways to find textures online, before learning about the different ways to turn textures into texture maps. We will then apply the textures to our materials in Blender.
By the end of this chapter, you will be able to create, download, and apply your own materials and texture maps in Blender.
The following topics will be covered in this chapter:
- Using texture libraries
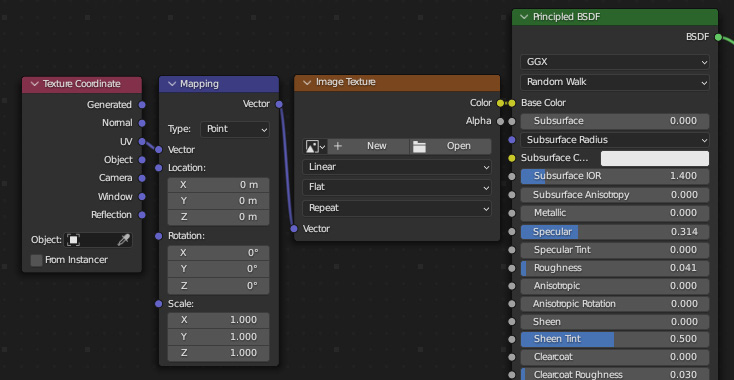
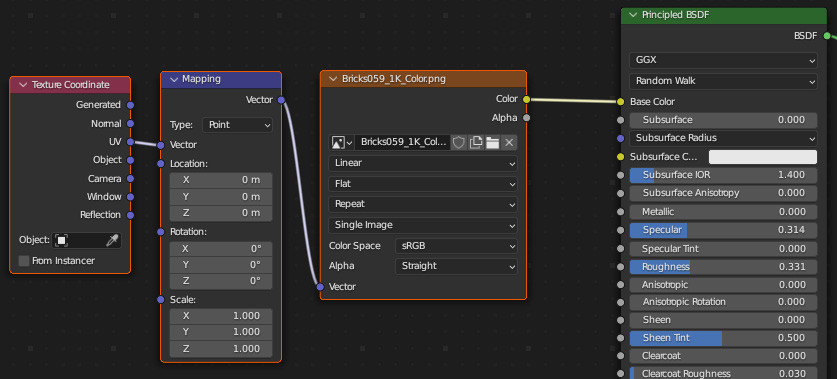
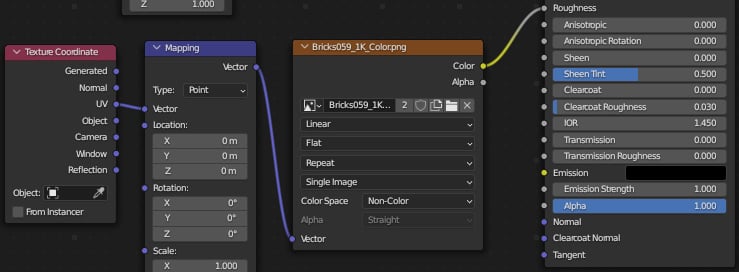
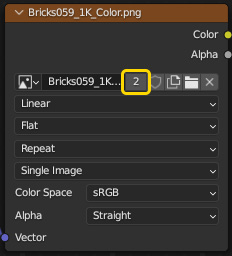
- Applying texture maps in Blender
- Creating Roughness maps in Blender
- Baking Normal maps in Blender
- Generating Roughness maps in GIMP
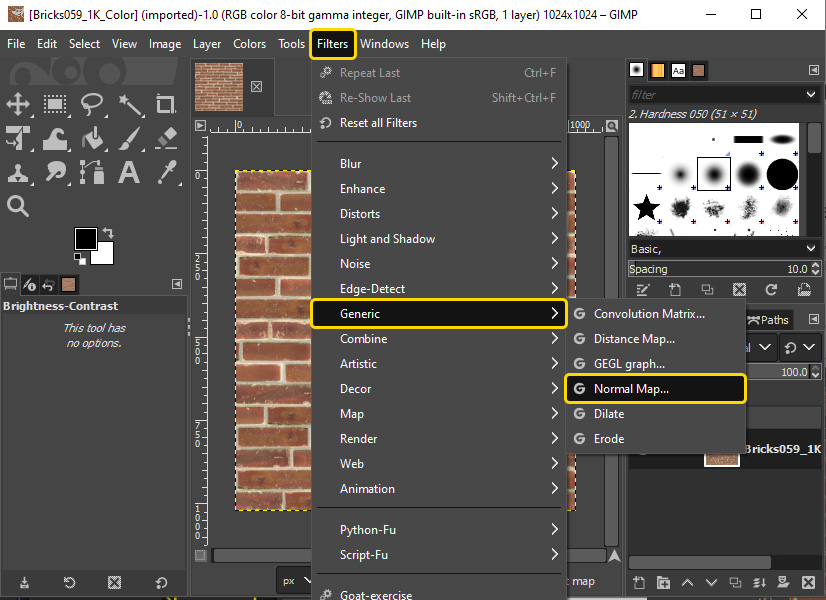
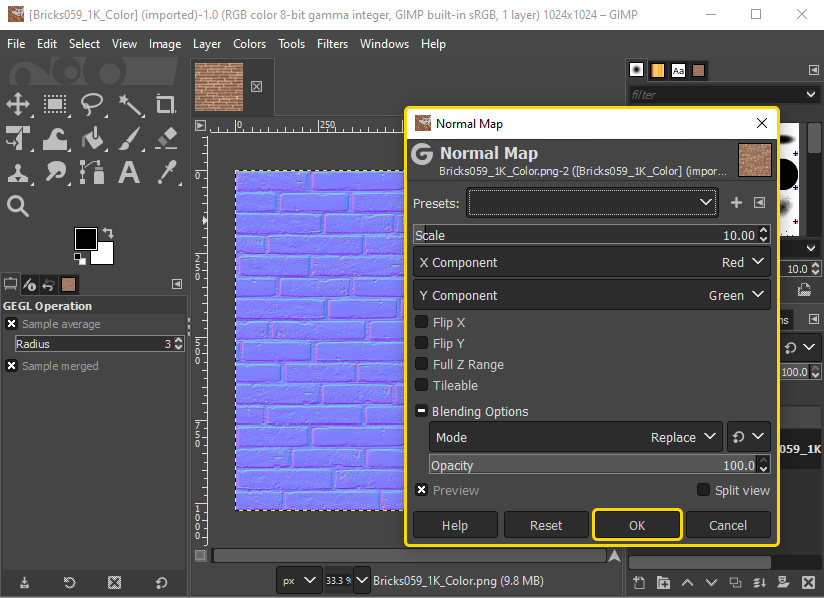
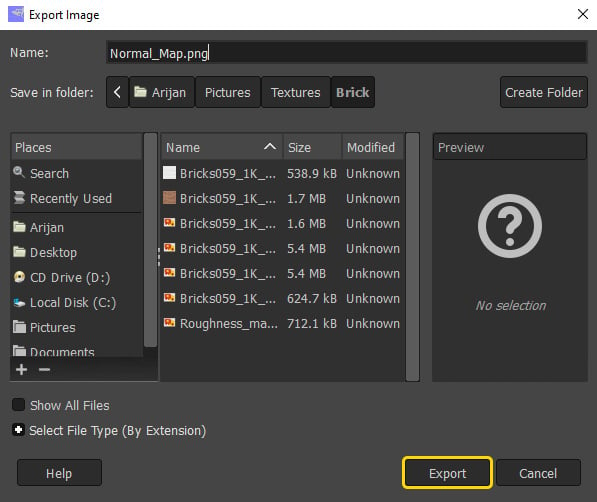
- Generating Normal maps in GIMP