Reader small image

You're reading from  Python Scripting in Blender

Product typeBook
Published inJun 2023
PublisherPackt
ISBN-139781803234229
Edition1st Edition
Right arrow
Author (1)
Paolo Acampora
Paolo Acampora
author image
Paolo Acampora

Paolo Acampora is a 3D artist and programmer, with experience in Animation, Visual Effects, and Real Time computer graphics. He provides tools that streamline the production workflow and let artists focus on the creative aspects of their craft. He has worked with several studios for more than a decade. He contributes to the blender development and releases his tools for the community.
Read more about Paolo Acampora

Right arrow

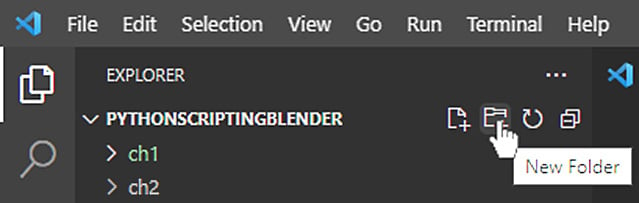
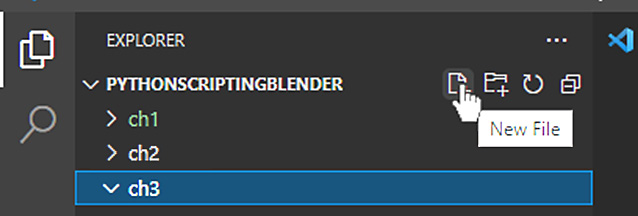
Creating Your Add-Ons

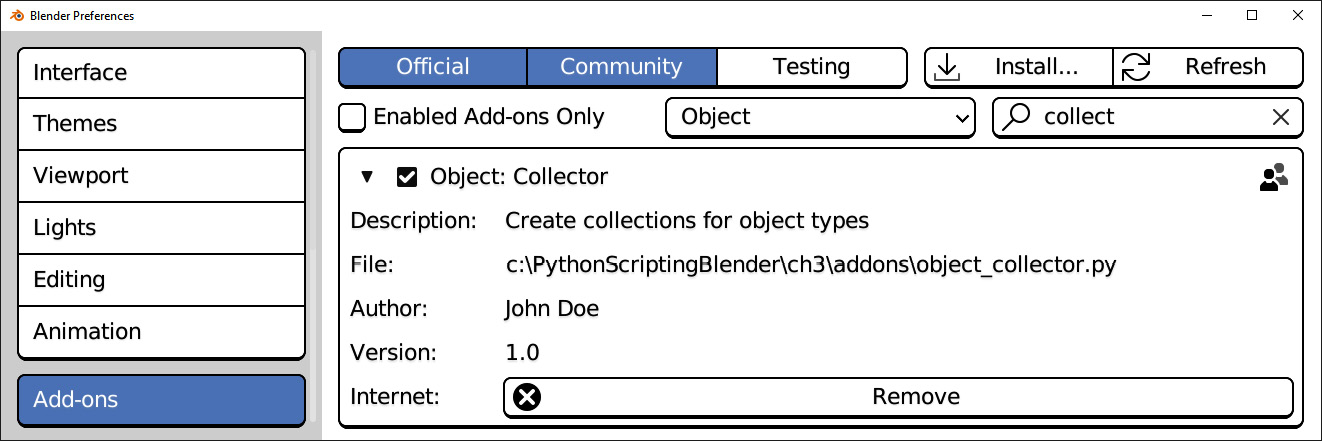
Add-ons are extensions that expand the capabilities of Blender and can be enabled in the preferences. Some of them, such as Math Vis, encountered in Chapter 2, are official features distributed as optional functionalities. Others are third-party expansions that can be installed by a user.

At their core, add-ons are Python modules that contain information used by Blender to install, enable, and remove them like in a plugin system.

In this chapter, you will learn how to write and install an add-on in Blender, and how to enable add-ons while they are still in the making. We will also implement a new command that groups objects into collections and make it part of the object context menu.

This chapter will cover the following topics:

  • Scripting Blender extensions
  • Running and updating our add-on
  • Fixing errors and improving our code

Technical requirements

We will use Blender and Visual Studio Code (VS Code). The examples created in this chapter can be found at https://github.com/PacktPublishing/Python-Scripting-in-Blender/tree/main/ch3.

Installing our add-ons in Blender

We can write a very simple add-on using VS Code. This add-on doesn’t really do anything; it just shows up in the extensions list.

First, we must create a folder for the code of this chapter. We can use the file manager or the navigation sidebar that comes with most IDEs. In this example, we will use VS Code, which we met in the External editors section of Chapter 1:

  1. Open your PythonScriptingBlender project in VS Code.
  2. Create a new folder by clicking the New Folder icon.
Figure 3.1: Creating a folder in Visual Studio Code

Figure 3.1: Creating a folder in Visual Studio Code

  1. Name the new folder ch3.

Now, we can create a Python file for our add-on:

  1. Make sure the ch3 folder is selected in the VS Code explorer, and then create a new file by clicking the New File icon.
Figure 3.2: Creating a file in VS Code

Figure 3.2: Creating a file in VS Code

  1. Name the new file the_simplest_add_on.py.
  2. Open the file via a double click.
...

Creating our first add-on – object collector

We are going to write an add-on that groups the objects of a scene in collections that reflect their type – one collection for all the meshes, one for all the lights, one for the curves, and so on.

Since we have set up PythonScriptingBlender/ch3 as the directory for our add-ons, we will proceed in VS Code:

  1. Select PythonScriptingBlender/ch3/addons in VS Code.
  2. Create a new file by clicking the New File icon.
  3. Name the new file object_collector.py.
  4. Open the file via a double click.

This Python script’s name starts with object, since it affects object data. It is a soft convention, as this filename scheme is suggested but not enforced.

At this stage, the add-on is very similar to the previous one – we haven’t added any code yet. Note how, besides the obvious difference in names and descriptions, we haven’t put a warning entry – we intend to make a non-experimental...

Running our add-on

Even if we have yet to add any graphic element, our add-on is ready for its first launch. We can use two tricks in order to run add-ons that are not yet listed, which is quite common in development.

Refreshing the add-on list

Since we have added a new script folder and just changed its content, we need to either restart Blender or refresh the add-on information. To do that, we can click the Refresh button at the top right in the Add-ons preferences window.

Figure 3.7: The Collector add-on, loaded from the project folder

Figure 3.7: The Collector add-on, loaded from the project folder

If we start typing the name of our add-on in the filter bar, the entries in the list will narrow down until Collector becomes easy to find and enable. Now, it’s time to execute our operator via the Blender Source Bar.

Running from the Search Toolbar

Operators that are not part of any graphic element are for internal usage – that is, callable by other operators but not by the user.

To make...

Improving our code

Fixing bugs or starting with a row prototype that will be completed at a later stage is common practice in development. In this section, we will complete our add-on to its finished form, reload it in Blender, and deal with the versioning of the scripts path.

Saving our edits automatically

The Auto Save option will make VS Code save every file change to disk automatically. To activate this option, follow these steps:

  1. Open the File menu in the Visual Studio Code menu bar.
  2. Click on Auto Save to enable this entry.

There are developers that prefer to save manually to have more control of their files. Which solution is better depends on personal tastes and workflows. Generally, if version control is used, the advantage of Auto Save outweighs the danger of unwanted changes.

In some cases, we want to turn off version control on specific files. For instance, there are files that Python generates when it executes code; we have no interest in tracking...

Summary

In this chapter, we have coded a complete add-on that expands Blender functionalities and integrates seamlessly into an application. We have also learned how to work on our code while it is being used and improve our tools through consecutive steps of refinement.

In Chapter 4, we will learn how to affect the position and rotation of Blender objects via Python, and we will add interactive properties to our operator.

Questions

  1. What is the difference between a Python script and a Blender add-on?
  2. Which advantages does an add-on provide over sparse code?
  3. What do operators do?
  4. How do we define the conditions under which an operator can be executed?
  5. Can we work on an add-on while it is being used? How do we update it?
  6. How do we ignore bytecode (.pyc) files in Git version control?
  7. How do we avoid creating duplicates?
lock icon
The rest of the chapter is locked
You have been reading a chapter from
Python Scripting in Blender
Published in: Jun 2023Publisher: PacktISBN-13: 9781803234229
Register for a free Packt account to unlock a world of extra content!
A free Packt account unlocks extra newsletters, articles, discounted offers, and much more. Start advancing your knowledge today.
undefined
Unlock this book and the full library FREE for 7 days
Get unlimited access to 7000+ expert-authored eBooks and videos courses covering every tech area you can think of
Renews at €14.99/month. Cancel anytime

Author (1)

author image
Paolo Acampora

Paolo Acampora is a 3D artist and programmer, with experience in Animation, Visual Effects, and Real Time computer graphics. He provides tools that streamline the production workflow and let artists focus on the creative aspects of their craft. He has worked with several studios for more than a decade. He contributes to the blender development and releases his tools for the community.
Read more about Paolo Acampora