
Controlling the Game Flow
In the previous chapter, we completed the core gameplay for Pangaea. To transform it into a fully fledged game, we will incorporate a basic game flow that enables players to go into the game through the main menu and return to the main menu upon exiting the game.
A game’s flow control could be very complex, depending on the game’s design. Many games use a centralized control system, such as a finite-state machine (FSM), to control transitions from one game state to another, but using the advanced control system is outside the scope of this book.
To make it easier to learn the C++ scripting skills to control the game’s flow, we will design and implement a minimum game flow for the Pangaea game. We will do this by covering the following topics:
- Designing the Pangaea game’s flow
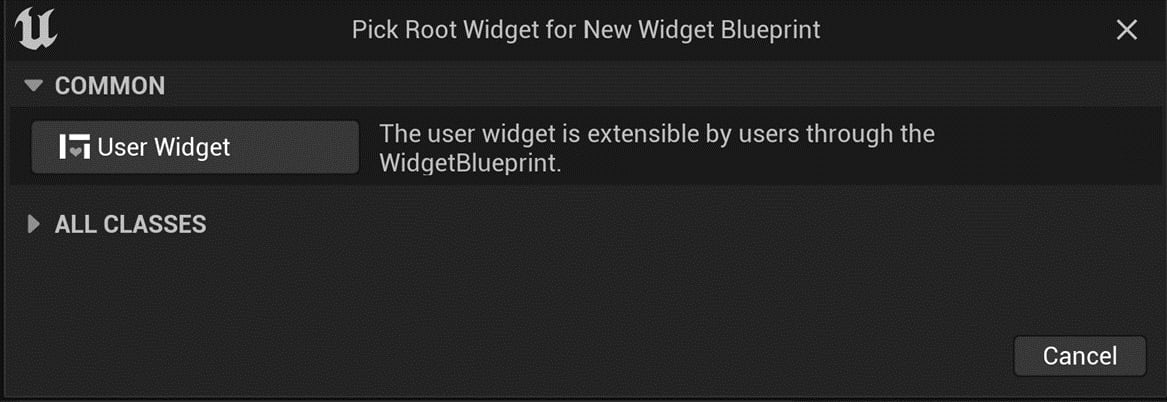
- Creating the UI widgets
- Adding networking functions to
PangeaGameInstance - Adding UI widgets to game levels
- Adding the game timer...