


Adding details to the mushroom top
Now, you have a very crude blob that looks something like a mushroom. It’s time to add some more detail to the top so that it looks a little more curved. To do that, you’re going to use the Loop Cut tool. The Loop Cut tool lets you add new loops of edges around your model:
- In Edit Mode, press Ctrl + R to activate the Loop Cut tool. Hover your mouse over the mushroom until you see a yellow line across the top of it.
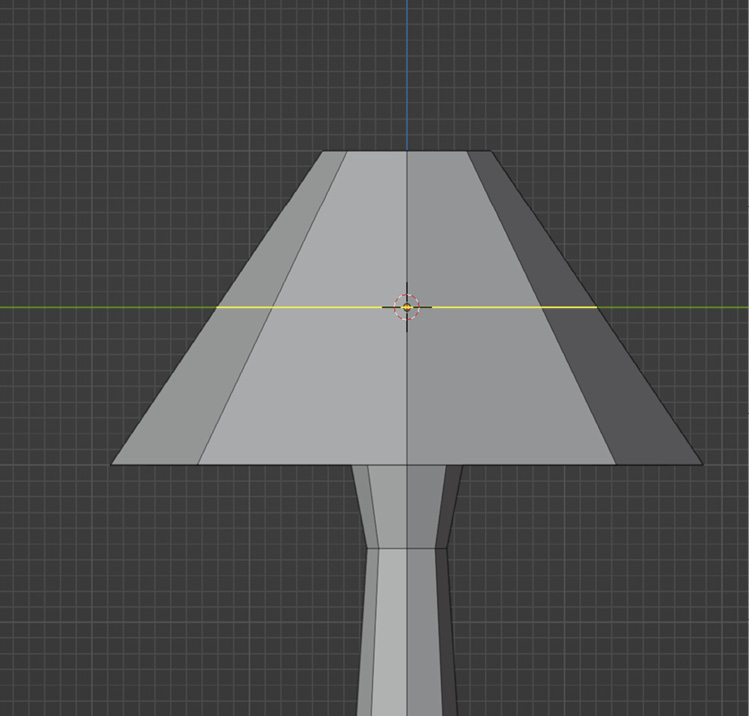
Figure 5.13 – The yellow selection ring shown by the Loop Cut tool
- Scroll up and down to adjust the number of cuts. A number around
3or4will be best for this, since we’re keeping the model simple.
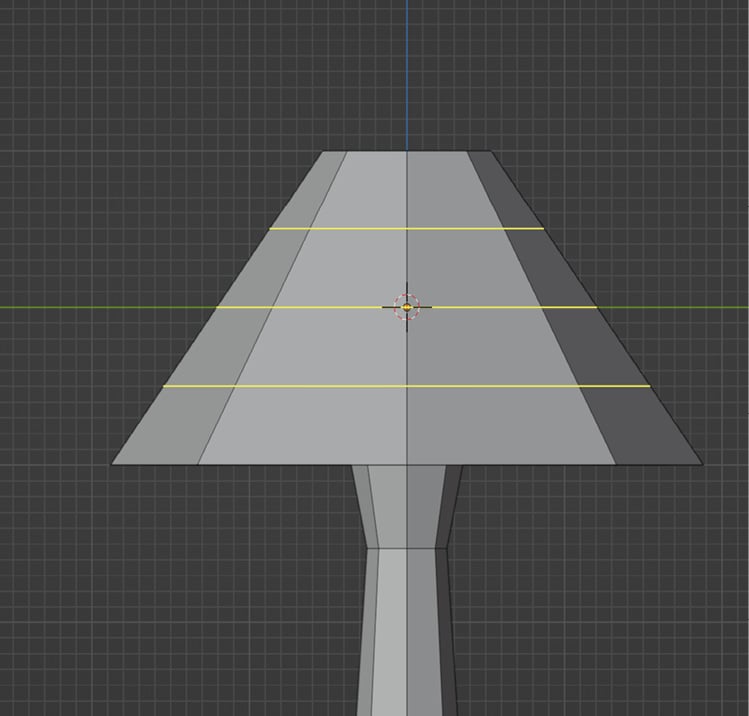
Figure 5.14 – Scroll to adjust the number of cuts
- Click once to confirm the cut. You will then enter the Slide phase. Right-click to cancel the slide so that the cuts are left in the default, centered position.
...


