


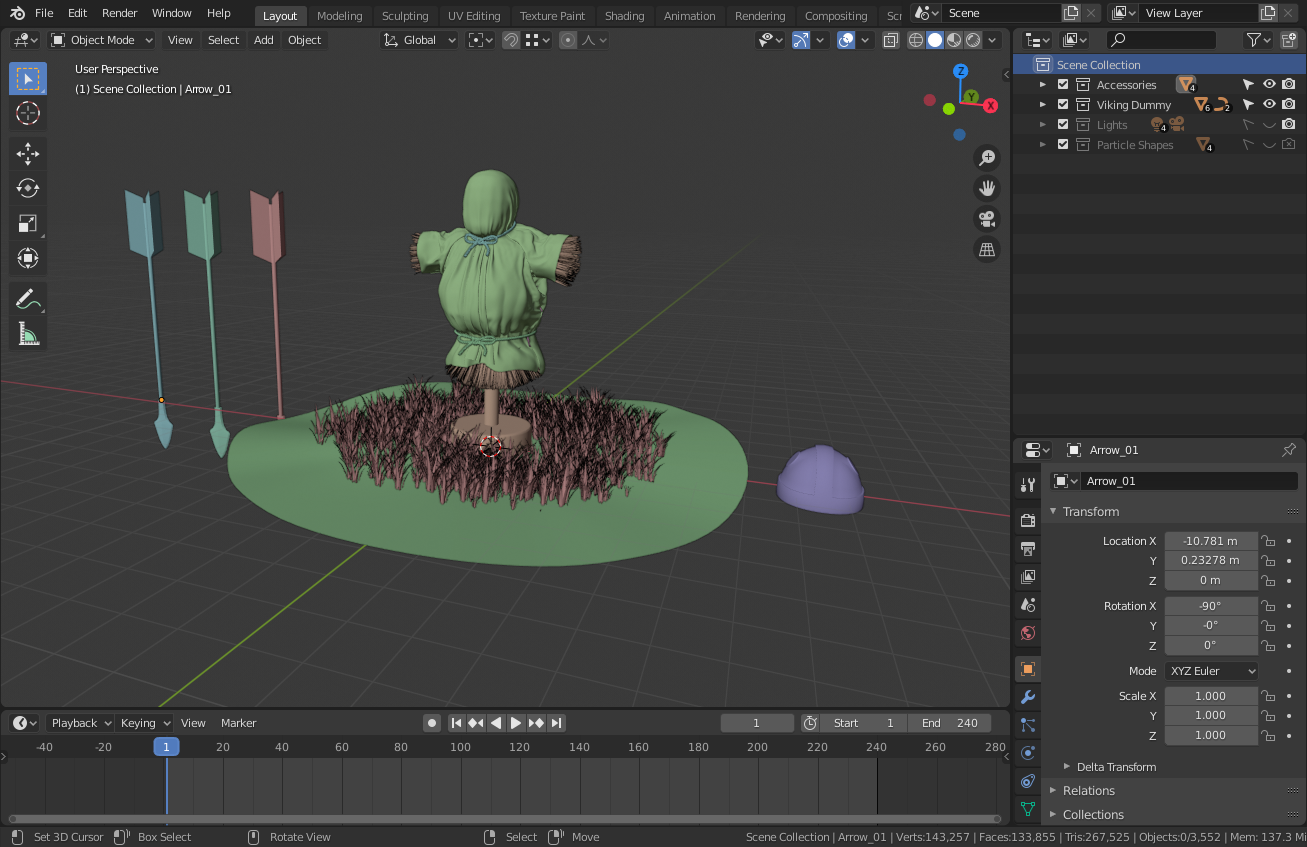
Welcome to your first Blender scene! We had a brief introduction to the user interface in Chapter 1, Introduction to 3D and the Blender User Interface, but now we can see it with our own eyes. The largest area of the UI is dedicated to the 3D Viewport (or just "Viewport" for short). You can see all of the 3D objects inside this area. This scene has been set to use the new Random Colors feature, which gives all of the objects false colors so that they are easier to identify in the Viewport, as shown in the following screenshot:
The random colors are helpful, but there is an even better way to discover the contents of a scene: the Outliner. The Outliner can be found in the top-right corner of the UI. Let's learn how to use it to our advantage.
We can look at the Outliner to get a sense of what's in this project file. The Outliner in Blender 2.8 has been upgraded with a new feature called Collections. Collections are similar to layers or groups in other applications. These collections are a very powerful feature as they can have any type of object grouped within them, including other collections.
Let's take a look at how this scene uses the Outliner to organize the objects. In the following screenshot, you can see that there are five collections in this .blend file; a top-level collection and four collections inside it:
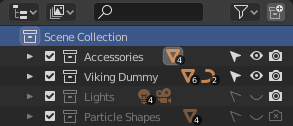
The top-level collection is called Scene Collection. This is a default collection that contains everything else within the scene. The indentation in the Outliner shows that the bottom four collections are all grouped inside the Scene Collection.
Next to each collection are orange icons with little numbers that indicate how many of each type of object is inside them:
- Accessories has four mesh objects.
- Viking Dummy has six mesh objects and two curve objects.
- Lights has four light objects and one camera object.
- Particle Shapes has four mesh objects.
To the left of each collection is a little arrow that indicates that the collections are collapsed in the Outliner. Let's expand two of these collections to see the list of objects that belong to each collection:
- Click on the little arrow to the left of the Accessories collection.
- Click on the little arrow to the left of the Viking Dummy collection.
Good! Now, we can see the expanded hierarchy for each collection, as shown here:
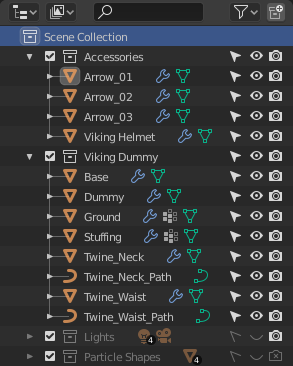
This Viking scene is relatively small with 21 objects in total, but it's still important to stay organized. Imagine working in a project that has hundreds of objects. The Outliner fills up really fast, so placing objects into collections is a terrific way to stay organized.
The bottom two collections are grayed-out because their visibility has been turned off. On the right-hand side of the Outliner, you can see three icons for each row, as shown in the following screenshot:

These three icons represent Restriction Toggles. From left to right, we have Selectable, Hide in Viewport, and Disable in Renders:
- When the Selectable toggle is set to its grayed-out state, the object can't be selected by clicking on it in the Viewport.
- When the Hide in Viewport toggle is set to its grayed-out state, the object can't be seen in the Viewport.
- When the Disable in Renders toggle is set to its grayed-out state, the object will not show up in the final image.
The Lights collection has both its Selectable and Hide in Viewport toggles grayed-out so that the lights will not be in the way while we work in this scene. However, the Disable in Renders toggle has not been grayed-out, which means that the lighting will turn on for the final image.
The Particle Shapes collection is for storing objects that make up the particles, such as the grass on the ground and the straw that fills the dummy. Particles are an advanced feature, so don't worry about this for now – just know that this collection is still being used in the scene, even though all three of its toggles are grayed-out.
You may have noticed that the other objects in the Outliner also have little arrows and can be expanded. This is useful for advanced users because you can see all of the data associated with each object, similar to how we can see all of the objects associated with each collection. But let's not get ahead of ourselves – you're probably itching to get into the 3D scene!