Decoration and texture brushes
When I said "Your first brush tip" before, I was being serious, because you can apply more than one brush tip. The advantage of this is that you can create, as we will see in the dedicated chapter, a painting brush that doesn't rely on a texture, but only on the mark that makes on your canvas—just like a real brush. As a training ground, I will show how you can use this feature to create decoration and texture brushes that are randomized, giving you a different effect every time you draw.
Let's start with the basics, and ironically, we will start with tool options instead of brush tips. The following figure shows some flower decoration brush tips:

Figure 2.9 – Some book decorations
We will use these flower decoration brush tips as a base. Now, if we add them to the Brush tip tool option, this is what we will see in the brush preview:

Figure 2.10 – This line is a preview of what you will see when you will use the brush
That's absolutely not what we want. To create a distinguishable pattern, we need to go to Sub Tool Detail | Stroke, and we need to check the Ribbon option. This option will give us this effect:

Figure 2.11 – An example of the ribbon effect
The Ribbon option creates a seamless pattern using your brush tips. Now we have another problem… these brush tips will repeat themselves in the same combination over and over:
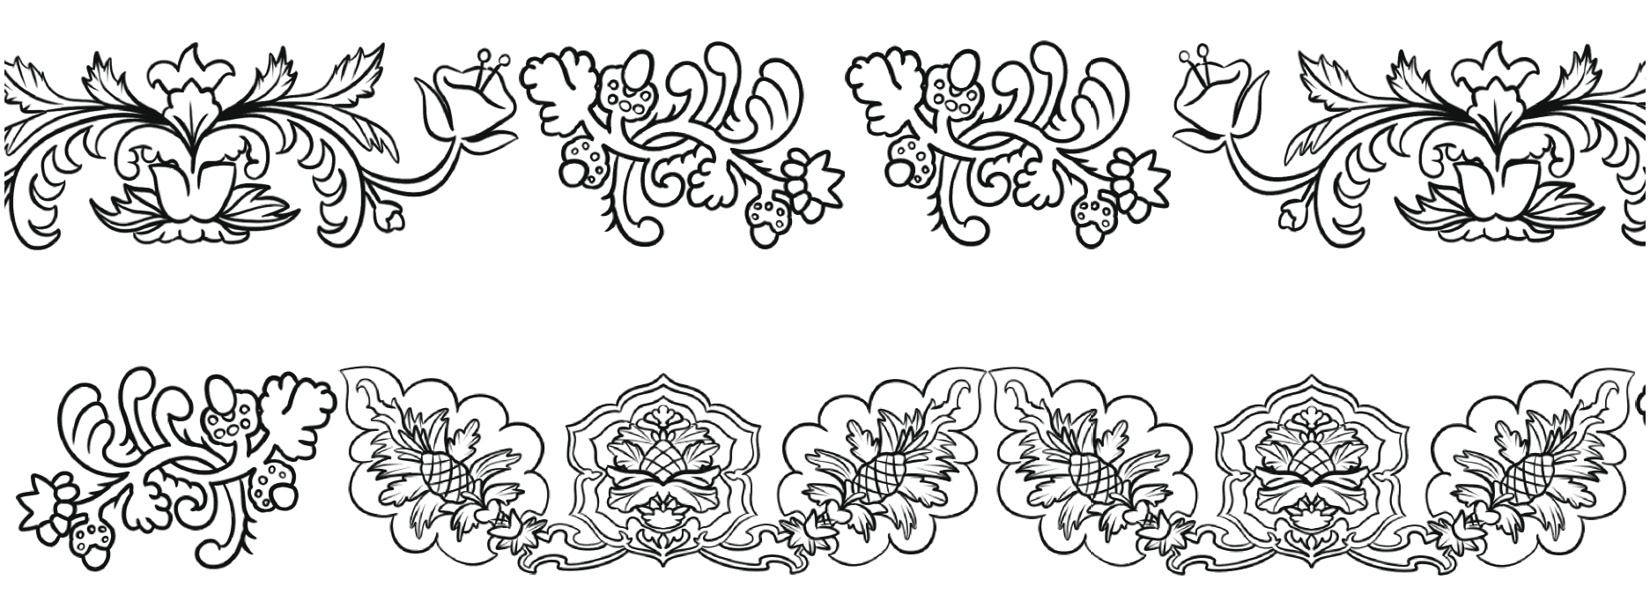
Figure 2.12 – As you can see, there is a clear repetition; if you want this effect, you're good to go
Fortunately, we can change this easily—just return to Stroke and go to Repeat method:
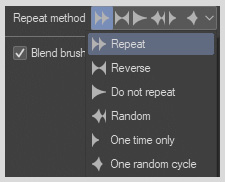
Figure 2.13 – The repeat methods you can choose from
We can change how these tips will repeat themselves. We will click on Random. This will mix your brush tips in a random pattern every time you draw.
Tip
If the brush tips are at the wrong angle, just go to Brush tip | Angle and change it there.
Now if we need a brush that has its size linked to the pen pressure, we just need to go to Brush size and click on this little button:

Figure 2.14 – Pen dynamic settings menu
This will open a menu in which we can link the brush size to the pen pressure, tilt of the pen, and velocity, or we can make it random.
Tip
Every time you see the pen dynamic settings button, it means that it is possible to link a value to a pen modifier. So, every time you see it, click on it and experiment with the possibilities.
To create a brush, all the options you need are here, in the Sub Tool Detail palette:
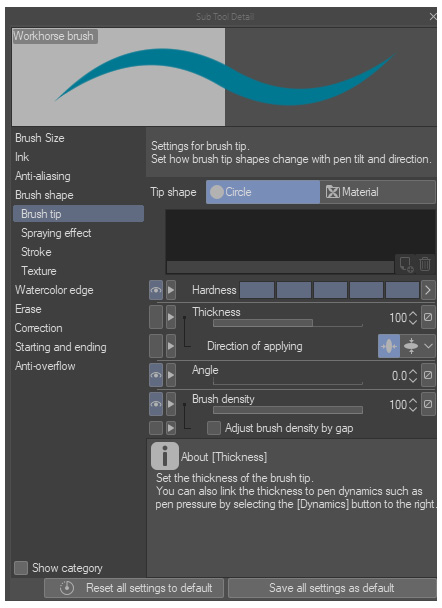
Figure 2.15 – Sub Tool Detail window
You will be surprised at how much you can do by only adding multiple brush tips and setting Repeat method to Random. I've created a lot of different brushes with only these two options.
But let's say we need to create a more complicated brush, such as a wood texture brush. For this wood texture brush, we need to create a seamless wood texture that randomizes itself every time. No problem, it is pretty straightforward and simple:
- Let's start by creating a simple 10x10 cm canvas; just go to File | New. Remember to change Basic expression color to Gray.
In this way, every time you create a new layer it will be in Gray mode. Now, just take a reference for creating some wood bark:
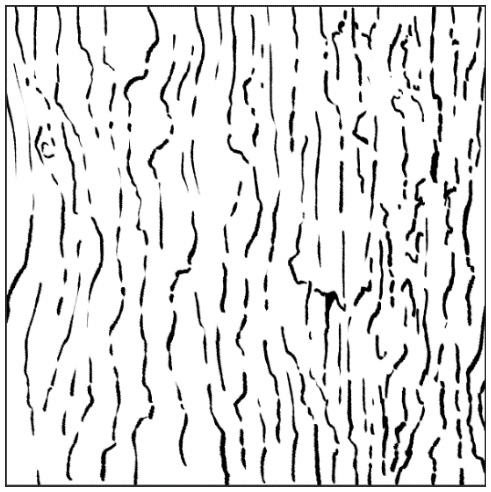
Figure 2.16 – The basic texture we have created
This is mine. We don't shade it because it would be more problematic to create a seamless pattern. And usually, you need those texture/decoration brushes to have a good base to work on, rather than focusing on the end product. Now we need to tile it.
- Right-click on the layer, and click on Convert layer | Type | Image material layer.
Now, if we go to Layer Property, we will find this:

Figure 2.17 – Object tool option menu
Click on the small cube, then go to Tool property and click on Tiling. This will repeat the pattern in all directions. Now, without changing tool, click on the pattern and move it around:
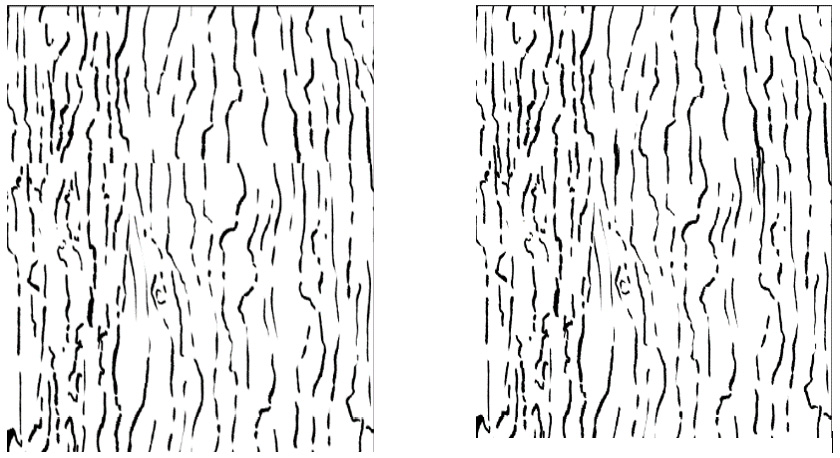
Figure 2.18 – On the left, we have the original image; on the right, the modified one
That's what happens when I move it—it's not seamless, and we can clearly see the cut of the repetition. But there is a pretty easy fix—just draw over it.
- Create a new layer and start drawing where we can see the cut. When you have finished, merge it with the layer below. The result of this fix can be seen in the right-hand example of the previous figure.
Now you just need to re-convert the layer and tile it again.
- After this, move it a little bit or scale it to see whether everything is OK. If everything is OK (usually it is), undo all your movement by pressing Ctrl + Z.
- After that, right-click on the layer window and click on Merge visible layers; check that Expression color in the Layer Option palette is still Gray, because sometimes when you merge the layers it will change to Color.
- Now, register the material as a brush tip and you have your first texture brush tip. Yep, I said first again. You will need to redo this at least 4-5 times…
Tip
The preceding method can be used to create a seamless texture based on a photo. But for that, you will need to use the Copy Stamp tool to mask the cut in the texture.The Copy Stamp tool looks something like this:

Figure 2.19 – The Copy Stamp tool
Once you've made 4-5 texture brush tips, you'll need to apply them somewhere, no? But wait—we will not use a brush this time, but the Straight line tool. Why? You will see soon:
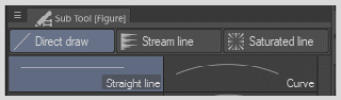
Figure 2.20 – The Sub Tool group for the figure drawing
If we go to Sub Tool Details for Straight line, we can see something familiar… Yes—we have the Brush tip setting; now redo the same thing you've done for the decoration brush. Now that you've done that, use it and create a straight line.
Tip
If you need a straight line when using a ruler or Direct draw tools, just press Shift.
Now, what will happen if we convert this line and tiling as we did before?
Instant random seamless wood texture…
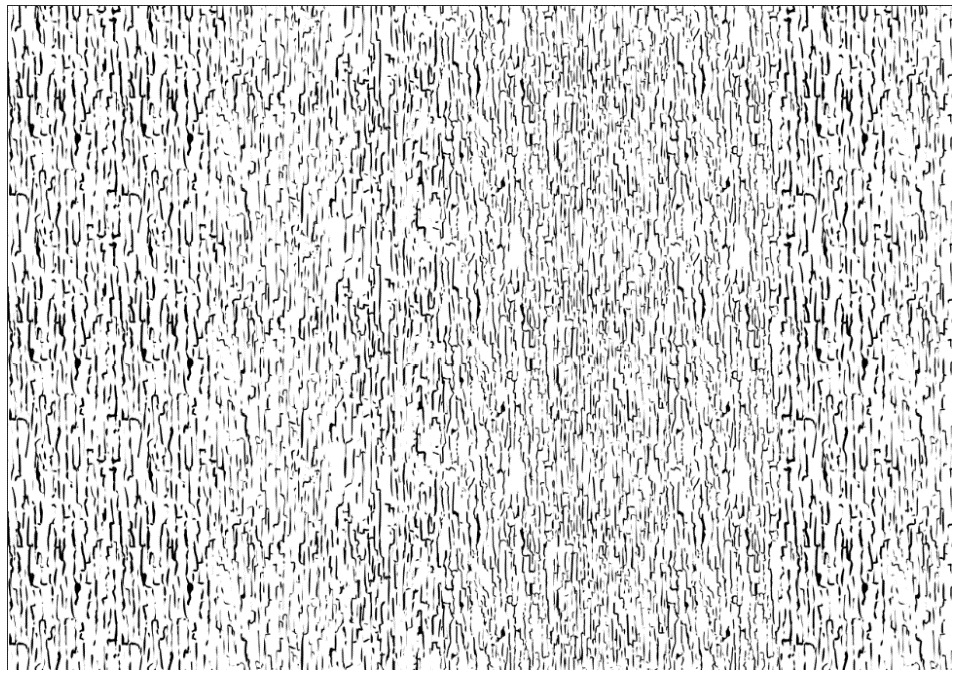
Figure 2.21 – Full-fledged random seamless texture
You can use this method to create practically anything that will require a seamless texture where you don't want obvious repetition in your texture. Examples of this could be seafoam, rocks, plaster, and so on.
Tip
Now, before continuing, I need you to think about this. A tool that is not directly a brush tool has brush tips, strokes, and spraying effect settings. So…
Every tool that draws a line, such as the Balloon tool or the Stream line tool, has Brush tip settings. Basically, you can personalize every tool that draws something.
A little exercise for you. Take the G-Pen tool properties, go to Ink, and look at Blending mode; now do the same with Hard eraser. Do you see anything strange?
Blending mode in Hard eraser is set to Cancel but for G-Pen it's set to Normal. This means that every brush tool is an eraser, just with a different blending mode. In Photoshop, the eraser and the brush tool are two different tools, but in CSP they are the same, only with different settings.
Another way to erase is using the transparent color; it is the little bar under Main color and Sub color:
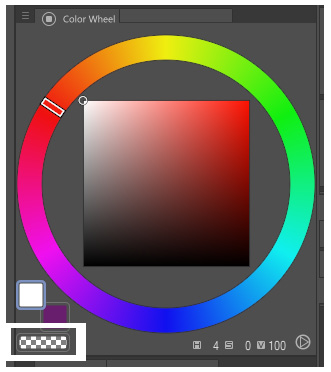
Figure 2.22 – Transparent color in the color wheel
The transparent color lets you transform every brush into an eraser in a quick way. You can select it in three ways:
- Selecting the icon in the color wheel.
- Color picking anywhere outside your canvas.
- Using a shortcut. You can bind a shortcut to the transparent color by going to File | Shortcut Settings | Options | Drawing Color.
In my opinion, I prefer to use the transparent color rather than an eraser. I find it a lot faster than switching tools and it gives a more organic feeling.
As you can see in the next section, if you master only a few brushes, you can have a brush for every occasion without even changing tool.
 Argentina
 Australia
 Austria
 Belgium
 Brazil
 Bulgaria
 Canada
 Chile
Chile
 Colombia
 Cyprus
 Czechia
 Denmark
 Ecuador
 Egypt
Egypt
 Estonia
 Finland
 France
 Germany
 Great Britain
 Greece
 Hungary
 India
India
 Indonesia
 Ireland
 Italy
Italy
 Japan
Japan
 Latvia
 Lithuania
 Luxembourg
 Malaysia
 Malta
Malta
 Mexico
 Netherlands
 New Zealand
 Norway
 Philippines
 Poland
 Portugal
 Romania
 Russia
 Singapore
 Slovakia
 Slovenia
 South Africa
 South Korea
 Spain
Spain
 Sweden
 Switzerland
 Taiwan
 Thailand
 Turkey
 Ukraine
 United States


![Pentesting Web Applications: Testing real time web apps [Video]](https://content.packt.com/V07343/cover_image_large.png)