
Starting with Bones
In the previous chapter, we became familiar with the building blocks of rigs and how bones work together to form a rig, and we installed Blender.
In this chapter, we will start with adding objects to the empty scene and learn how to select objects. We will then move on to manipulate the viewport and navigate the 3D space around our work. We will then learn how to add an armature, which is also known as the container for bones (the rig). After that, we will learn how to edit this armature to add more bones and form a chain. Finally, we will see how to use different modes, such as EDIT and POSE, to perform more complex actions on selected objects, such as rotating bones in POSE mode.
In this chapter, we will cover the following topics:
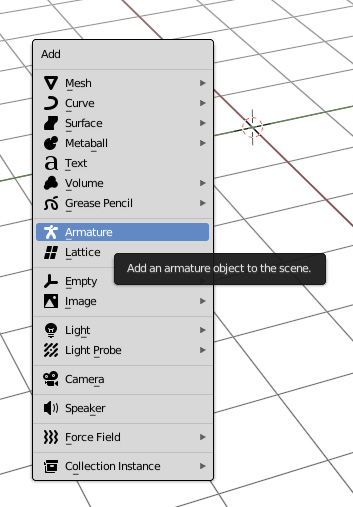
- Adding objects to the scene
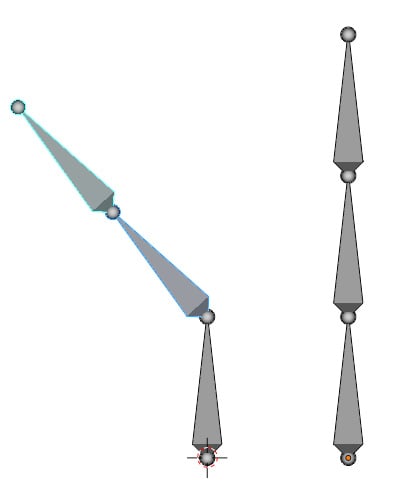
- Placing our first bones
- Using Pose Mode
By the end of this chapter, you will be able to add objects to a scene. You will have a good understanding of transformations for objects...