Using IK and Rig Controls
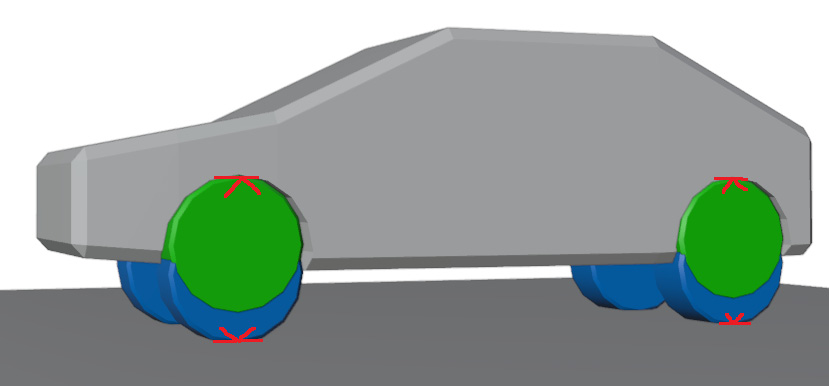
Inverse Kinematics (IK) is a tool we can use to automatically pose bones based on a few inputs. IK is typically composed of two handles, a target and a pole. The target is the point in space where the IK system tries to get the end bone to match and the pole controls the direction of deflection. Its primary use is for rapid and precise animation but it can be used beyond animation in some edge cases.
By the end of this chapter, you will understand the differences between IK and FK and when to use each one. You will have a rig featuring an IK setup for both the legs and the arms that allows animators to work with tools they are most comfortable with, saving time and energy on their part.
In this chapter, we will cover the following topics:
- Understanding IK and FK
- Understanding the effects of IK and FK in animation
- Preparation for IK
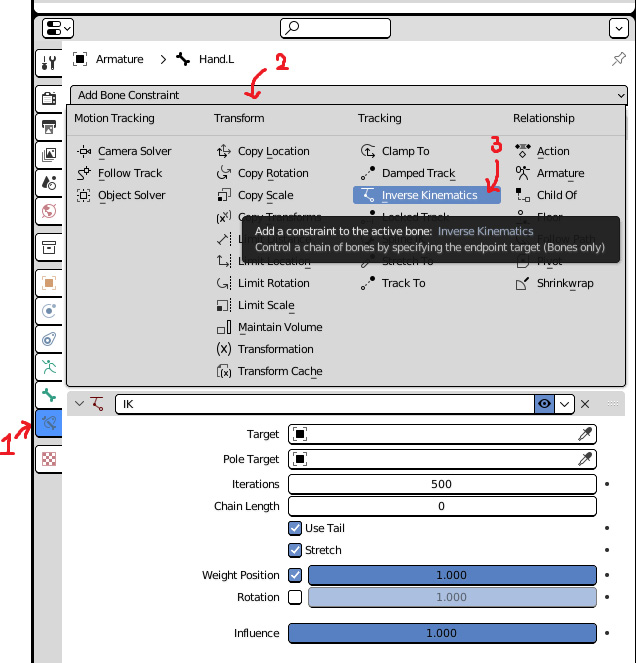
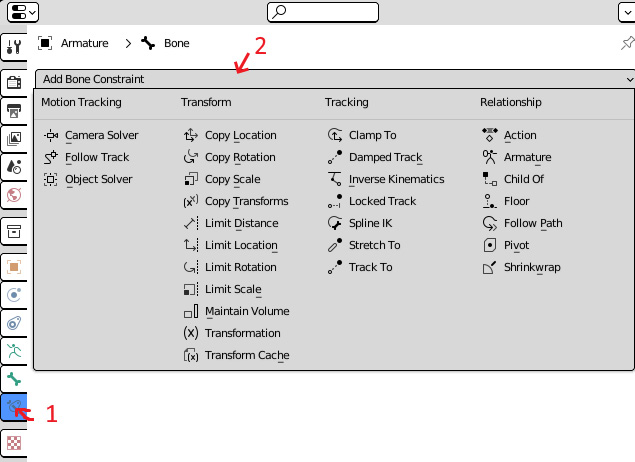
- Adding the IK constraint
- Applying IK to the legs
- Constraints on handles