Reader small image

You're reading from  Creating an RTS Game in Unity 2023

Product typeBook
Published inOct 2023
Reading LevelN/a
PublisherPackt
ISBN-139781804613245
Edition1st Edition
Languages
Tools
Right arrow
Author (1)
Bruno Cicanci
Bruno Cicanci
author image
Bruno Cicanci

Bruno Cicanci is a software engineer and game developer with professional experience on different technologies and platforms. Since 2009, Bruno helped to develop and publish many games, mainly using Unity for mobile devices. He writes about game development on his personal blog, which led him to present many talks at universities and events. Bruno holds a Computer Science BS. Degree and a specialization and Game Production and Programming. In the last decade, he worked at prestigious game studios such as Glu Mobile, Electronic Arts, and Aquiris. He is currently developing games and reusable technologies at Ubisoft. Originally from Sao Paulo, Brazil, Bruno currently resides in London, UK with his wife and two adorable cats.
Read more about Bruno Cicanci

Right arrow

Attacking and Defending Units

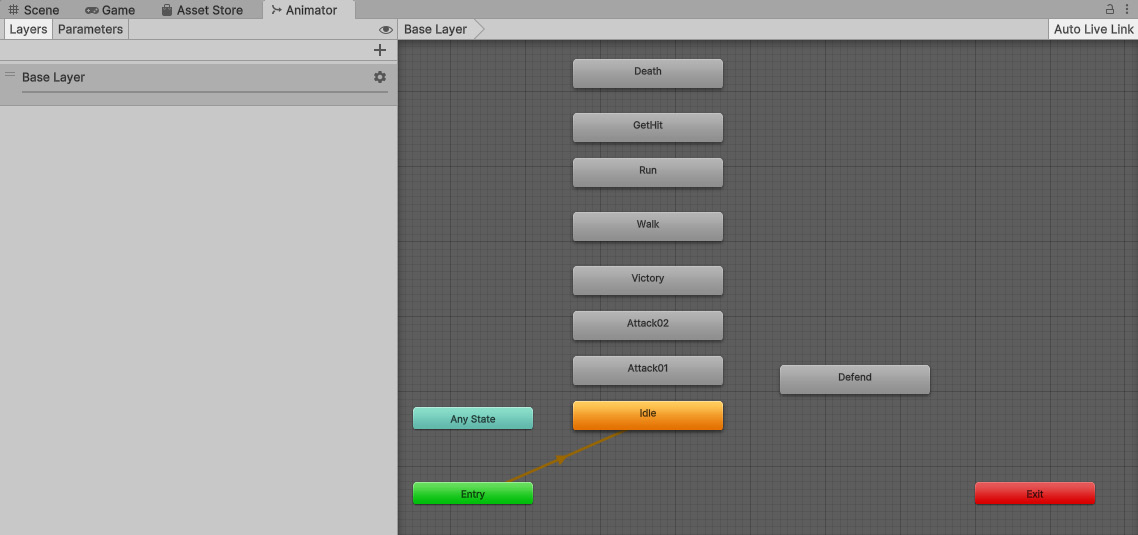
The core mechanic of an RTS game is the strategy used by the player. One of the most important decisions to be made is how to move and position the army of units, as well as when to defend from an enemy invasion and when to attack and raid. In this chapter, we are going to implement the main actions that the player can use to command the selected units: move, attack, defend, and collect.

We will also see how to update the details panel and the actions panel in the UI to reflect the units selected, displaying a dynamic 3D mode in the portrait UI and how many units were selected, as well as what the actions available for the selected units are and which buttons should be enabled in the UI based on that.

By the end of this chapter, you will know how to use the Command pattern to create the actions and how to update the UI elements using our existing message queue system. You will also have learned how to add a new unit to the game, the mighty Mage,...

Technical requirements

The project setup in this chapter with the imported assets can be found on GitHub at https://github.com/PacktPublishing/Creating-an-RTS-game-in-Unity-2023 in the Chapter07 folder inside the project.

Updating the UI with the selected units

In Chapter 6, Commanding an Army of Units, we developed a component that can select the units spawned in the map and give them an action to move as a group to where we click on the screen. With that feature in place, we can now update the bottom of the UI to reflect how many units were selected as well as change the 3D model in the portrait UI.

Besides the selected units at the bottom center of the UI, we will also update the action buttons at the bottom right of the screen to display only the actions that the selected units can perform and use the Command pattern on each button.

But first, let us start with the unit details.

Setting up the selected unit details

The GameUI scene, which only has UI elements and is loaded additively on top of any level scene, has most of the features already implemented, such as the mini-map display in the bottom-left corner, the resource counters at the top right, and the menu on the top left side...

Attacking and defending with units

The UI is almost finished, and all elements now have scripts attached to them that will update them to reflect what is happening during the gameplay. Now, we need to adjust the scripts responsible for selecting and moving the units and add the new messages and actions. Each action also has a different animation – this is why we must first define what the animation states are that we are going to play in each action or context.

Fortunately, both Warrior and Mage have the same animation states with slight variations on the animation state names. To see the animation states, open the Animator view using the Window | Animation | Animator menu option and, while this window is open, search in the Project view for the FootmanHP Prefab and right-click on the asset to select it. All the animation states will be displayed in the Animator view, as we can see in the following figure:

Figure 7.4: The animation states in the Warrior and Mage Prefabs

Figure 7.4: The animation states in the...

Adding the new Mage unit and ranged attack

It is time to start adding more characters to our RTS game. We already have our Warrior character, and now we are going to use everything we have made so far to add a Mage character. We are going to expand the UnitComponent script to add the ranged attack as well, which will be a fireball cast by the Mage.

Now that we have built many support systems in our RTS game, we can define a clear path to use when we need to include and configure new units in the project. This is what we need to do:

  1. Create a new UnitData Scriptable Object and configure all the base attributes and animation states. We can always use another unit as a reference for the value and tweak it.
  2. Create a new message that will be sent when we need to spawn a unit.
  3. Create a new spawner script and a new object pool, adding the reference to UnitData and the Prefab.

That covers the basics of adding a new unit. However, in the case of the Mage, we are also...

Summary

Congratulations on reaching the end of this chapter! It was quite a long one, but we now have two different units, the Warrior and the Mage, which use two different attacks, melee and ranged. Our game also now sends messages based on the actions that the player is using to update the UI and reflect the selected units in the details panel at the bottom of the UI, as well as updating the action buttons to have only what the selected units can perform.

Throughout the chapter, we learned how to implement the Command pattern and the State pattern, and how to reuse our message queue and object pool to add a new unit, projectiles, and even UI elements that are added in the details panel for each selected unit. We also saw how to play different animation states based on the context and how to expand our unit Scriptable Object to hold more data.

Our RTS game, Dragoncraft, is taking shape and progressing nicely on every feature or content we add to the gameplay – well done...

Further reading

In this chapter, we saw quite a lot of new techniques, patterns, and Unity features. The following links will help you to understand each topic better, as well as giving you more examples that can make it easier to learn:

lock icon
The rest of the chapter is locked
You have been reading a chapter from
Creating an RTS Game in Unity 2023
Published in: Oct 2023Publisher: PacktISBN-13: 9781804613245
Register for a free Packt account to unlock a world of extra content!
A free Packt account unlocks extra newsletters, articles, discounted offers, and much more. Start advancing your knowledge today.
undefined
Unlock this book and the full library FREE for 7 days
Get unlimited access to 7000+ expert-authored eBooks and videos courses covering every tech area you can think of
Renews at AU $19.99/month. Cancel anytime

Author (1)

author image
Bruno Cicanci

Bruno Cicanci is a software engineer and game developer with professional experience on different technologies and platforms. Since 2009, Bruno helped to develop and publish many games, mainly using Unity for mobile devices. He writes about game development on his personal blog, which led him to present many talks at universities and events. Bruno holds a Computer Science BS. Degree and a specialization and Game Production and Programming. In the last decade, he worked at prestigious game studios such as Glu Mobile, Electronic Arts, and Aquiris. He is currently developing games and reusable technologies at Ubisoft. Originally from Sao Paulo, Brazil, Bruno currently resides in London, UK with his wife and two adorable cats.
Read more about Bruno Cicanci