
Adding Animations to Your App
Animations are important: they can significantly improve your app’s user experience by providing a changing user interface. This can range from adding and removing items from a list to fading in elements when you need to draw a user’s attention to them. The Animation API in Flutter is powerful, and in this chapter, you’ll learn how to create effective animations and add them to your projects. This will allow you to create visually pleasing experiences for your users.
In this chapter, we will cover the following recipes:
- Creating basic container animations
- Designing animations part 1 — Using the
AnimationController - Designing animations part 2 — Adding multiple animations
- Designing animations part 3 — Using curves
- Optimizing animations
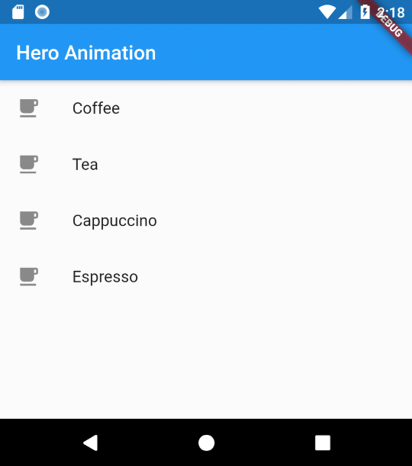
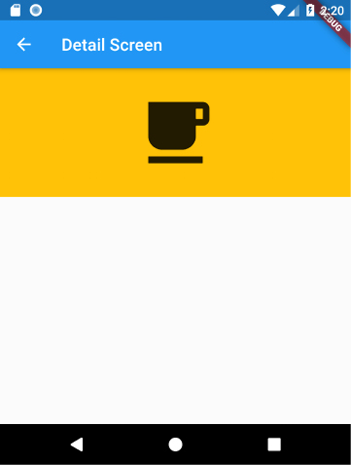
- Using Hero animations
- Using premade animation transitions
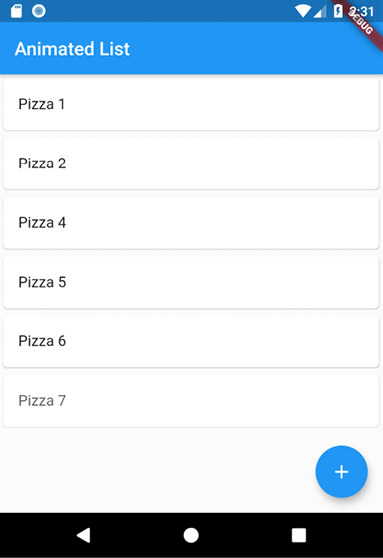
- Using the
AnimatedListwidget - Implementing swiping with the...