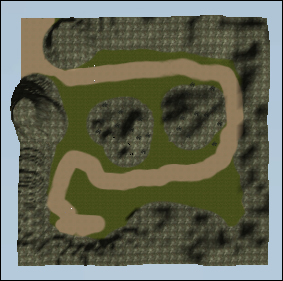

In this chapter, we will program the second mission for our e-learning game. The objective of this level will be to test the learning that occurred in the first flag-collecting level. The theme of the level will be a race against two other NPCs through a park, where the player will have to answer trivia questions from NPCs placed randomly along the path. The player will have to achieve 100 percent accuracy and be placed first in the race in order to advance to level three.
In this chapter, we will cover the following topics:
Exploring the structure of mission two
Defining the framework for mission two
Adding a mission to the
missionMgrscriptExtending the
GameCamscriptModifying the terrain
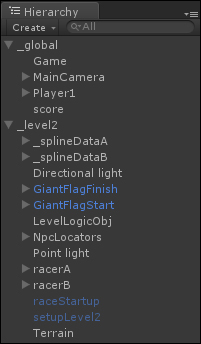
Adding NpcRacers to the mission
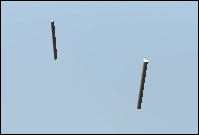
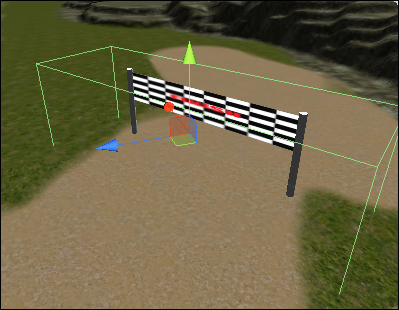
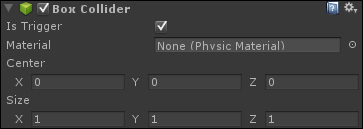
Creating the start and finish line flags
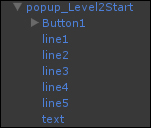
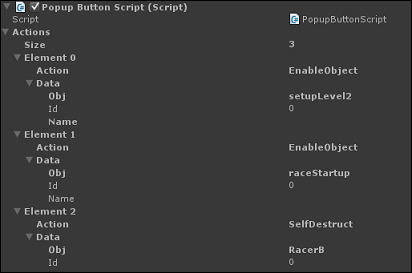
Creating the LevelStart and LevelFinished pop ups
Creating the setupLevel2 Prefab
Creating the raceStartup Prefab
Implementing the
LevelLogicObjGameObject