We have designed and implemented a working first pass on the first mission of our game. Take a moment to step back and celebrate! To make sure we can finish creating the last two levels and finish polishing this level, we will need to revisit some of the code we have already written to ensure it is extensible to meet the needs of the other two missions in our game.
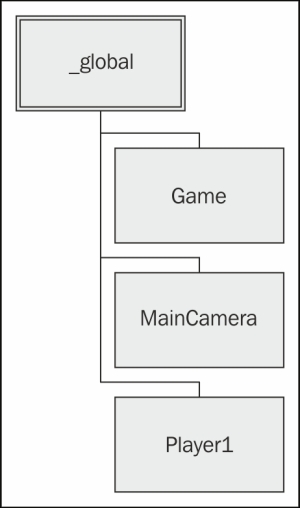
We will restructure the existing game into a number of subscenes. Then we will reintegrate the code so that the game can support multiple scene files; hence, it will support multiple levels. We will extend our interactive object system so that it supports more general purpose operations with transforms, which are necessary for future mission requirements. Finally, we will finish the trivia cards with an eye towards testing and application for the last levels.
In this chapter, we will cover the following topics:
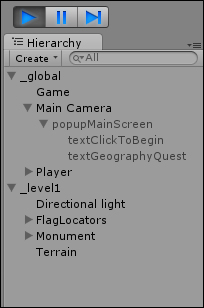
Reorganizing our GameObjects in the Scene view
Adding new scenes to the...