


Moving the player through a C# script
We want the player to move, so in order to do that, we will create our own piece of functionality in a script, effectively creating our own custom component in the process:
- To create a script, we will go to the Project window and select the Create button in the top-left corner of the menu by clicking on the + icon, and then we will select Folder:
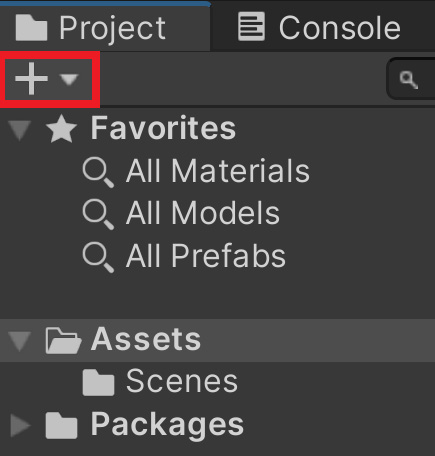
Figure 1.7 – Location of the + icon
Tip
You can also access the Create menu by right-clicking on the right-hand side of the Project window. With this method, you can right-click and then select Create | Folder.
- From there, we’ll name this folder
Scripts. It’s always a good idea to organize our projects, so this will help with that.
Tip
If you happen to misspell the name of an item in the Project window, you can rename it by either right-clicking and selecting the Rename option or selecting the object and then single-clicking on the name.
- Double-click on the folder to enter it, create a script by going to Create | C# Script, and rename the newly created item to
PlayerBehaviour(no spaces).
Note
The reason I’m using the behaviour spelling instead of behavior is that all components in Unity are children of another class called MonoBehaviour, and I’m following Unity’s lead in that regard.
- Double-click on the script to open up the script editor (IDE) of your choice and add the following code to it:
using UnityEngine;
public class PlayerBehaviour : MonoBehaviour
{
    // A reference to the Rigidbody component
    private Rigidbody rb;
    // How fast the ball moves left/right
    public float dodgeSpeed = 5;
    // How fast the ball moves forward  automatically
    public float rollSpeed = 5;
    // Start is called before the first frame update
    void Start()
    {
        // Get access to our Rigidbody component
        rb = GetComponent<Rigidbody>();
    }
    // Update is called once per frame
    void Update()
    {
        // Check if we're moving to the side
        var horizontalSpeed =
            Input.GetAxis("Horizontal") * dodgeSpeed;
        rb.AddForce(horizontalSpeed, 0, rollSpeed);
    }
}
In the preceding code, we have a couple of variables that we will be working with. The rb variable is a reference to the GameObject’s Rigidbody component that we added previously. It gives us the ability to make the object move, which we will use in the Update function. We also have two variables, dodgeSpeed and rollSpeed, which dictate how quickly the player will move when moving left/right or when moving forward, respectively.
Since our object has only one Rigidbody component, we assign rb once in the Start function, which is called when the GameObject is loaded into the scene at the beginning of the game.
Then, we use the Update function to check whether our player is pressing keys to move left or right based on Unity’s Input Manager system. By default, the Input.GetAxis function will return to us a negative value, moving to -1 if we press A or the left arrow. If we press the right arrow or D, we will get a positive value up to 1 returned to us, and the input will move toward 0 if nothing is pressed. We then multiply this by dodgeSpeed in order to increase the speed so that the movement of the object is easier to see.
Note
For more information on the Input Manager, check out https://docs.unity3d.com/Manual/class-InputManager.html.
Finally, once we have that value, we will apply a force to our ball’s horizontalSpeed units on the X axis and rollSpeed on the Z axis.
- Save your script and return to the Unity Editor.
- We will now need to assign this script to our player by selecting the
Playerobject in the Hierarchy window, and then in the Inspector window, we will drag and drop thePlayerBehaviourscript from the Project window to be on top of thePlayerobject.
Note
Note that when writing scripts, if we declare a variable as public, it will show up in the Inspector window for us to be able to set it. We typically set a variable as public when we want designers to tweak the values for gameplay purposes, but it also allows other scripts to access the property in code. By default, variables and methods are private, which means they can only be used within the class. For more information on access modifiers, check out https://docs.microsoft.com/en-us/dotnet/csharp/language-reference/keywords/access-modifiers.
If all goes well, we should see the script appear on our object, as follows:
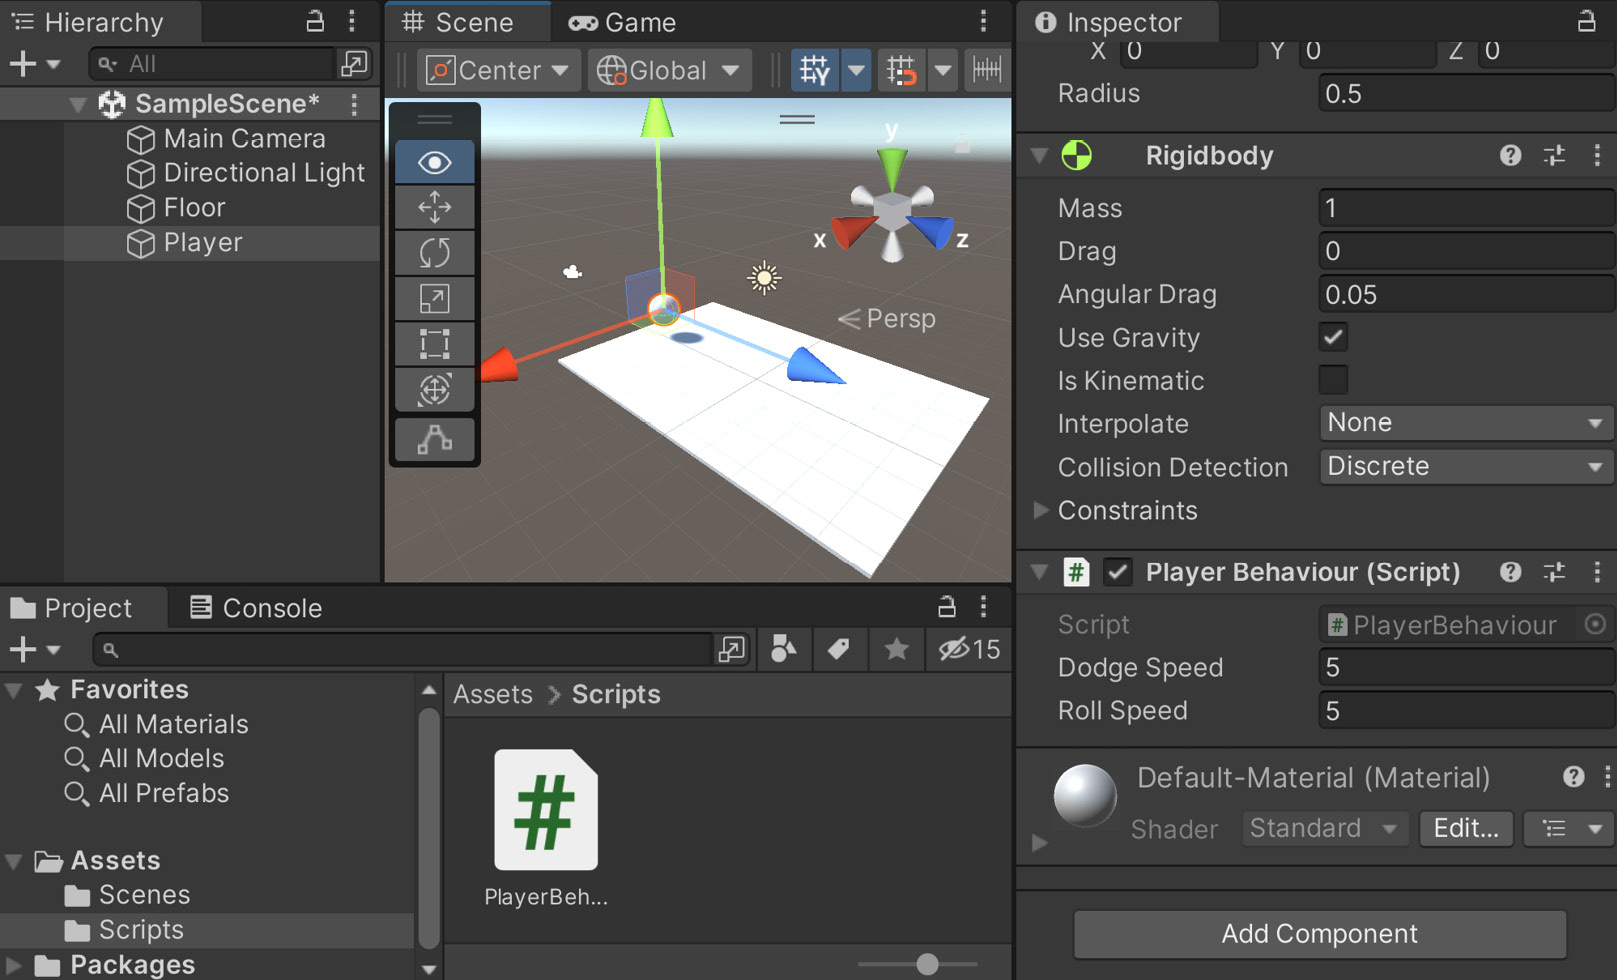
Figure 1.8 – The PlayerBehaviour component added
- Save your scene by going to File | Save. Afterward, play the game and use the left and right arrows to see the player moving according to your input, but no matter what, moving forward by default:
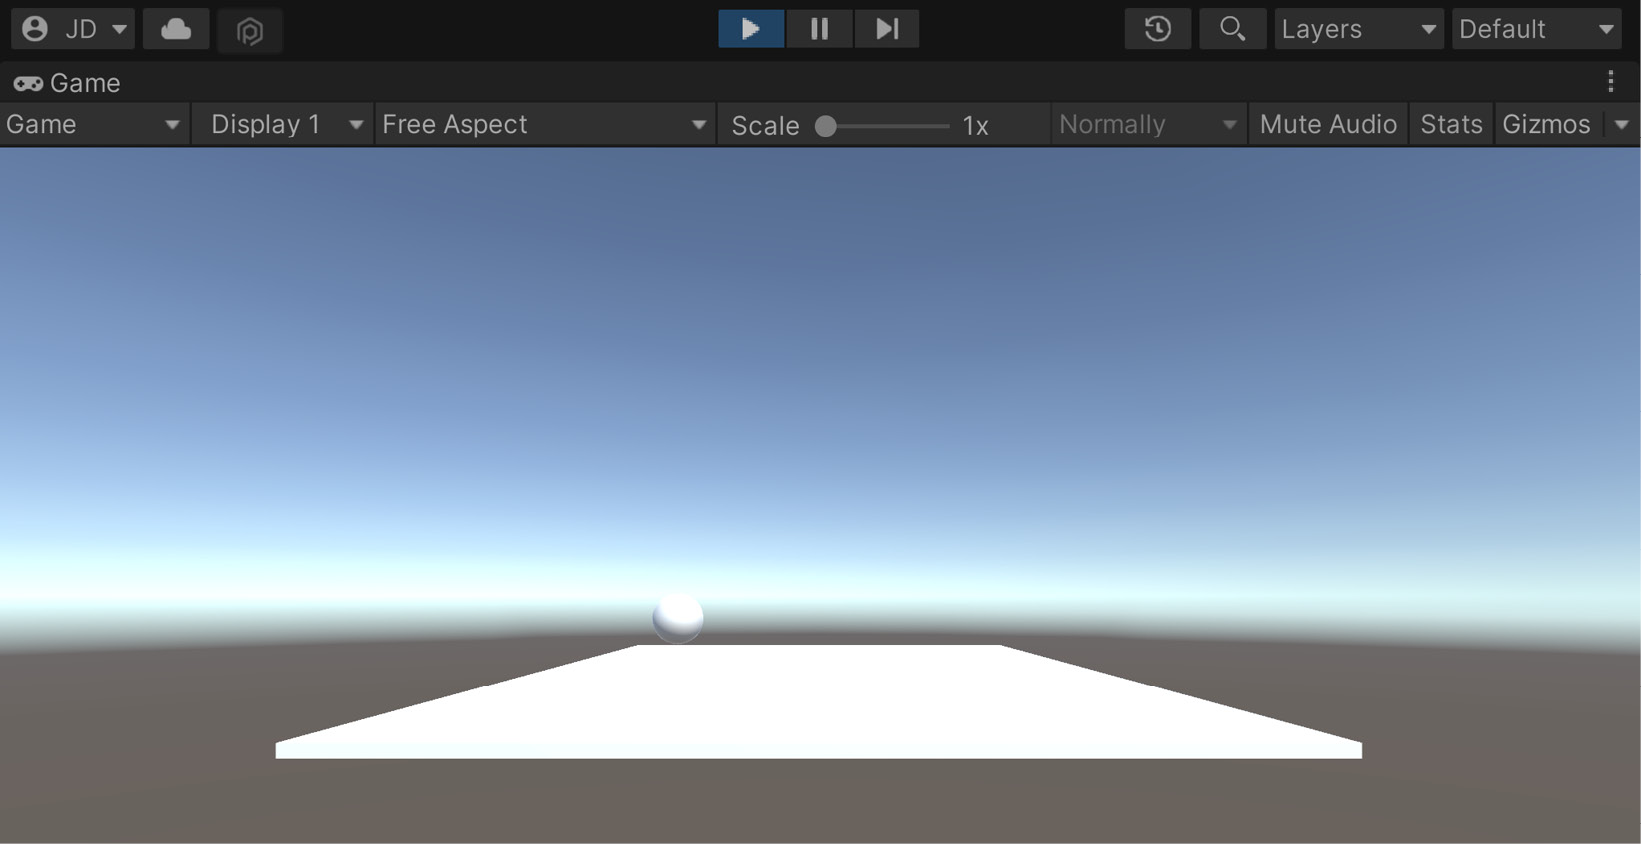
Figure 1.9 – The current state of the game
Now you can see that the ball moves automatically, and our input is received correctly!