Chapter 6. Breathing Life into Your First Creation - Creating and Importing Assets for Your Application
What is more exciting than to see how we can transform an idea, or collection of ideas into something that we can play, touch, and even interact with? The amazing thing about the world that we live in is that if you can think it, you can create it, in one way or another. In this chapter, we will finally start to build our application, and bring it to life! In particular, we cover the following topics:
To begin this chapter, we will look at Designing our application, which focuses on getting our idea out of our head and onto paper.
Next, Creating the game elements and An introduction to Illustrator will guide you through learning the basics of Adobe Illustrator to create basic icons for our application
The we will look at Importing the graphics into Unity so that you can learn how to get the creations we have made in Illustrator into Unity
We will then learn how to Import Settings in Unity...
Designing the application
The project that we will be developing is a 2D application for increasing the productivity of an individual. Now, what productivity is related to is relative, so ultimately feel free to associate it with anything from house chores to arriving at work on time. We are leaving it pretty open-ended so it is possible to target various types of productivity and not any single one in particular. It might even be useful to create a mind map such as the following figure to get some ideas flowing. Remember to include any thoughts that you have, because we can fine tune it later:
For now, if you can't think of some interesting ideas for your application, I encourage you to go through the previous chapters. For example, maybe it is worth going through some Pinterest boards to look for some cool ideas to create a fitness application. Maybe you already have an idea but would like to create it in a particular way, so it's just a matter of organizing your thoughts. You might even...
Creating the game elements
This section will explain to you how to create the various game elements that we will be using for our project. It will guide the reader through various tools and shortcuts in Adobe Illustrator (which can be found at www.adobe.com/in/products/illustrator.html) to create each icon. You should keep in mind that Illustrator takes a little time to get used to; therefore, it is worthwhile checking out some basic tutorials to get you started.
Tip
Keep in mind that if you are not able to use Illustrator (or some of the alternative software proposed later), you can always find the graphics you need for this book at player26.com.
In any case, creating your own graphics adds a personal touch to your application. For this reason, I suggest you at least try to follow the next sections and experiment with the graphics, even if this is your first time.
Illustrator is a software developed by Adobe Systems and it is used to manipulate Vector Graphics:
If you want...
An introduction to Illustrator
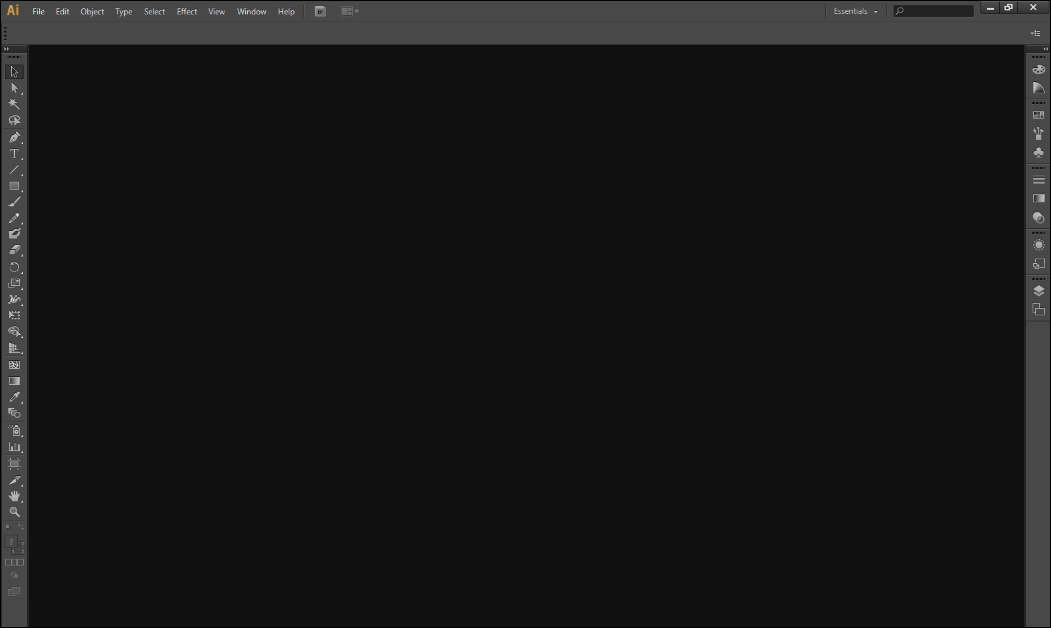
When you open Illustrator, you will see a screen like the following. It looks pretty empty, but there are a few essentials that we will need to set up before we begin making our icons:
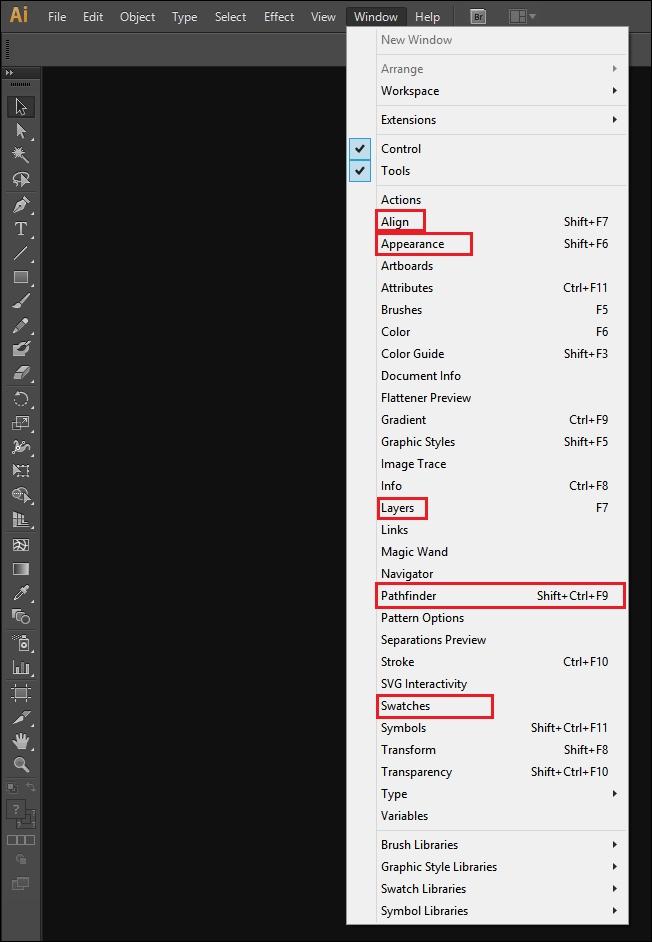
One thing to do is to open a few new windows that will be useful later on. They are highlighted in the following screenshot:
The following are the uses of the highlighted menu options:
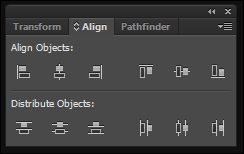
Align basically allows us to align and distribute the objects within our scene evenly. This is particularly useful when you want to achieve an effect, such as a striped pattern. It also helps if you want to center objects within your scene either to the objects that you have selected or to your Artboard. You can think of your Artboard as the canvas that you are painting on:
Importing and setting our assets in Unity
The process of importing assets in Unity is pretty straightforward. However, some tweaks in the settings are needed in order to use the assets for our gamified application. In this section, we will go through the basics of this process, and learn how to import sprites correctly.
In Unity, there are different ways to import assets.
From the top menu bar: Just click on Assets | Import New Asset... and a file selection menu appears. Then, navigate through your folders and select the file that you would like to import.
From the Project panel: Right-click on it and select Import New Asset..., a file selection menu appears and the asset that you select to import will be imported into the folder where you right-clicked.
Drag and drop: From the explorer of your OS, you can just drag and drop the files you want into the Project panel. In particular, if you drop them into a folder, they will be imported into that specific folder.
Of course, the...
In this chapter, we started to set everything up for our application. We began with the design of basic assets, which we will need later on. Then, we learned how to use Adobe Illustrator to actually make the assets we need as well as some tips and tricks for using the software. Finally, we moved back into Unity and understood the process of importing assets and made them ready to be used.
In the next chapter, Chapter 7, Get Your Motor Running, we will focus on making the most of our application by adding cool new interactive features. Since this is so exciting, don't waste any more time, turn the page!