


Ken Burns on steroids
The Ken Burns effect is a simple way of animating a zoom-in effect when you want to smoothly move from a wide view of a scene to a close-up or vice versa.
You will be familiar with the use of the Ken Burns effect and how the green outline represents the starting point of the change in size and the red outline shows the ending size:
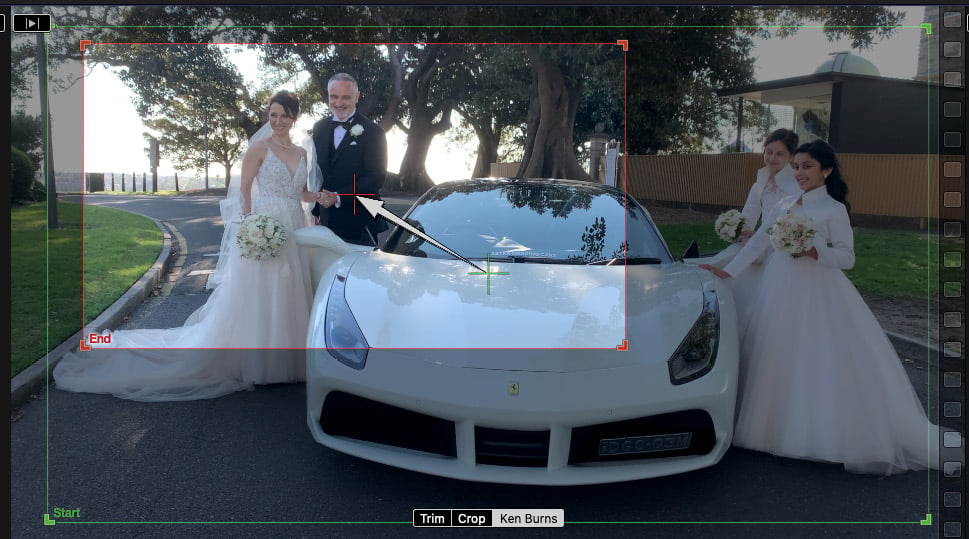
Figure 13.24: Ken Burns green to red
The Ken Burns effect is certainly a quick alternative to keyframing a change of angle. However, you need to be careful that the original image has a high enough resolution, avoiding the zoomed-in portion pixelating. If you have filmed in 4k and have the clip in a 1080p timeline, you will be able to zoom in 2x (or 100%) of the screen size.
You can achieve this by starting the project at 1080p and dragging in the 4k clip. Final Cut Pro will fit the 4k clip into the 1080p timeline. Figure 13.25 shows a 1080p project on the left and a 4k clip added to the 1080p timeline...


