Chapter 2. Creating the Game Environment
In the last chapter, we surveyed game engines, installed Unity, and became familiar with the user interface. We're almost ready to start creating our game. Before we do, we have two tasks to attend to: designing our game and creating the game's environment. We'll handle both of these tasks in this chapter.
This chapter will set the stage for developing our game using Unity. We'll start by examining our game's design, which will serve as the blueprint we'll follow throughout the rest of this book. Next, we'll create our game's environment, which will include terrain, water, and the sky. Our terrain will consist of trees, mountains, and a river.
Through this chapter, you will:
Understand the purpose of a game design
Be able to create terrain in Unity
Be familiar with using textures
Be comfortable with creating mountains
Be comfortable planting trees
Be familiar with creating bodies of water
Be able to create a sky in Unity
A game's design is like a blueprint for a house. You would not consider building a house without a blueprint and it is an equally bad idea to develop a game without designing it first. Our game design will document the look of our game, what the player's objectives are, what the gameplay will be, supported user actions, the required artificial intelligence, and game flow.
Designing a game is significantly more complex than simply considering these six elements. We do not have time to go through the entire game design process, so you'll see the primary areas of the game designed in this chapter.
Our game will be called Little Farmer Colt. It will feature a young farmer named Colt, who has to manage a farm. Let's look at the elements of game look, player objectives, gameplay, user actions, artificial intelligence, and end state.
All games have a look to them. For a game that takes place in space, the game look might be a futuristic/mechanical. If it is a children's math game...
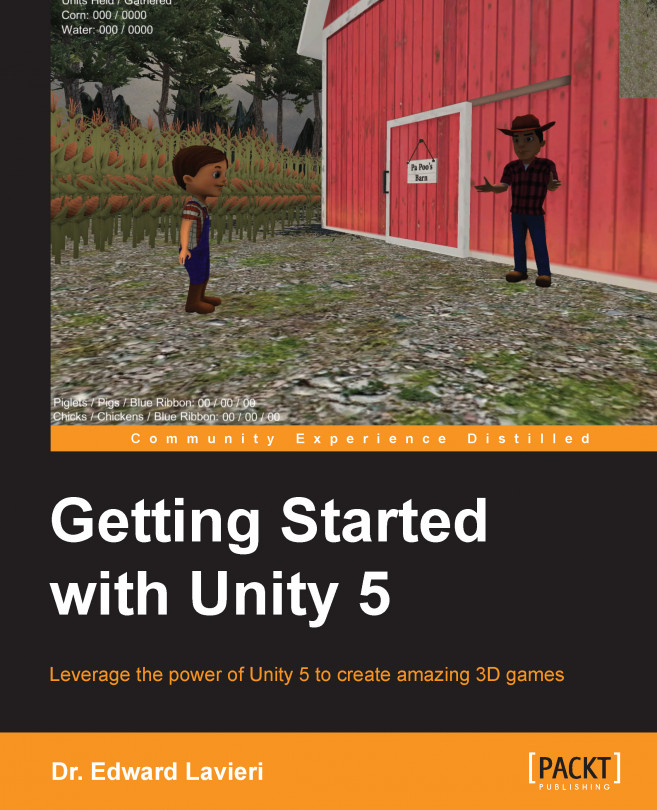
Our game environment will be a rural farming setting with water and land features. We'll create our terrain with a water feature running down the middle of the land and a natural bridge that allows the player to travel between sides. On the left side of our terrain, we'll put Colt's farmhouse and areas for both chickens and pigs. The old farmer will have a farmhouse on the right side of the terrain, surrounded by a corn maze.
To make the land look a bit more interesting, we'll include some hills and trees. The following diagram shows a mockup up of what we'll create in the remainder of this chapter:
We'll create a Unity project and continually update it throughout the remainder of the book. To create the project, perform the following steps:
Launch the Unity application on your computer.
Click on the New Project button on initial Unity dialog window.
Enter LittleFarmerColt for the project name.
Select a folder location for your project. I recommend selecting an area that is automatically...
Additional environmental features
We are now ready to enhance our terrain with additional features. First, we will add a natural bridge, and then we'll selectively plant trees. We'll also add water to the center of our terrain and create the sky.
There are several ways to build a bridge for our game. We want the player to be able to walk from one side of the game map to the other. The approach we'll take is to use a textured geometric shape. Here are the steps:
Use the transform tools in the Scene view to zoom into the area you want to place the bridge. I will put it in the center of the terrain.
Select the GameObject drop-down menu, select the 3D Object, and click on Cube.
Right-click on the cube in the Hierarchy view and select Rename. Rename the cube as Bridge.
Use the transform tool to increase the width and length of the cube. A scale of 12, 5, 58 works nicely.
Use the translate tool to move the bridge in place. Be sure to place both ends just beneath the surface so it does...
In this chapter, we dabbled in the concept of game design and documented our Little Farmer Colt game. The game design will serve as a reference point for our remaining work on the game throughout this book. The game design also informed the characteristics of our terrain. We created a terrain, added a texture to the terrain, added mountains, trees, and a river. We even created a natural bridge. We concluded our chapter by adding a Skybox.
Our game's foundation is now created and you have the experience to create your own game environments.
In the next chapter, we'll take a close look at how to import and use assets in Unity. We'll do more than experiment; we'll actually import our game's main character Colt, the old farmer, and the animals.