

Unity views provide the ability to see, or view, specific components of the project. There are five views in Unity.
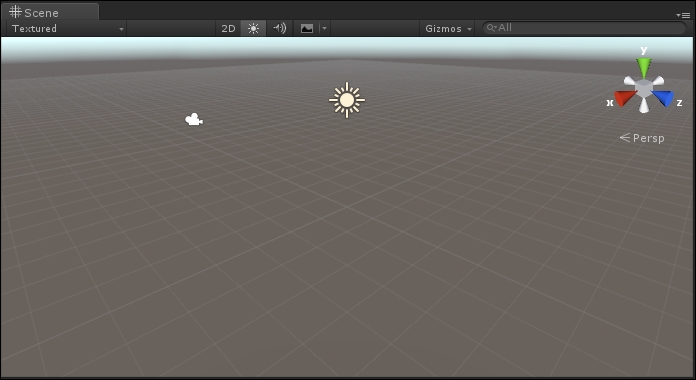
Scenes in Unity are the equivalent to levels in a game. You'll have a different scene for every game level. The Scene view is where we put visual objects such as characters, buildings, terrain, and more. We can also move, rotate, and scale these objects in the Scene view by using transform tools, which we'll discuss in the next section. Take a look at the following screenshot:
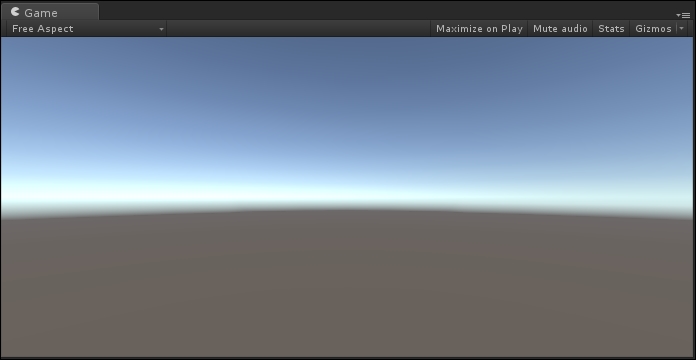
One of the great features of Unity is that we can play our game right in the game engine. This means we do not need to compile the game and play it outside of Unity. If you're already a game developer, you'll appreciate the time saving. The Game view is where the game is played during development.
Any changes made to the game while the game is being played will be reflected in the game but are not saved when gameplay ends. This represents a wonderful way to experiment and not risk breaking scripts or other game components.
Like with most games, Unity games are played from a player's perspective. Typically, a player controls an in-game character. We do not see the game world through the in-game character's eyes. It might seem that way, but we are actually seeing the game world as rendered by a camera or cameras. We'll talk more about this later. For now, think of a camera hovering just above and behind our in-game character's head. This makes it seem like we are seeing through their eyes:
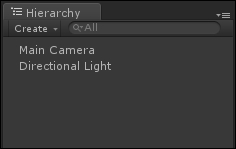
This view displays a hierarchical list of every object in the scene. When you double-click on an object in this view, two things happen. First, the object is selected and viewable in the Scene view. Unity orients the Scene view so that the selected object is in the front and center. The second thing that happens is that the Inspector view is populated to display the selected object's settings and components. You'll gain great exposure to this later in the book. Take a look at the options shown in the following screenshot:
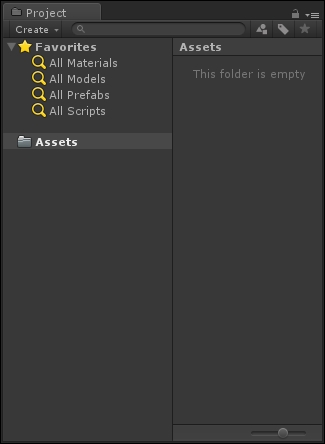
The Project view provides us with a file structure of our game components including objects, art, scripts, and so on. The file structure here is what is displayed on your system's file structure. So, if you want to make changes, do it in the Project view, not directly on your computer. You'll notice that this view has two columns. The first column contains the file structure I mentioned as well as Favorites, which will help you to find assets quickly. This is especially handy for large projects.
The second column contains folder contents. If, for example, you click on a folder in the left Project view column, that folder's contents will be displayed in the second column. You can drag objects directly from this view into the Scene view to add objects to your game. I'll walk you through this later in the book. Take a look at the options shown in the following screenshot:
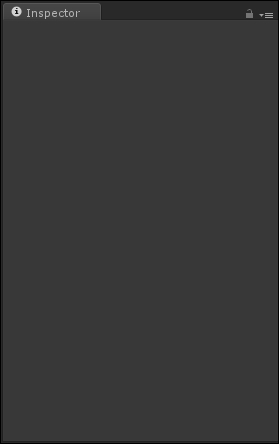
When objects are selected in another view, their details are revealed in the Inspector view. In many cases, you can make changes to an object directly in the Inspector view. You'll be doing this a lot throughout the book.
Remember, layouts are made up of views and you have complete control over how the interface is laid out. For the majority of this book, I'll use the 2 x 3 layout because of its utility. You can use any view you want and will still be able to follow along with the instructions and guides provided in the rest of this book.