
Materials and Effects with URP and Shader Graph
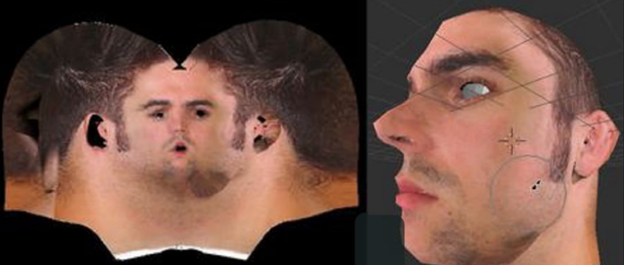
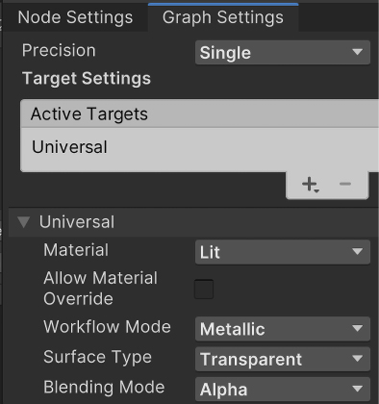
Welcome to the first chapter of Part 3. Here, we will dive deep into the different graphics and audio systems of Unity to dramatically improve the look and feel of the game. We will start by discussing what a shader is and how to create our own to achieve several custom effects that couldn’t be accomplished using the default Unity Shaders. We will be creating a simple water animation effect using Shader Graph, a visual shader editor included in the Universal Render Pipeline. Also known as URP, this is one of the different rendering pipelines available in Unity, which provides rendering features oriented toward performance. We will be discussing some of its capabilities in this chapter.
In this chapter, we will examine the following shader concepts:
- Introducing shaders and URP
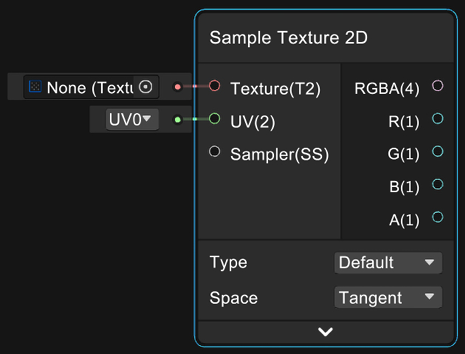
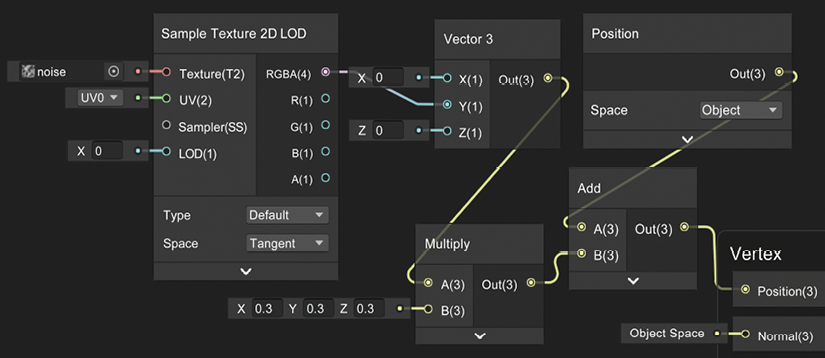
- Creating shaders with Shader Graph