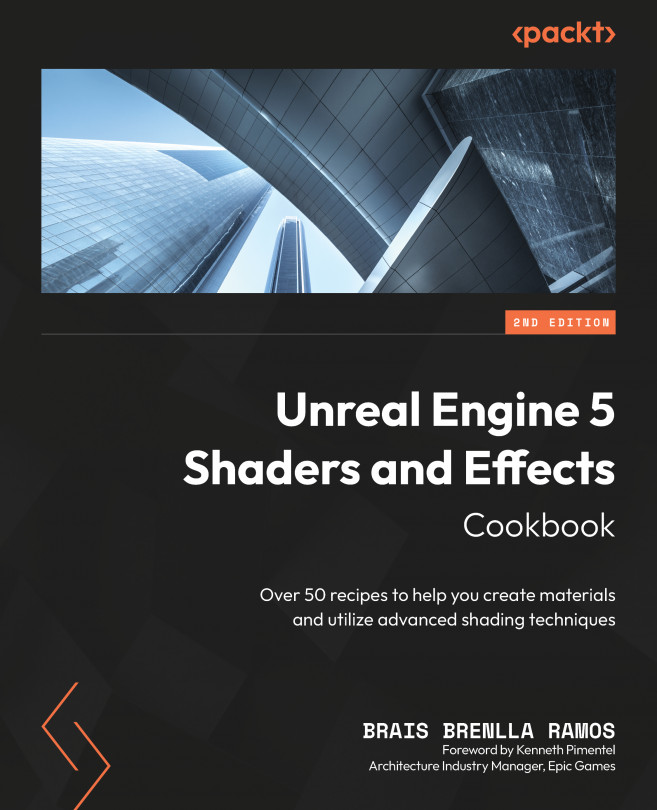
Reader small image

You're reading from  Unreal Engine 5 Shaders and Effects Cookbook - Second Edition

Product typeBook
Published inMay 2023
PublisherPackt
ISBN-139781837633081
Edition2nd Edition
Concepts
Right arrow
Author (1)
Brais Brenlla Ramos
Brais Brenlla Ramos
author image
Brais Brenlla Ramos

Brais Brenlla Ramos is a passionate Architect, 3D artist, Unreal Engine 4 developer and first-time author based between A Corua and his place of work in London, UK. His passion for all things 3D-related dates back to when he was playing games as a child, experiences that fuelled his later studies in architecture and computer animation. His entrance into the professional 3D world happened at the same time as his studies were finishing, with initial projects undertaken in the field of architectural visualization for different studios. Since then, he's worked on many different 3D modeling and app development projects, first as a team member, and later as the Unreal Engine 4 lead developer at a company called AccuCities, based in London.
Read more about Brais Brenlla Ramos

Right arrow

Working with Advanced Material Techniques

Welcome to the fifth chapter of this book! So far, we’ve spent most of our time discovering how to create different kinds of shaders: wooden surfaces, metals, cloth, rubber, wax, glass, and more. We have seen plenty of combinations that focused on defining the different ways in which light behaves when it reaches the objects that we are trying to describe. That is one way to use the Material Editor!

But there are more. The material graph can also be used to describe extra geometrical detail that can be added to the models that we work with, or to build decals that can then be applied on top of other models. We’ll also see how artists can blend between different textures in a single model thanks to the vertex color technique, or light a level using emissive materials. These are just examples of the versatility that the Material Editor empowers, something that we are about to study in the following recipes:

  • Using vertex...

Technical requirements

As always, let’s start with a link to the Unreal Engine project we have provided with this book: https://packt.link/A6PL9.

You’ll be able to get a hold of all of the assets I’ve used to create the recipes in this chapter: the models, the textures, the levels, and the materials. Be sure to use them if you don’t have access to other resources!

Using vertex colors to adjust the appearance of a material

As we said in the introduction to this chapter, we are going to be working inside the material graph to unlock certain effects that go beyond just describing different material attributes. We’ll start by looking at an important and useful technique called Vertex Painting, which allows us to assign specific color values to the vertices that make up our models. We’ll be able to reuse that information within the material graph to create masks that can drive the appearance of a material.

This can be a very useful technique when texturing large props as it allows us to manually paint certain material effects right within the viewport – almost as if we were hand painting a 3D model. I’m sure you’ll find this technique very useful once we take a proper look at it, so let’s not delay any further!

Getting ready

Vertex Painting is a technique that is not very complicated to demonstrate...

Adding decals to our scenes

Decals are a great thing, as they allow us to project certain materials into the world. This opens up multiple possibilities, such as having greater control over where we place certain textures or the ability to add variety to multiple surfaces without complicating our material graphs. They are also useful in a visual way, as they allow us to see certain changes without the need to move back and forth between the Material Editor and the main scene.

Furthermore, Unreal has recently introduced a new type of decal that allows not only for planar projections but also mesh-based ones, which can be useful whenever we want to project something into a non-planar surface (as we are about to see).

So, without further ado, let’s jump right into this recipe and see what decals are all about!

Getting ready

Just like we mentioned at the beginning of this recipe, we are about to explore both the standard decals that Unreal has included since it launched...

Creating a brick wall using Parallax Occlusion Mapping

Creating a more detailed level usually involves adding more geometrical detail to the objects used to populate it, something that can be achieved in multiple ways. We’ve already used Normal maps, a special type of texture that modifies the way light behaves when it reaches the surface of a given object. We also used Nanite meshes in the previous chapter, a novel method of bringing more triangles into our scenes. It is now time to explore Parallax Occlusion Mapping (POM), a texture-based approach to adding more detail to 3D objects.

This technique relies on textures to create more geometrical detail, in a process that might feel similar to using Normal maps. Unlike those textures, POM goes a bit further by actually pushing the pixels that represent our models outwards or inwards, creating a real 3D effect that we just can’t get with Normal maps. Relying on images to do this kind of job frees the CPU from having...

Taking advantage of mesh distance fields in our materials

You can say that each different recipe we’ve tackled in this book has explored something new within Unreal’s material creation pipeline. We’ve seen new material features, useful nodes, and smart shader-creation techniques, and this recipe is not going to be any different in that regard. Having said that, we are now going to look outside the Material Editor to tackle the next technique.

We are going to be focusing on a specific feature called Mesh Distance Fields, an attribute of the 3D models that we work with that will allow us to know how close or far we are from them – enabling us to change the appearance of a material based on that information. You can think of them as the visual representation of the distance from a volume placed around the model to the surface of the 3D mesh. This data gets stored as a volume texture, something that can be very useful for us as it allows us to create dynamic...

Lighting the scene with emissive materials

We used lights in previous recipes whenever we needed to illuminate a scene. You might remember what we did in Chapter 1 when we explored the Image Based Lighting (IBL) technique. Lights are one of the key types of actors within Unreal, and their importance is critical within the rendering pipeline. We wouldn’t be able to see much if it wasn’t for them!

Having said that, the engine puts another interesting option at our disposal whenever we need to light a level: emissive materials. As their name implies, this type of shader allows objects to emit light, helping us shade the levels we are creating differently.

Of course, they come with their own set of pros and cons: on the one hand, they allow us to use custom 3D models to light different areas, enabling interesting-looking effects such as neon lights or light coming from TV screens – something that would prove quite difficult to tackle using standard lighting techniques...

Orienting ourselves with a logic-driven compass

We are used to applying materials to 3D models – after all, that’s what we’ve done in most of the recipes in this book. Having said that, there are other realms where materials and shaders can leave their mark, some of which we’ve already seen. As an example, you might remember the decals that we worked with back in the Adding decals to our scenes recipe in this very same chapter: decals are not 3D models, and as such one of the first things we needed to adjust was the Material Domain property of the new material we created in that recipe.

Another field where we can use materials is in the user interface of our game, and that’s where we are going to focus our attention during the next few pages. We are going to learn how to create a compass that we can use to orient ourselves within the game world, and such an element is usually part of the user interface. As a result, we are going to dip our toes...

Driving the appearance of a minimap through Blueprint logic

Now that we are familiar with dynamic UI elements, let’s continue exploring this topic by creating a minimap! This can be a nice extension to the compass we’ve just created, as both elements often appear side by side in games and apps. Furthermore, it will add a new layer of interactivity between what’s happening in the game and its visual representation on the UI. Let’s see what this is all about!

Getting ready

You’ll need a couple of things to tackle this recipe: a texture that can act as a map for our level and an icon to represent the player’s location. Both of those elements are included alongside the Unreal Engine project distributed with this book, but I’ll also show you how to create them using the content bundled with the engine. Make sure you check the See also section if you are interested in that!

If you want to work with the same assets you’ll see...

lock icon
The rest of the chapter is locked
You have been reading a chapter from
Unreal Engine 5 Shaders and Effects Cookbook - Second Edition
Published in: May 2023Publisher: PacktISBN-13: 9781837633081
Register for a free Packt account to unlock a world of extra content!
A free Packt account unlocks extra newsletters, articles, discounted offers, and much more. Start advancing your knowledge today.
undefined
Unlock this book and the full library FREE for 7 days
Get unlimited access to 7000+ expert-authored eBooks and videos courses covering every tech area you can think of
Renews at €14.99/month. Cancel anytime

Author (1)

author image
Brais Brenlla Ramos

Brais Brenlla Ramos is a passionate Architect, 3D artist, Unreal Engine 4 developer and first-time author based between A Corua and his place of work in London, UK. His passion for all things 3D-related dates back to when he was playing games as a child, experiences that fuelled his later studies in architecture and computer animation. His entrance into the professional 3D world happened at the same time as his studies were finishing, with initial projects undertaken in the field of architectural visualization for different studios. Since then, he's worked on many different 3D modeling and app development projects, first as a team member, and later as the Unreal Engine 4 lead developer at a company called AccuCities, based in London.
Read more about Brais Brenlla Ramos