Deep-Dive into Text Animations
Adobe After Effects offers many ways to animate text. One of the most powerful and effective ways to animate text in After Effects is to use a text animator, which can animate individual characters, words, or lines of text using the range selector, using which you can create multiple types of text animations. In this chapter, you will learn about the different techniques and text properties used for text animation in Adobe After Effects.
The main topics covered in this chapter are as follows:
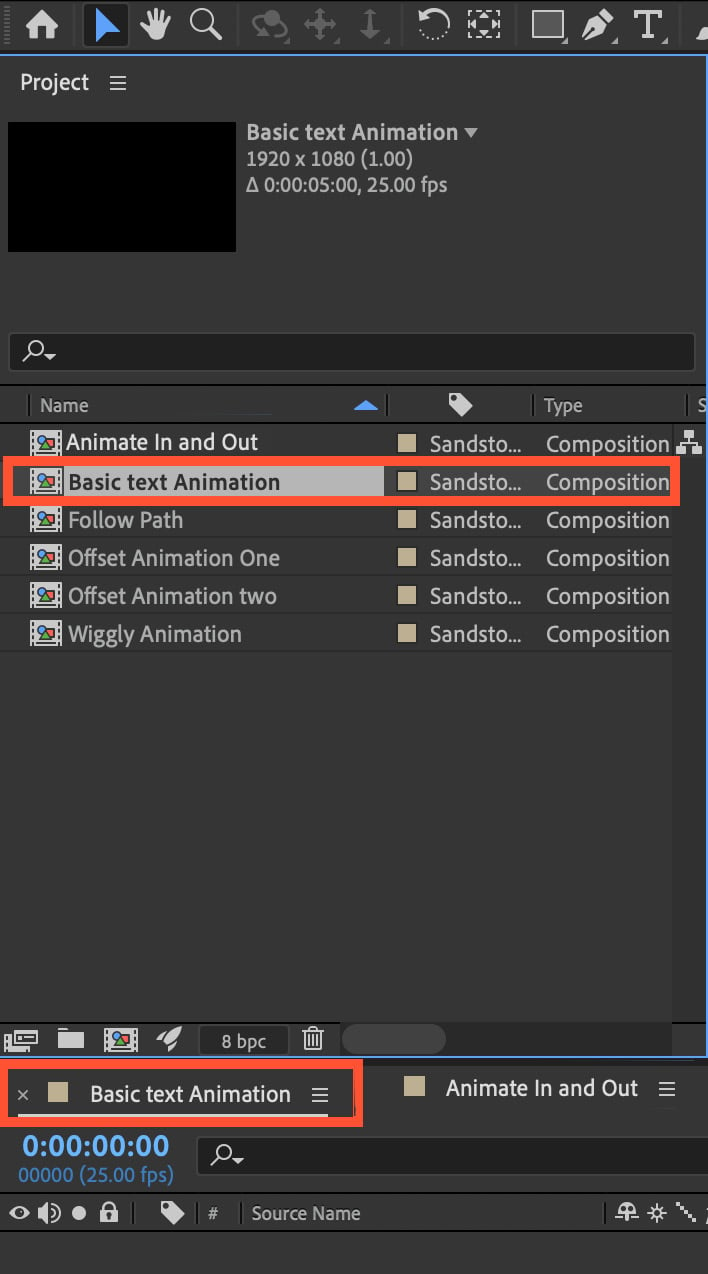
- Opening the project and creating the text layer
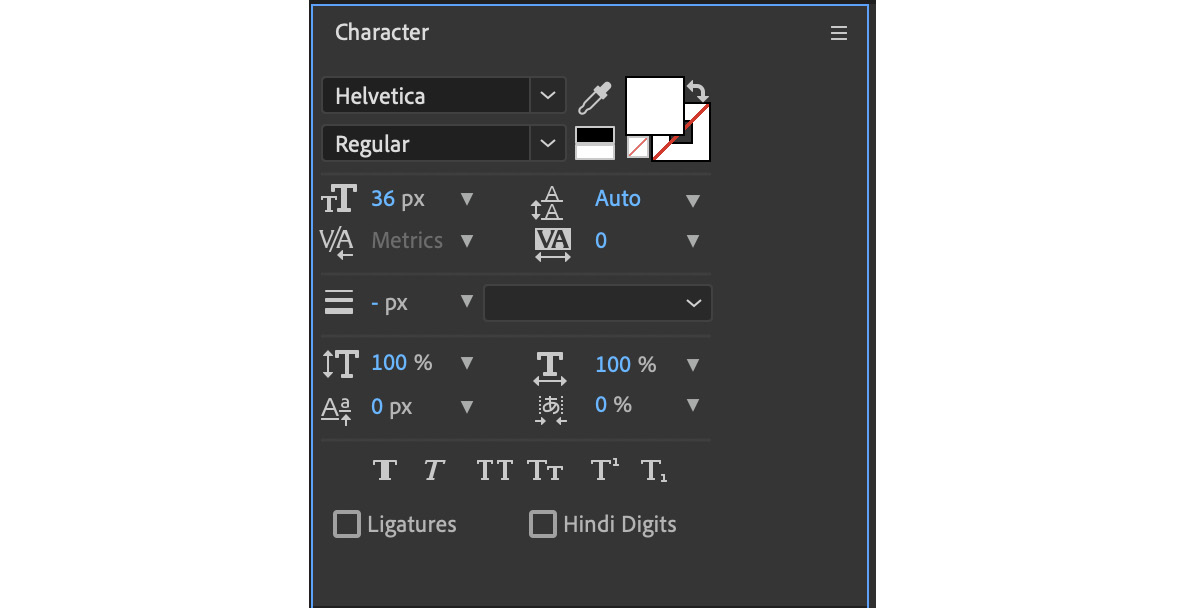
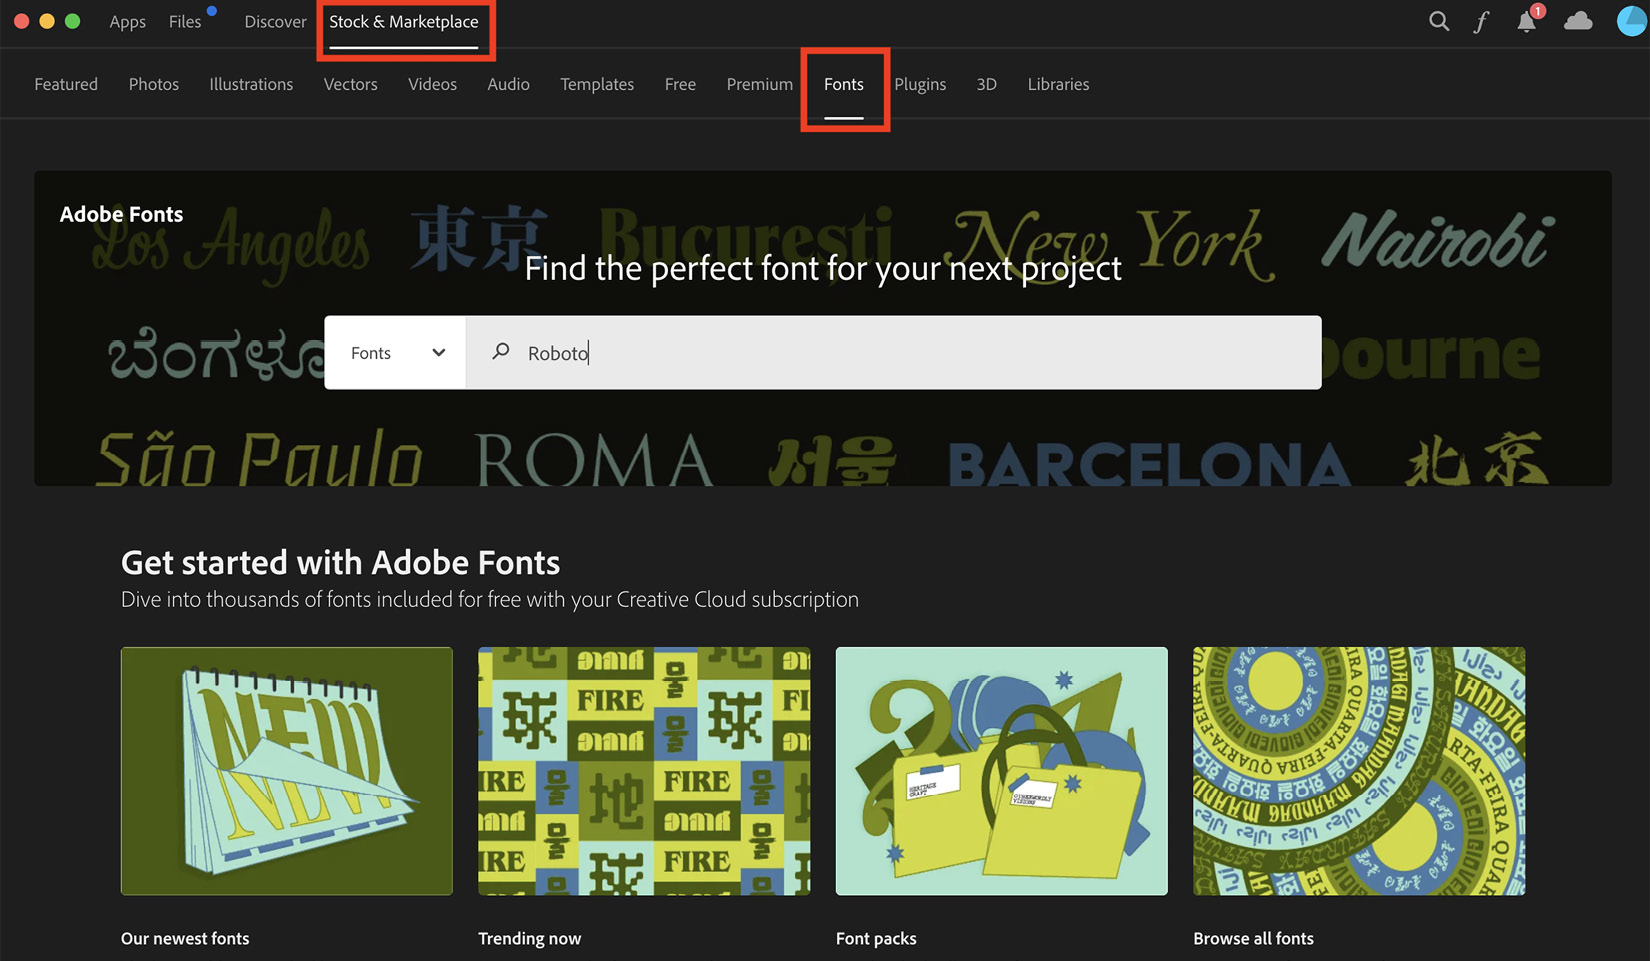
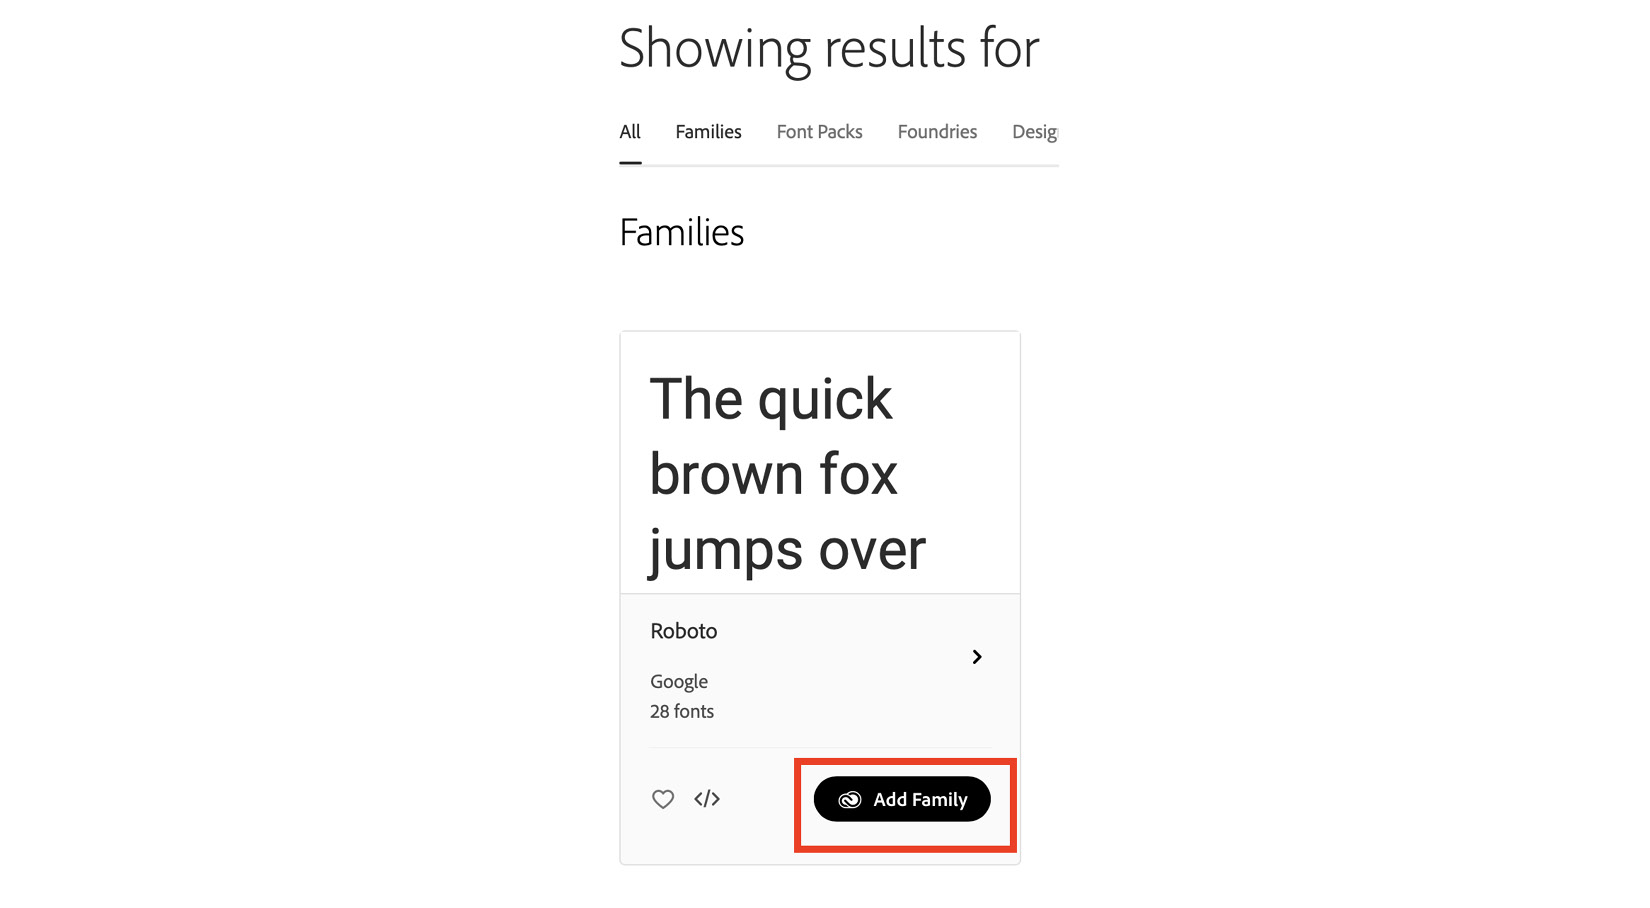
- Styling text using the Character and Paragraph panels
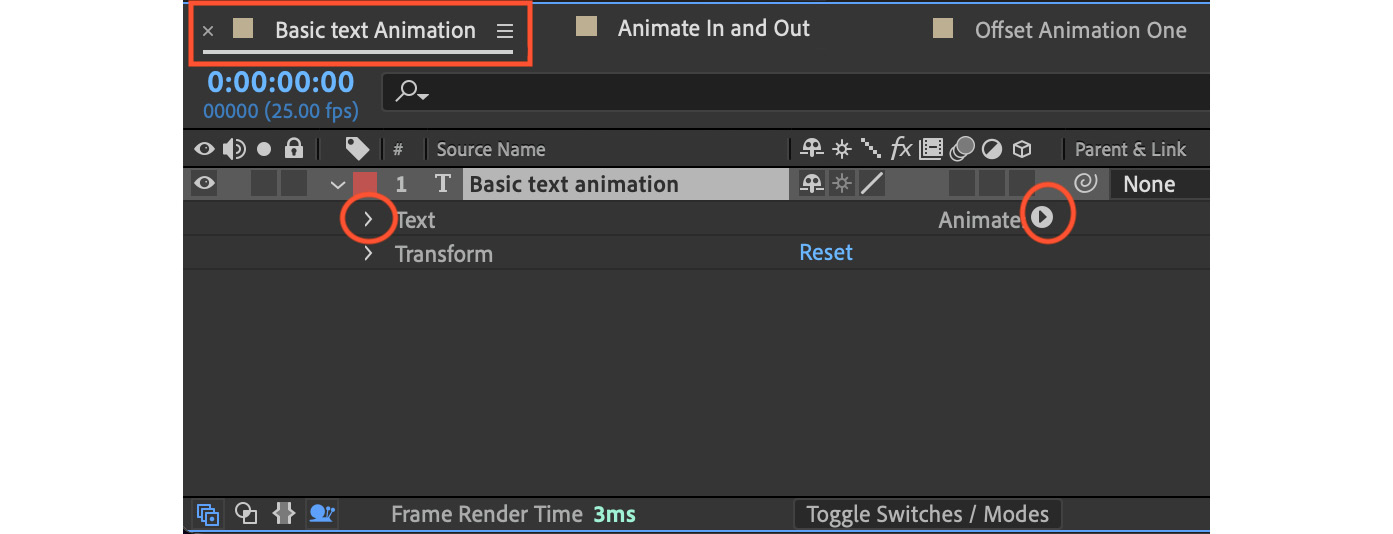
- Working with text animations
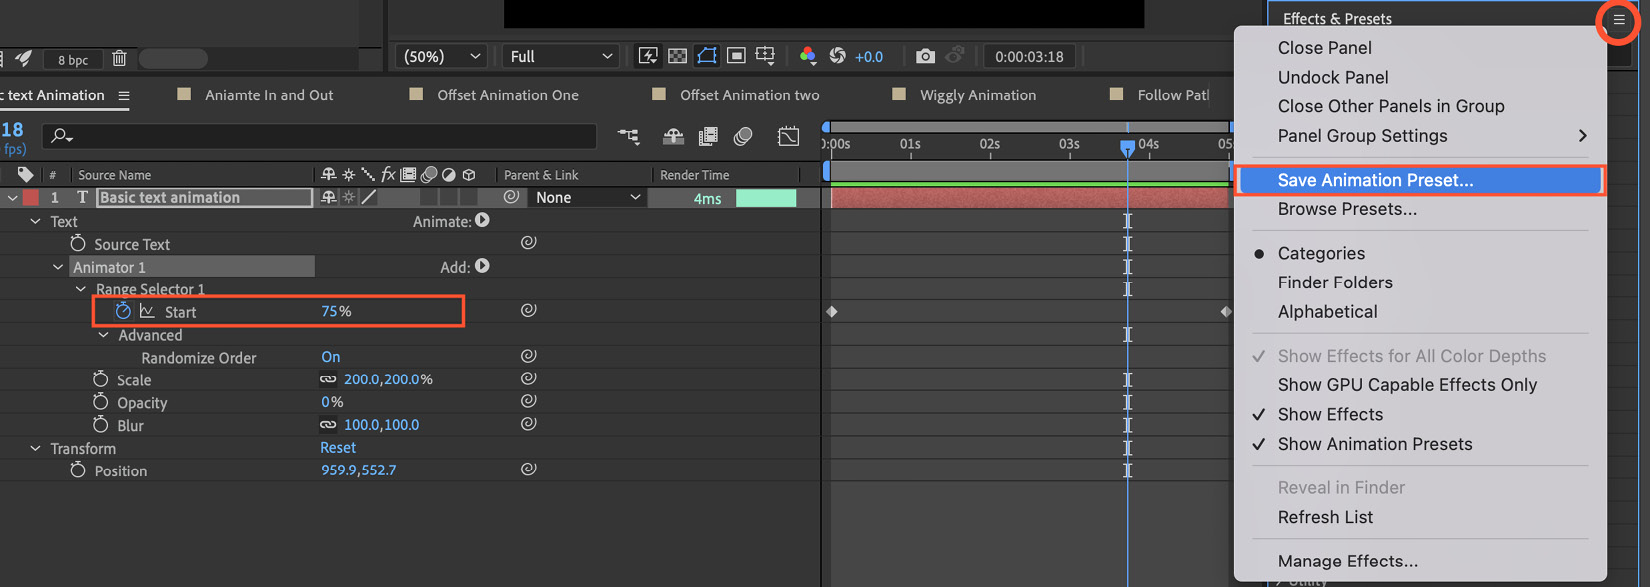
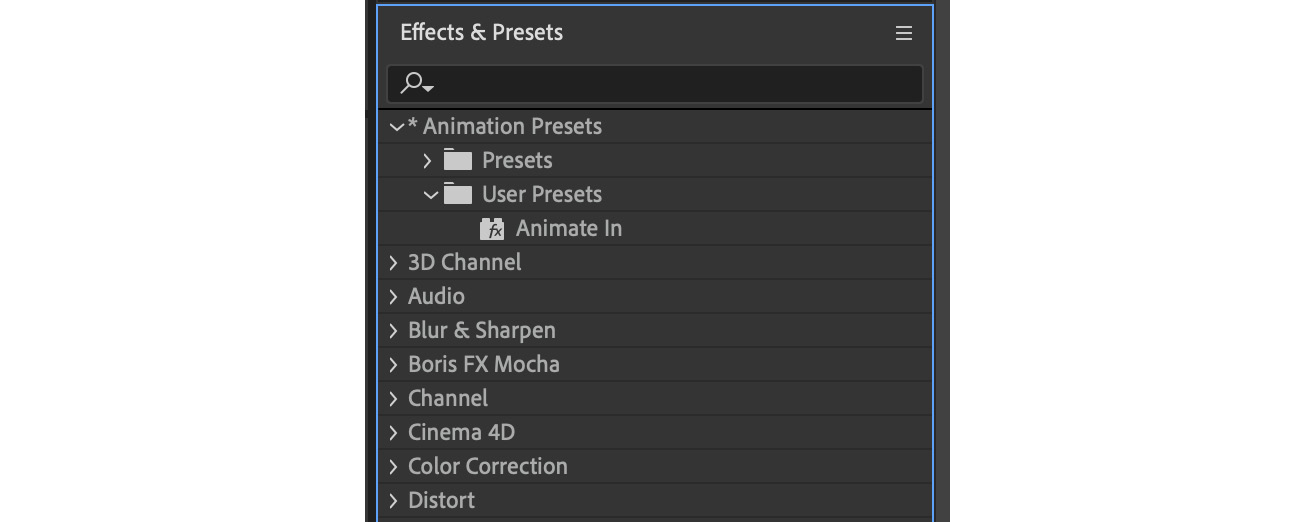
- Saving an animation as a preset
- Using multiple text animators
- Animating text on a path