Search icon
Arrow left icon
All Products
Best Sellers
New Releases
Books
Videos
Audiobooks
Learning Hub
Newsletters
Free Learning
Arrow right icon
Creative Motion Mastery with Adobe After Effects

You're reading from  Creative Motion Mastery with Adobe After Effects

Product type Book
Published in Feb 2024
Publisher Packt
ISBN-13 9781804617281
Pages 332 pages
Edition 1st Edition
Languages
Author (1):
Vishu Aggarwal Vishu Aggarwal
Profile icon Vishu Aggarwal

Table of Contents (18) Chapters

Preface 1. Part 1: Working with Motion Graphics
2. Chapter 1: Getting to Know the User Interface and Workflow 3. Chapter 2: Applying Effects and Presets to Create Animated Graphics 4. Chapter 3: Deep-Dive into Text Animations 5. Chapter 4: Animating Shape Layers 6. Chapter 5: Adding Motion to Photoshop and Illustrator Graphics 7. Chapter 6: Creating Motion Graphic Templates for Premiere Pro 8. Part 2: Post-Production and Visual Effects
9. Chapter 7: Color Correction and Color Grading 10. Chapter 8: Rotoscoping and Mask Tracking Techniques 11. Chapter 9: Chroma Keying 12. Chapter 10: Working with Particle Simulations 13. Part 3: 2D and 3D Tracking, and Rendering
14. Chapter 11: Working with 2D and 3D Tracking 15. Chapter 12: Exporting and Managing Projects 16. Index 17. Other Books You May Enjoy

Setting up the workout composition for animation

First, we will start with the animation of the workout composition. We will learn how to animate the Illustrator layers of in the workout composition, creating an animation of the character in the Illustrator file, and we will learn how to link the layers using the parent and link feature in After Effects.

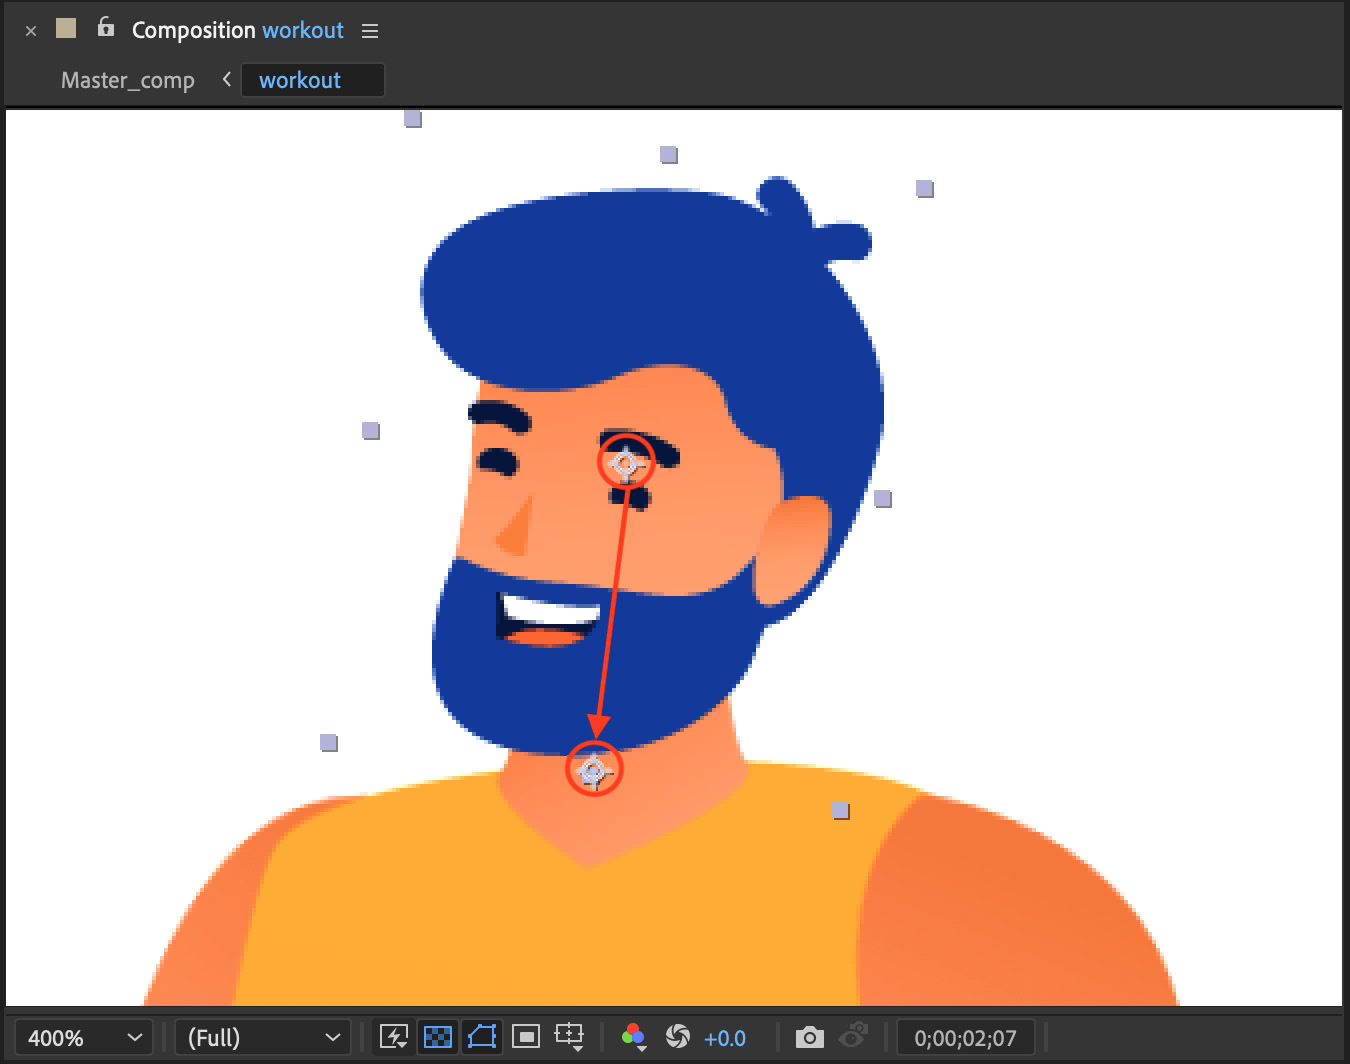
Before we start animating the layers, we need to fix the layers’ anchor points and convert the eye layers into the shape layers of After Effects.

Fixing anchor points

Let’s start by fixing the layers’ anchor points so that the layers can animate as per the movement of body joints. Change the anchor points as follows:

  1. Select the Head layer in the timeline and go to the toolbar to select the Pan Behind tool and move the anchor point of the Head layer to the bottom center of the head, near the neck point. We are going to do a similar setup for the rest of the layers as well.
Figure 5.6: The Head layer anchor point mapped ...
lock icon The rest of the chapter is locked
Register for a free Packt account to unlock a world of extra content!
A free Packt account unlocks extra newsletters, articles, discounted offers, and much more. Start advancing your knowledge today.
Unlock this book and the full library FREE for 7 days
Get unlimited access to 7000+ expert-authored eBooks and videos courses covering every tech area you can think of
Renews at €14.99/month. Cancel anytime}