
Adding a Registration and Login Form for Our Users
Access control to a system through credentials is a fundamental feature in any user-based project. In our metaverse, we will provide the user with a welcome screen where they can register or log in. To carry out this task, we will rely on the Firebase Authentication service SDK, which we previously learned about in Chapter 5, Preparing a New World for Travel.
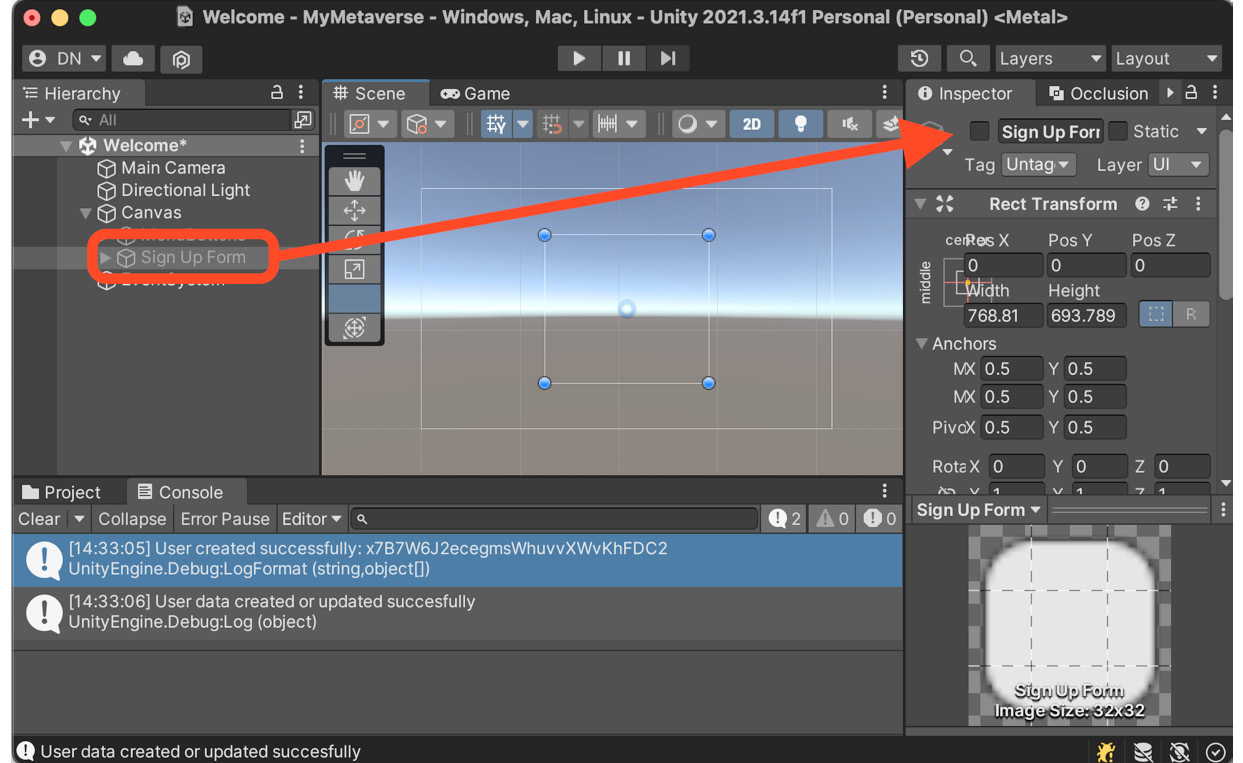
When a user registers for the first time, we will store basic information, collected from the registration form. This data will be stored in a collection of users in Firebase Firestore for later use.
Throughout this chapter, we will learn about a new set of tools in Unity, called Unity UI. These tools will allow us to create graphical interface features with which the user can interact, such as buttons, inputs, and labels.
We will cover the following topics:
- Creating a sign-up screen
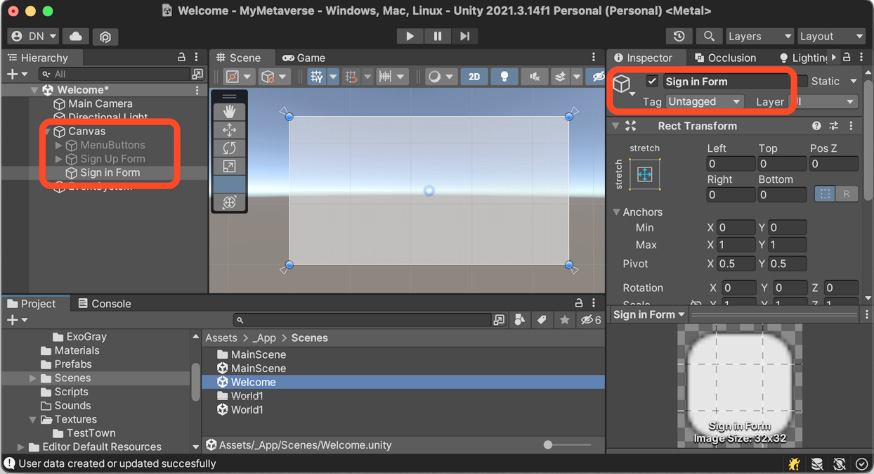
- Creating a sign-in screen
- Placing the player