


Getting started with Unity 2022
If you don’t have Unity installed, or are running an earlier version, follow these steps to set up your environment:
- Head over to https://www.unity.com/.
- Select Get started (shown in Figure 1.1):
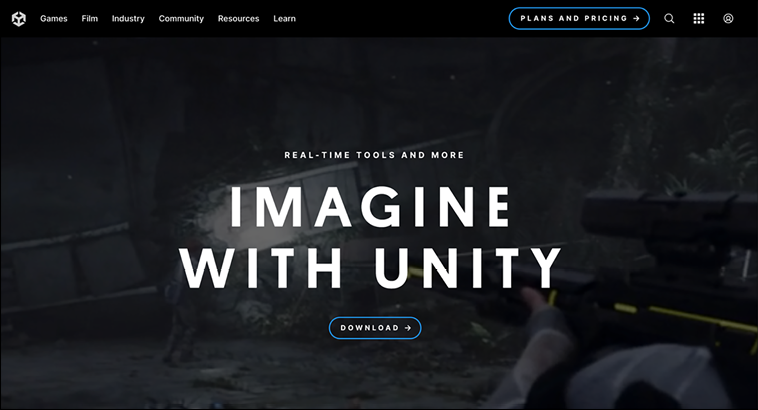
Figure 1.1: Unity homepage
- This will take you to the Unity store page. Don’t feel overwhelmed by this—you can download Unity completely for free!
If the Unity homepage looks different for you than what you can see in Figure 1.1, you can go directly to https://store.unity.com.
- Select the Student and hobbyist tab and click Get started under the Personal column, as shown in Figure 1.2. The other paid options offer more advanced functionality and services, but you can check these out on your own:
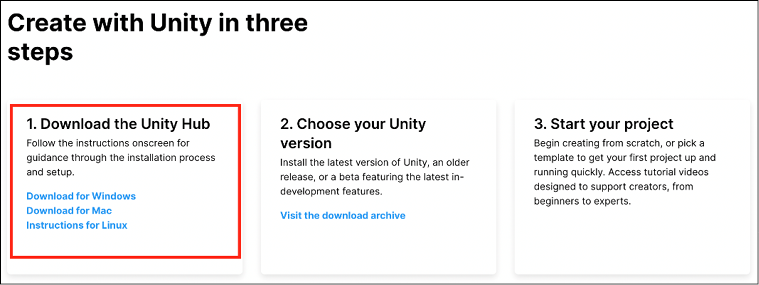
Figure 1.2: Unity plans and pricing
- After selecting the Personal plan, you’ll be asked to download the Unity Hub application for either Windows or Mac, as shown in Figure 1.3. I’ll be using a Mac, but everything works the same on a Windows machine:
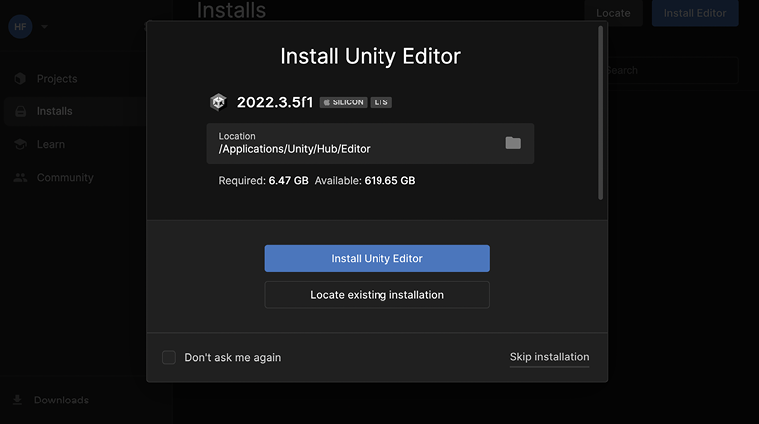
Figure 1.3: Start creating with the Unity portal
- Once the download is complete, follow these steps:
- Open up the installer (by double-clicking it)
- Accept the user agreement
- Follow the installation instructions
- When you get the green light, go ahead and fire up the Unity Hub application!
- If Unity asks you to choose a license option, select the Personal license option (which is completely free) and follow the instructions to set up your account.
- The newest version of Unity Hub will prompt you to install the latest LTS (Long Term Support) version of Unity, as shown in Figure 1.4. At the time of writing, Unity 2022 is still in pre-release, but if the default version is Unity 2022 when you’re reading these instructions, then select Install Unity Editor:
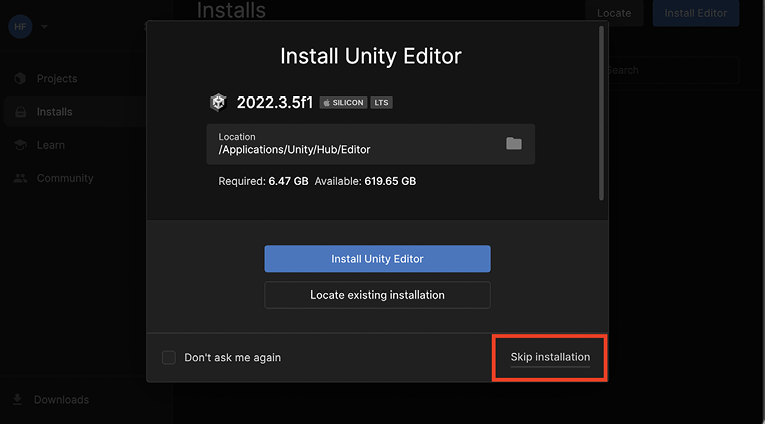
Figure 1.4: Install Unity Editor window
- If Unity 2022 is not the default version when you’re reading this, select Skip installation, shown in the bottom-right corner of Figure 1.5:
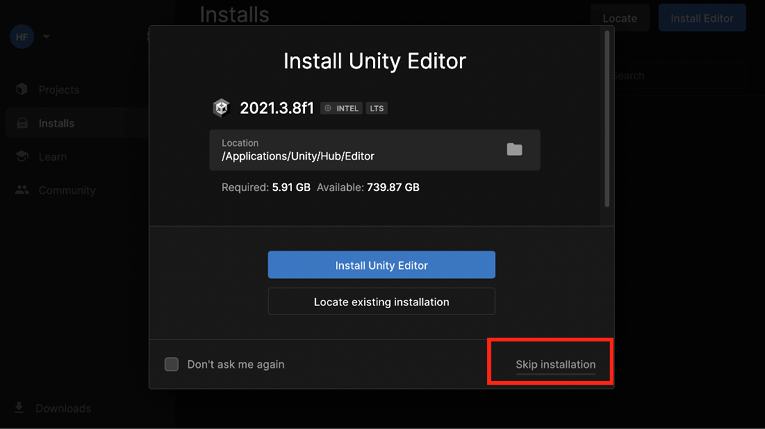
Figure 1.5: Install wizard
- Switch to the Installs tab from the left-hand menu and select Install Editor, as shown in Figure 1.6:
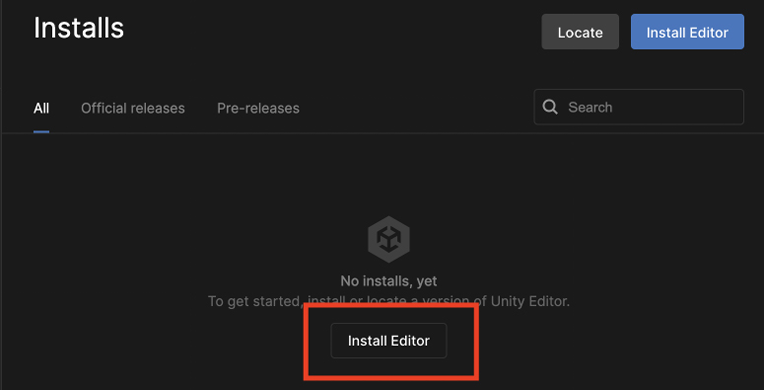
Figure 1.6: Unity Hub Installs panel
- Select your desired version of Unity, then click Install. At the time of writing, Unity 2022 is listed under the OTHER VERSIONS section of the Official releases tab, but you should be able to select a 2022 version from the Official releases list by the time you’re reading this:

Figure 1.7: Add Unity version pop-up window
- You’ll then be given the option to add various modules to your installation. Make sure the Visual Studio (for Mac or Windows accordingly) module is selected and click Continue:
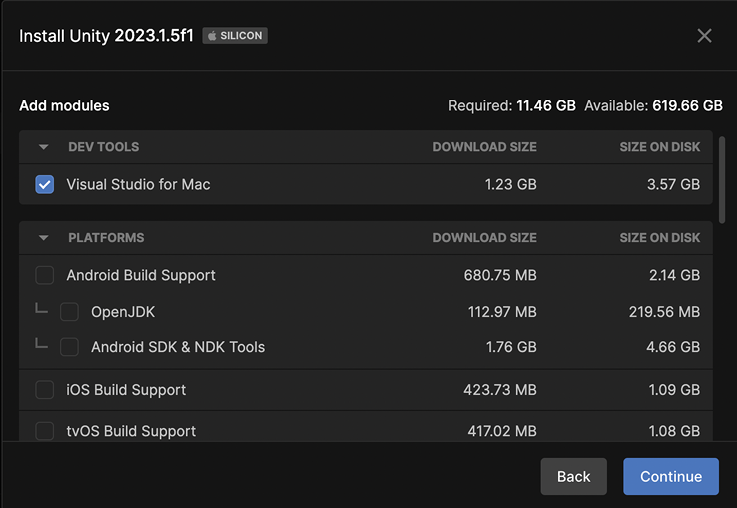
Figure 1.8: Adding install modules
- If you want to add any modules later, you can click the gear icon to the right of any installed version in the Installs window.
When the installation is complete, you’ll see a new version in your Installs panel, as follows:
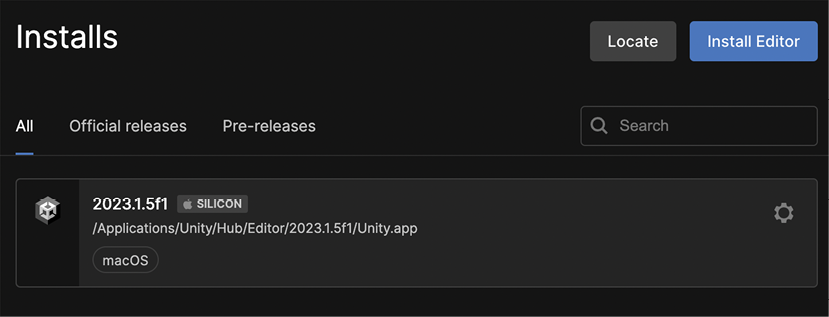
Figure 1.9: Installs tab with Unity versions
You can find additional information and resources about the Unity Hub application at https://docs.unity3d.com/hub/manual/index.html.
There’s always a chance of something going wrong, so be sure to check the following section if you’re using macOS Catalina or later, which has been known to throw up issues.
Using macOS
If you’re working on a Mac with OS Catalina or later, there is a known issue when using some versions of Unity Hub to install Unity. If this is the case for you, take a deep breath, go to the Unity download archive, and grab the 2022 version you need (https://unity3d.com/get-unity/download/archive). Remember to use the Downloads (Mac) or Downloads (Win) option instead of the Unity Hub download:
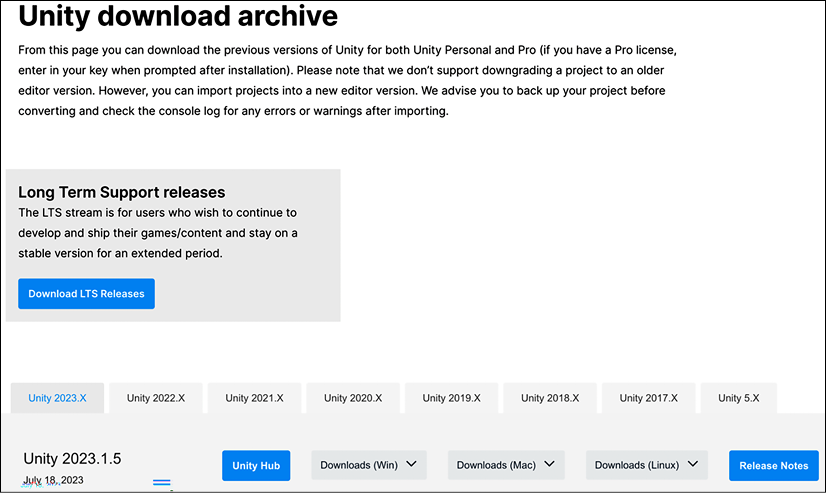
Figure 1.10: Unity download archive
Once the installer application downloads, open it up and follow the setup instructions! All of the examples and screenshots for this book were created and captured using Unity 2022.1.13f1. If you’re using a newer version, things might look slightly different in the Unity Editor, but this shouldn’t affect your following along.
Now that Unity Hub and Unity 2022 are installed, it’s time to create a new project!
Creating a new project
Launch the Unity Hub application, which is your staging area—you can see a list of all your projects and Unity versions and access learning resources and community features here. Then, take the following steps:
- To get started, click on New project in the top-right corner:
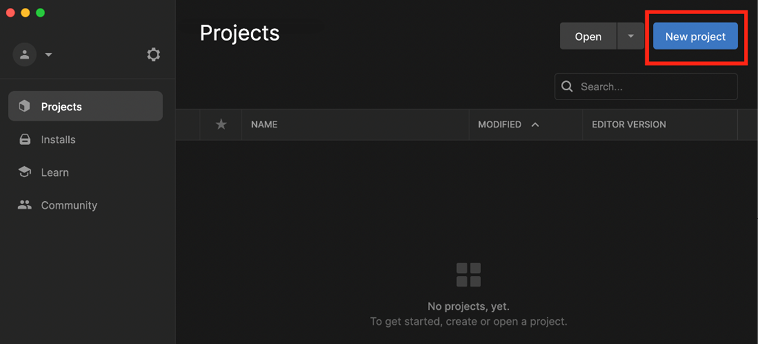
Figure 1.11: Unity Hub Projects panel
- Make sure the editor version at the top is set to your 2022 version and set the following fields:
- Templates: The project will default to 3D Core
- Project name: I’ll be calling mine
Hero Born - Location: Wherever you’d like the project to be saved
- Once the settings have been configured, hit Create project:
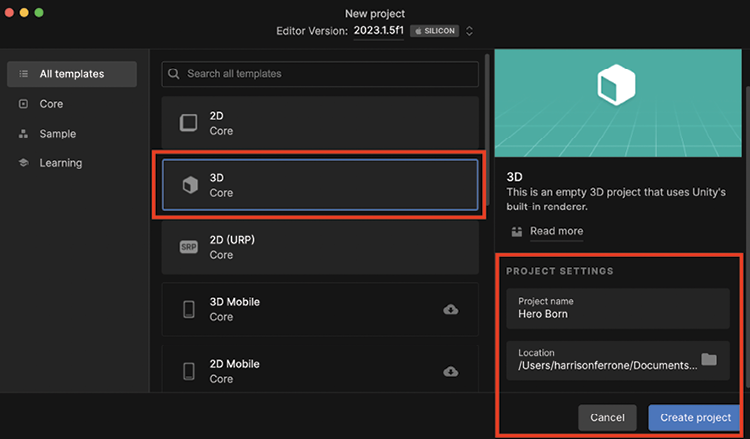
Figure 1.12: Unity Hub with New project configuration popup
With the project created, you’re all set to explore the Unity interface! You can re-open your project anytime from the Projects panel in Unity Hub, but if your computer is running a little slow with both Unity and Unity Hub open, feel free to close Unity Hub.
Navigating the editor
When the new project finishes initializing, you’ll see the glorious Unity Editor! I’ve marked the important tabs (or windows, if you prefer) in Figure 1.13:
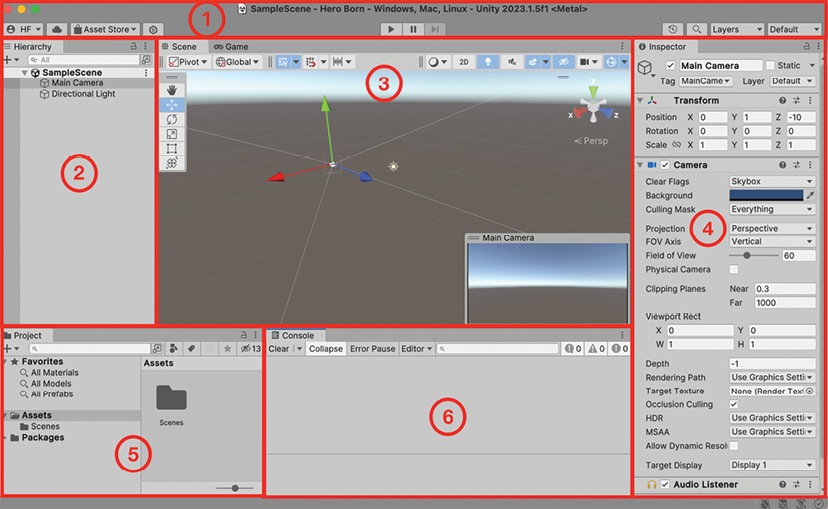
Figure 1.13: Unity interface
This is a lot to take in, so we’ll look at each of these panels in more detail:
- The Toolbar panel is the topmost part of the Unity Editor. From here, you can sign in to a Unity account, manage services, collaborate with a team (far-left button group), and play and pause the game (center buttons). The right-most button group contains a search feature, LayerMasks, and layout scheme features, which we won’t be using in this book because they don’t apply to learning C#.
- The Hierarchy window shows every item currently in the game scene. In the starter project, this is just the default camera and directional light, but when we create our prototype environment, this window will start to get filled in with the objects we create in the scene.
- The Game and Scene windows are the most visual aspects of the editor. Think of the Scene window as your stage, where you can move and arrange 2D and 3D objects. When you hit the Play button, the Game window will take over, rendering the Scene view and any programmed interactions. You can also use the Scene view when you’re in play mode.
- The Inspector window is your one-stop shop for viewing and editing the properties of objects in the scene. If you select Main Camera in the Hierarchy (highlighted in blue in the above screenshot), you’ll see several parts displayed, which Unity calls components—all of which are accessible from the Inspector.
- The Project window holds every asset that’s currently in your project. Think of this as a representation of your project’s folders and files.
- The Console window is where any output we want our scripts to print will show up. From here on out, if we talk about the console or debug output, this panel is where it will be displayed.
If any of these windows get closed by accident, you can re-open them anytime from the Unity menu > Window > General. You can find more in-depth breakdowns of each window’s functionality in the Unity docs at: https://docs.unity3d.com/Manual/UsingTheEditor.html.
Before continuing, it’s important that Visual Studio is set up as the script editor for your project. Go to the Unity menu > Preferences > External Tools and check that External Script Editor is set to Visual Studio for Mac (or Windows):
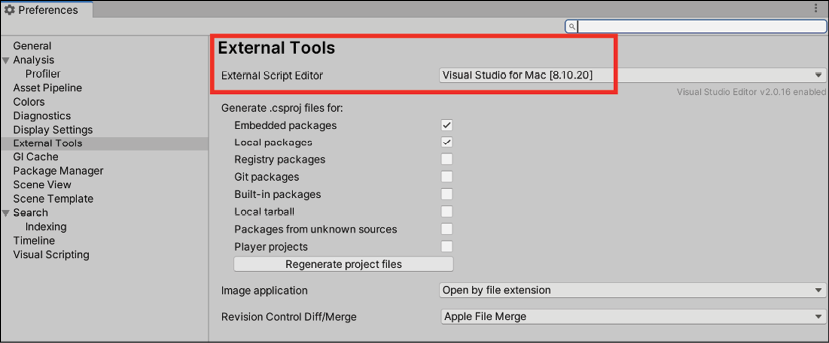
Figure 1.14: Changing External Script Editor to Visual Studio
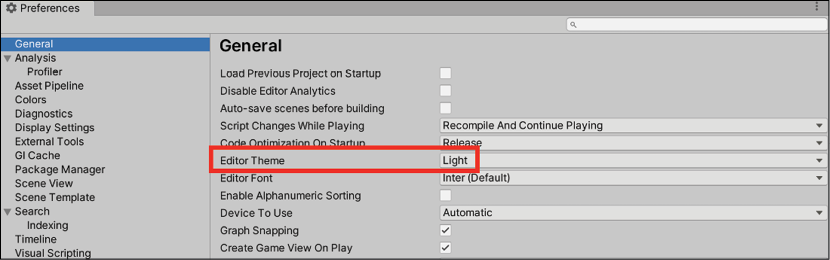
As a final tip, if you want to switch between light and dark modes, go to the Unity menu > Preferences > General and change Editor Theme:
I know that was a lot to process if you’re new to Unity, but rest assured that any instructions going forward will always reference the necessary steps. I won’t leave you wondering what button to push. With that out of the way, let’s start creating some actual C# scripts.