
Chapter 5: Basics of Image Processing
In the previous chapter, we learned about and demonstrated various ways to capture images and videos for image processing and computer vision applications. We learned how to use Command Prompt and Python 3 programming extensively to read images and to interface with the USB webcam and the Raspberry Pi camera module.
In this chapter, we will look at how to perform basic arithmetic and logical operations on images with NumPy, OpenCV, and matplotlib. We will also learn about different color channels and image properties in detail.
The following is a list of the topics that will be covered in this chapter:
- Retrieving image properties
- Basic operations on images
- Arithmetic operations on images
- Blending and transitioning images
- Multiplying images by constants and one another
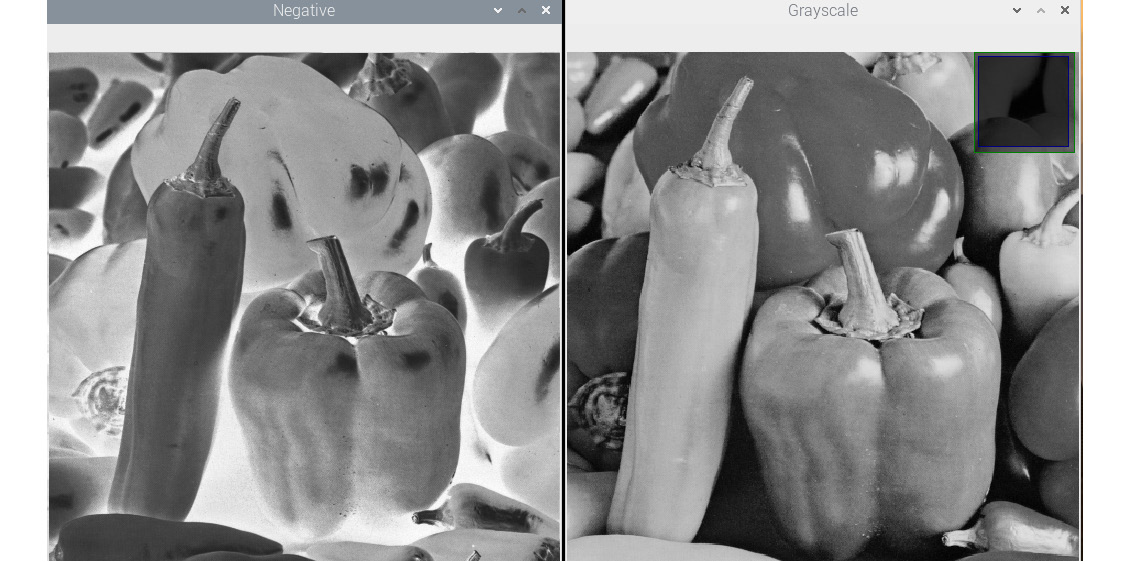
- Creating a negative of an image
- Bitwise logical operations on images
This chapter has a lot of hands-on exercises that use Python 3...