
Exporting Work, Sharpening, and Plug-ins
Having successfully navigated the often-complex world of advanced editing and illustration using Photoshop Elements, this chapter is all about setting up those images to achieve the best results when exporting your work to online resources, to print or into a third party software application called a plug-in.
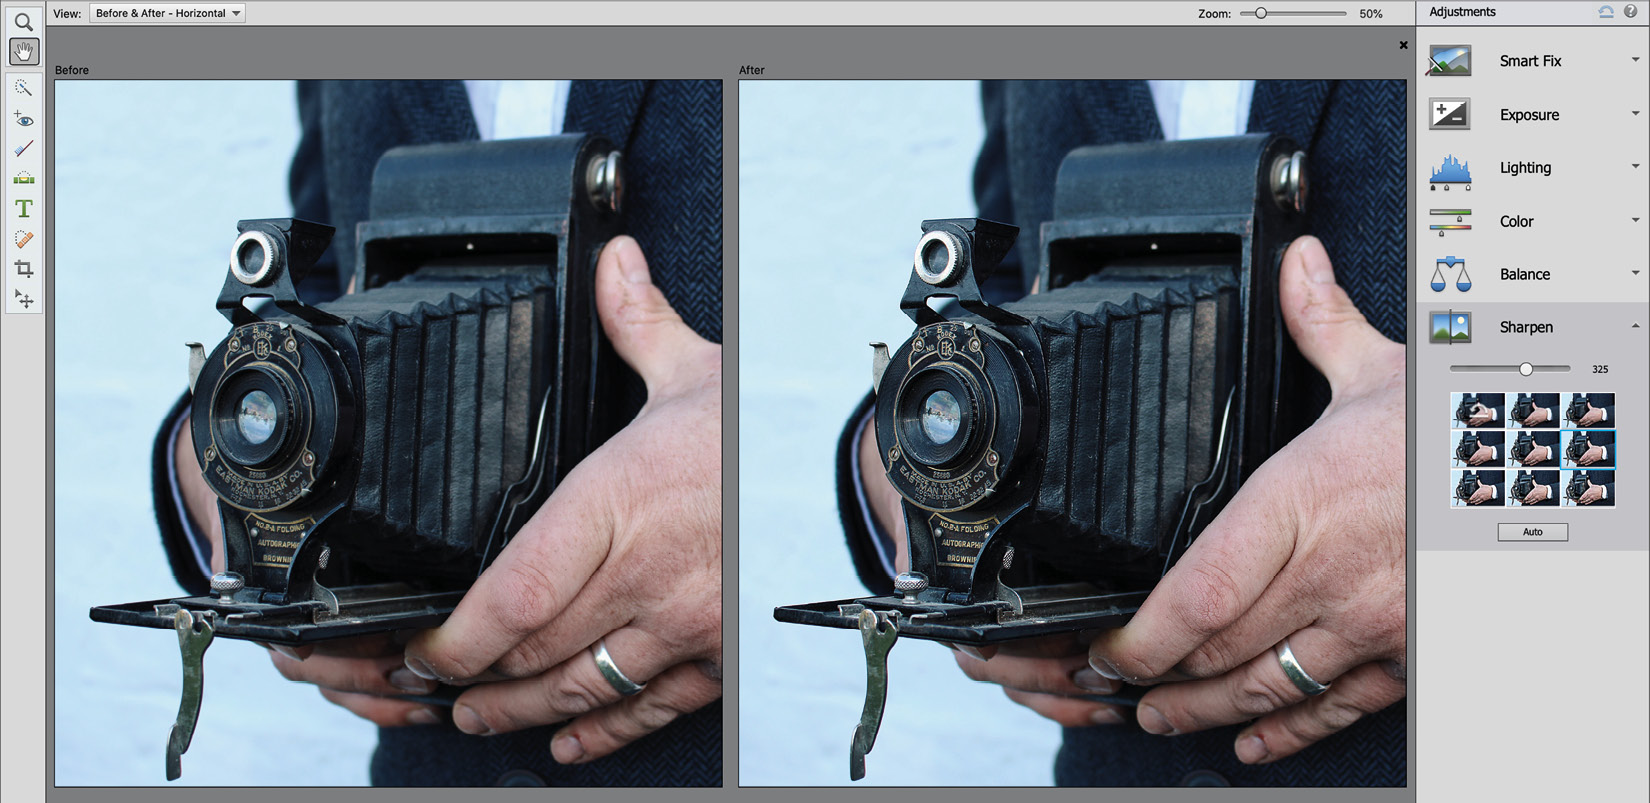
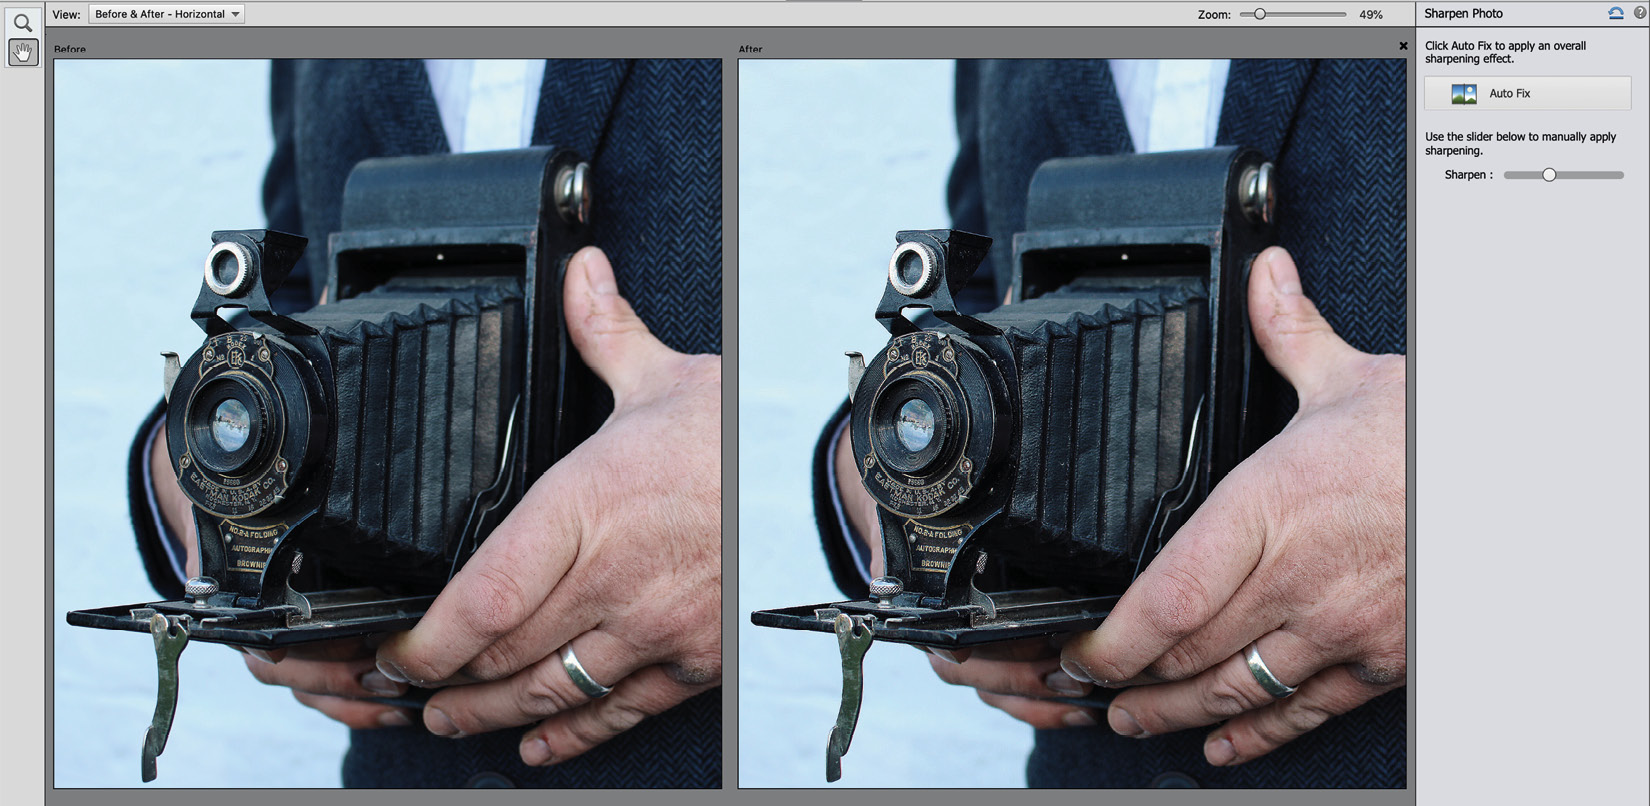
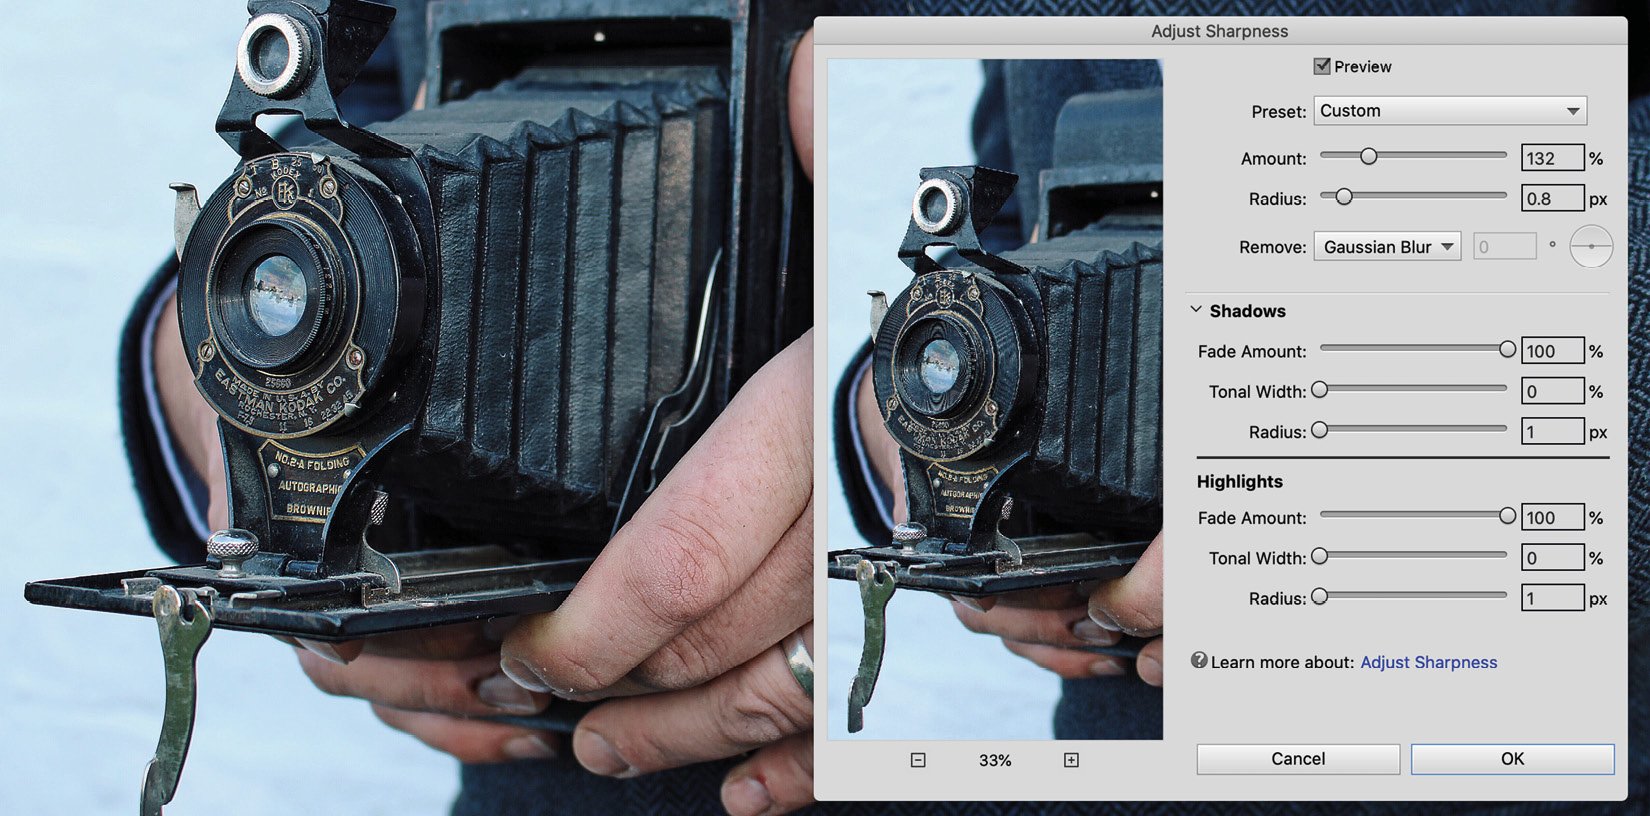
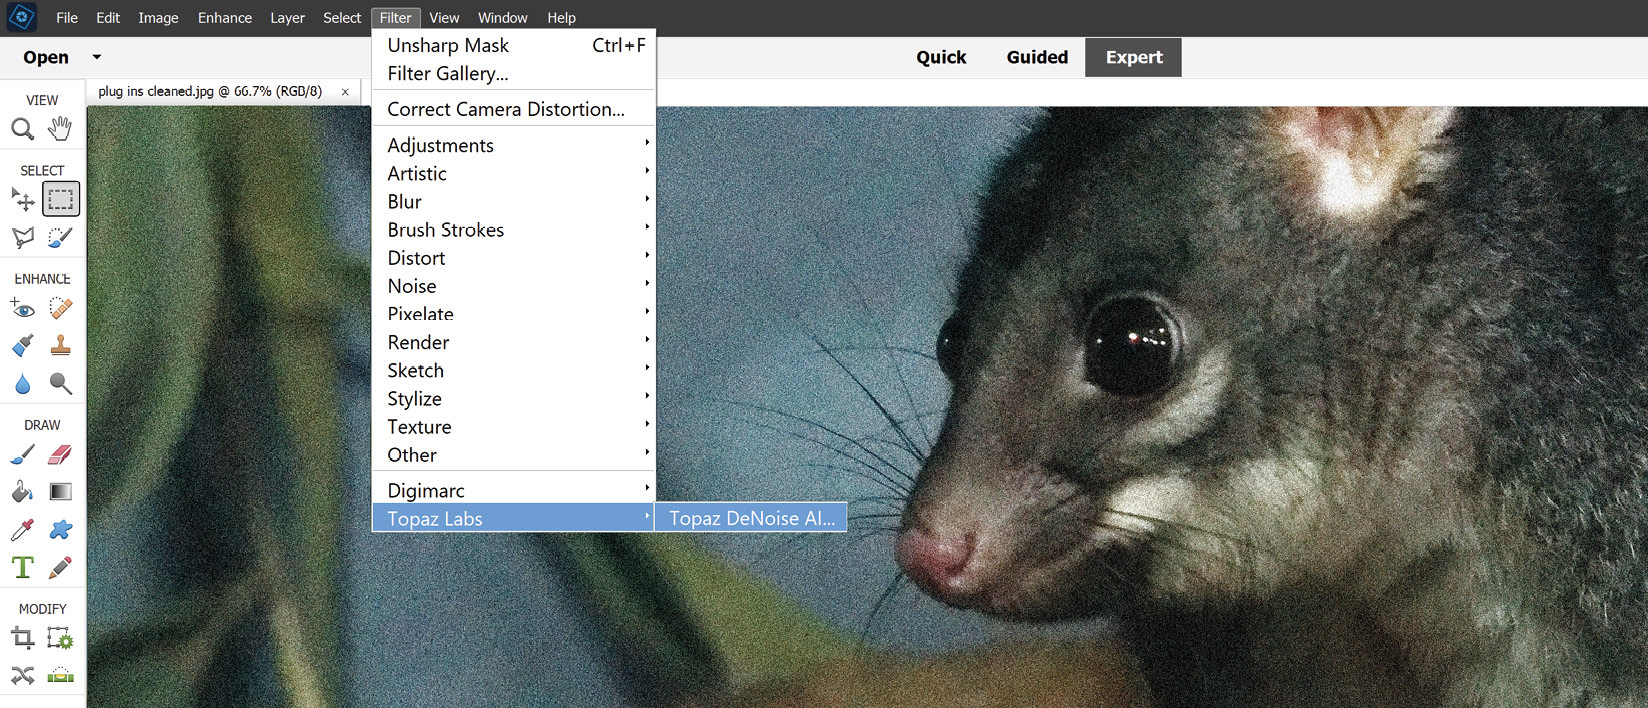
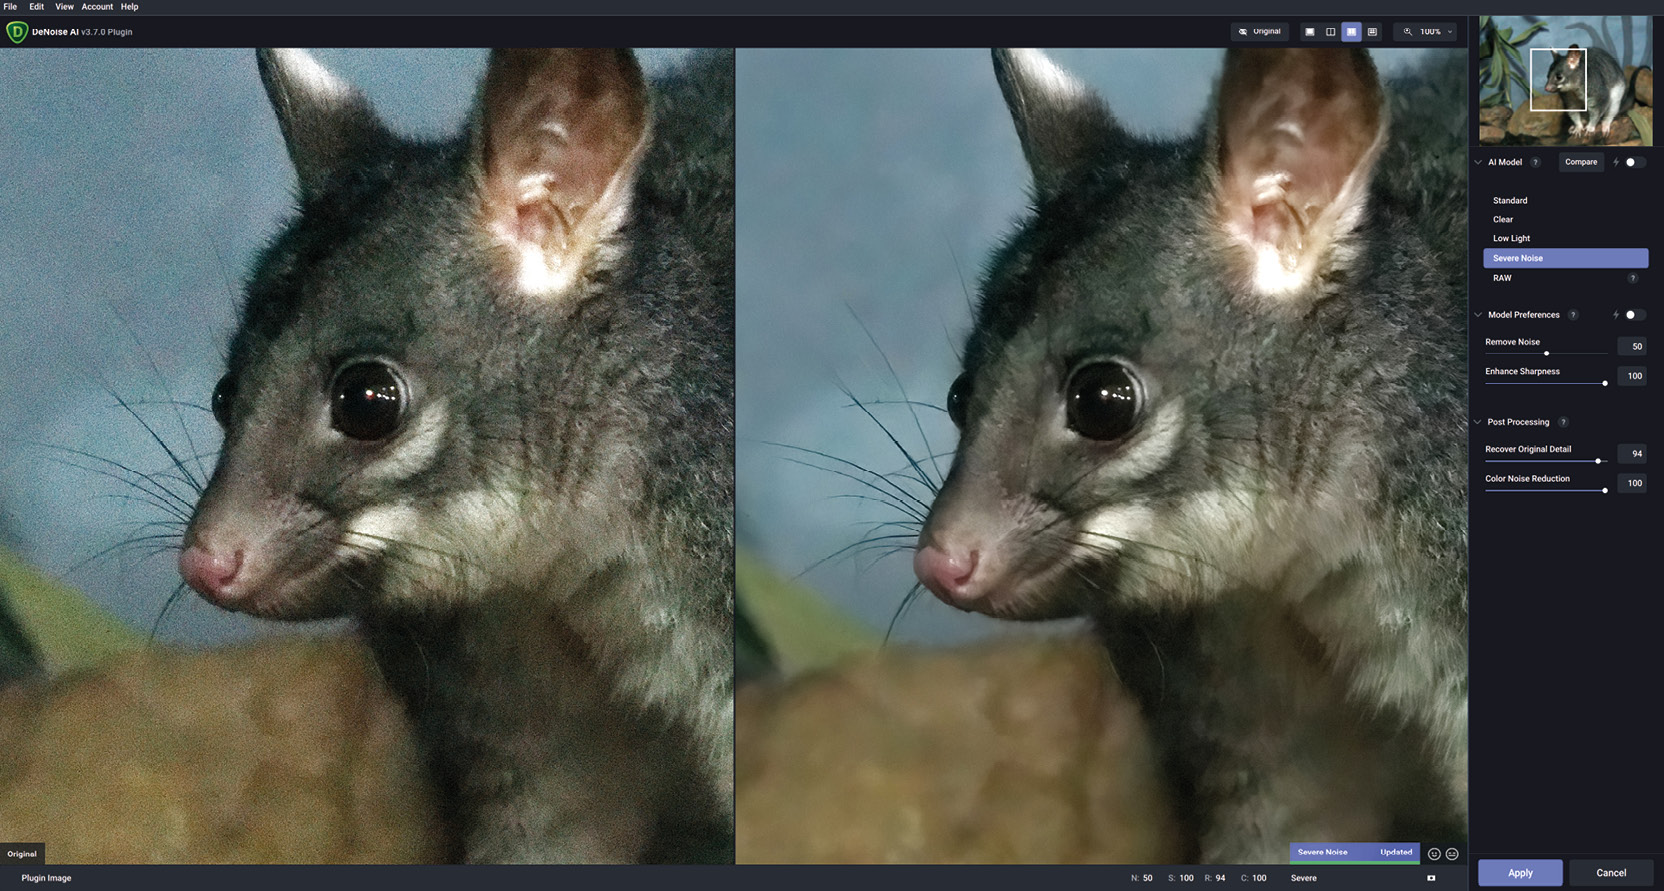
To start this chapter, we look at uploading image files to various social media sites and blogs: Instagram, Facebook, and Flickr. We'll also cover the complex subject of printing to an inkjet printer, dealing with the often confusing printer page setup, as well as how to maximise image quality online while maintaining fast download speeds using the Save for Web feature. We also take a look at various ways to enhance image sharpness, before looking at the fascinating opportunities offered by third party applications called plug-ins.
Finally we look at Elements' Export as New Files feature as well as its amazing auto batch...