Additional Tools and Features
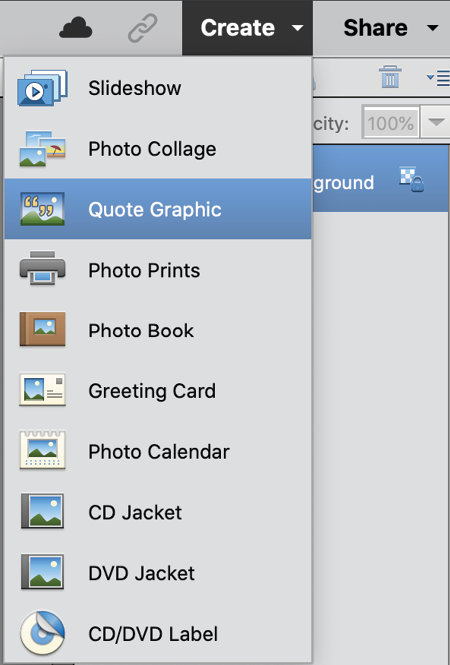
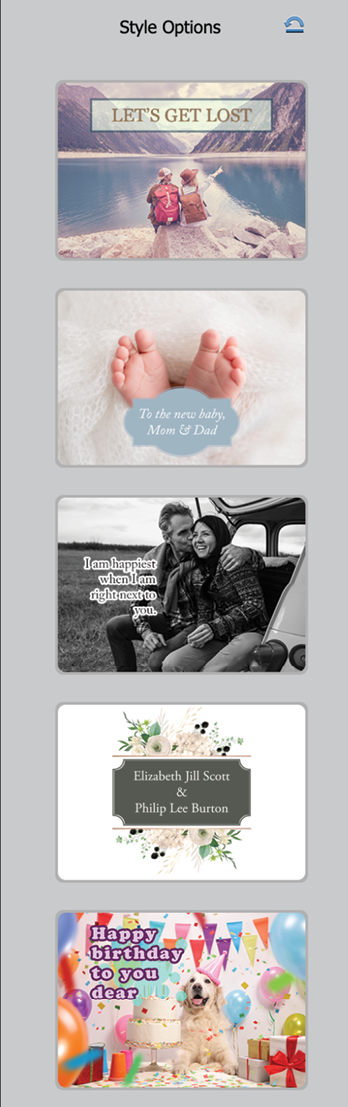
Elements continues to grow and expand with every version released. While many of its newer features are more often concerned with operating efficiency many are also developed from the company's foray into artificial intelligence (AI). Some features might be automatic like the amazing Moving Photos feature, while others appear to have assimilated multiple complex operations into one easy to follow interface - like the fantastic 'Perfect' series (Perfect Portrait, Perfect Landscape and Perfect Pet!), Move and Scale Object and Quote Graphic.
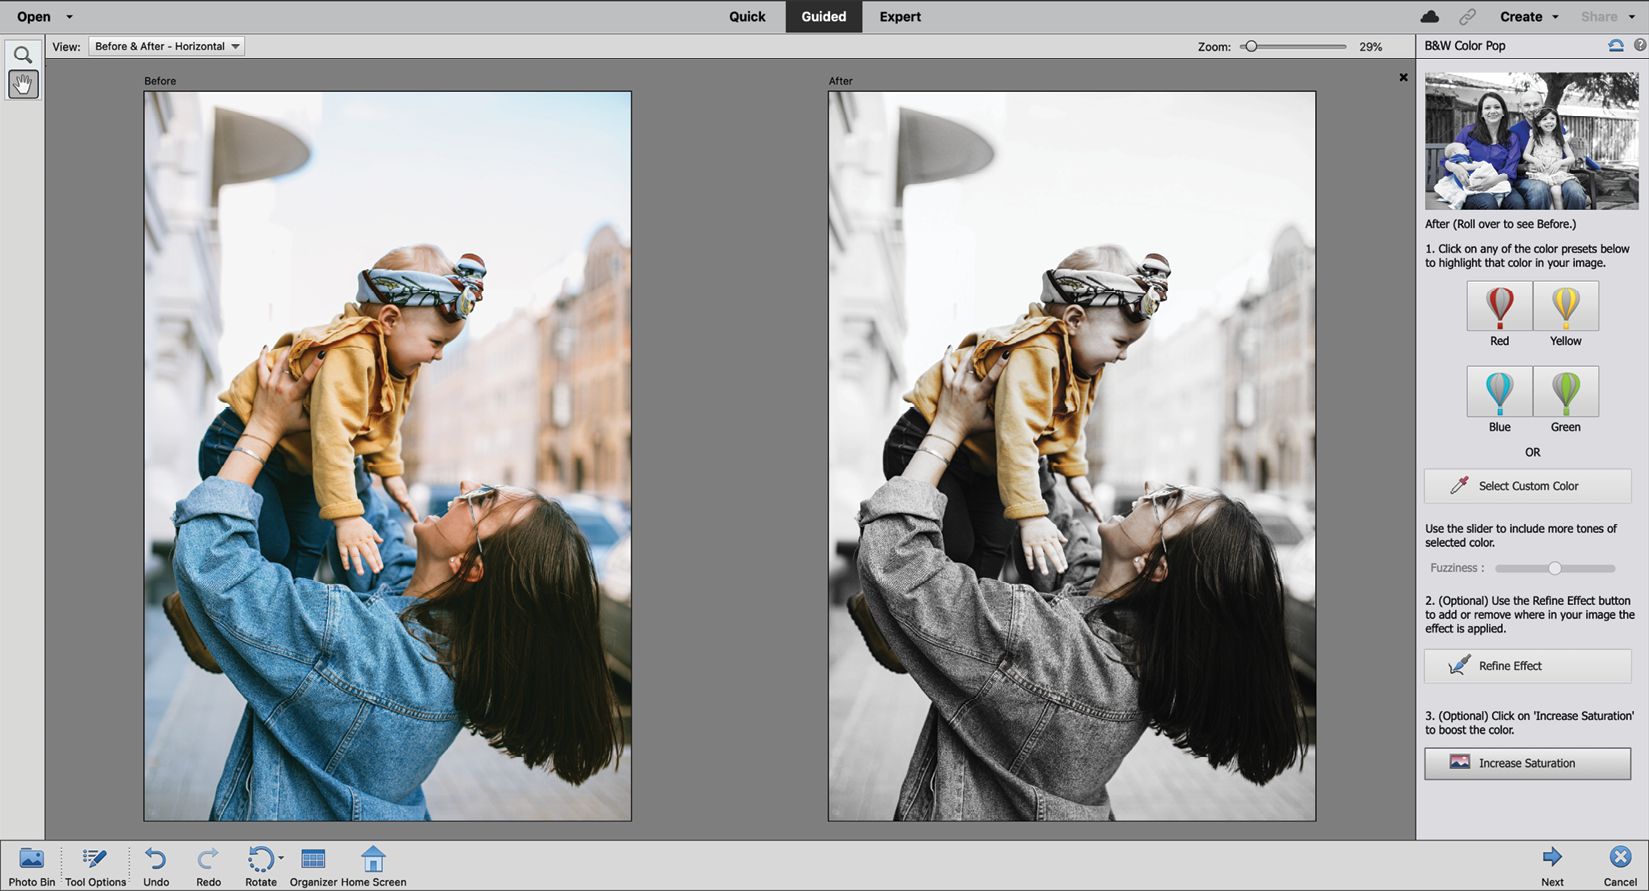
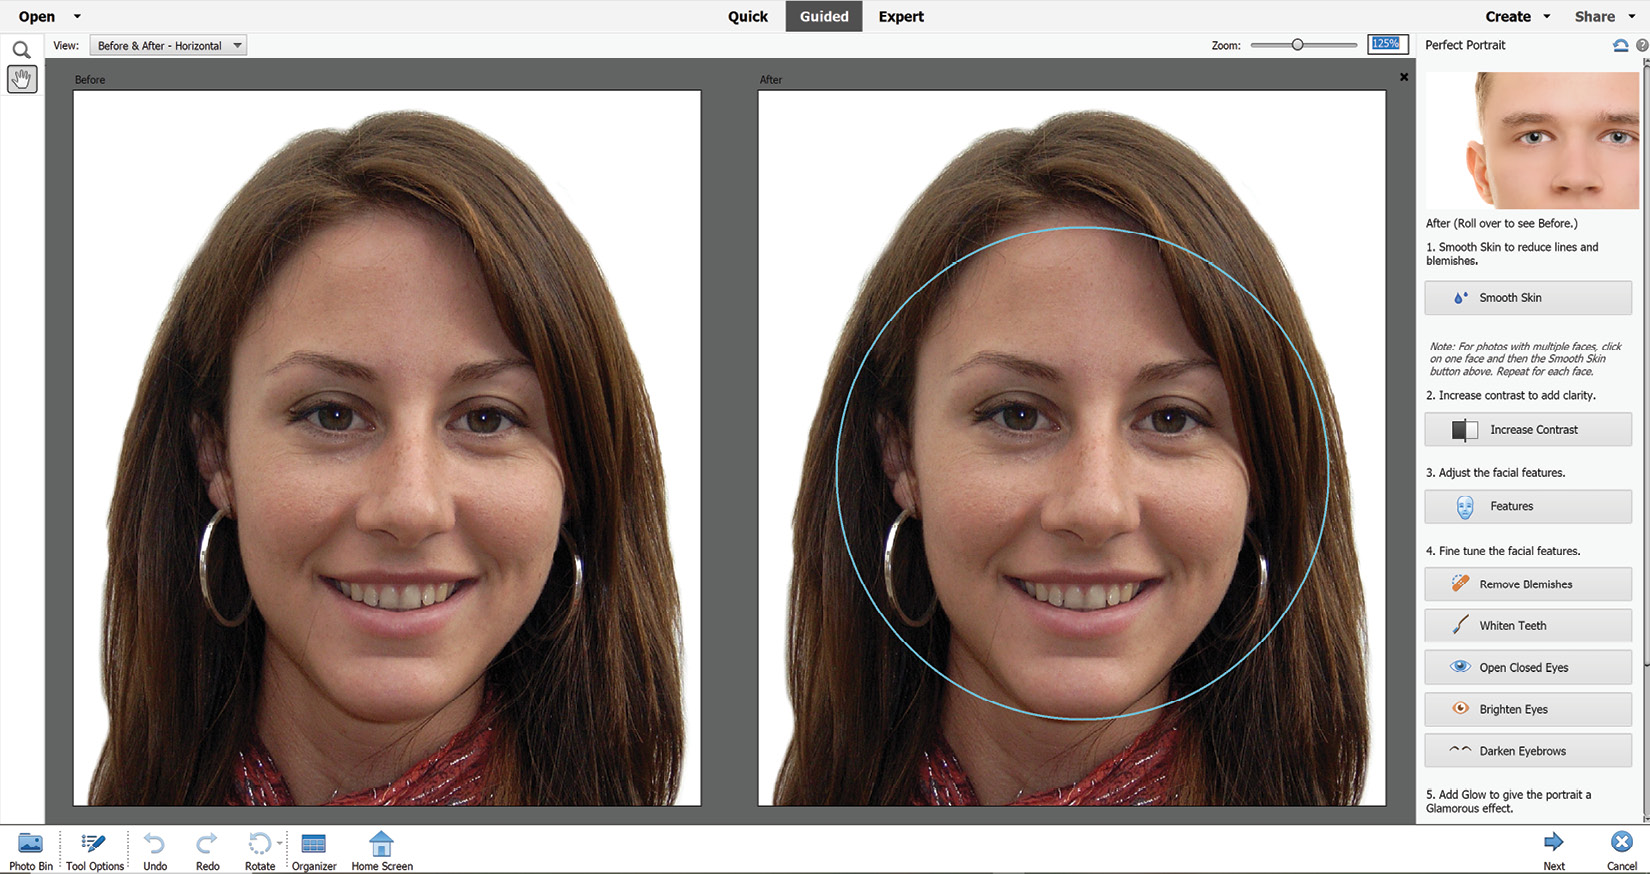
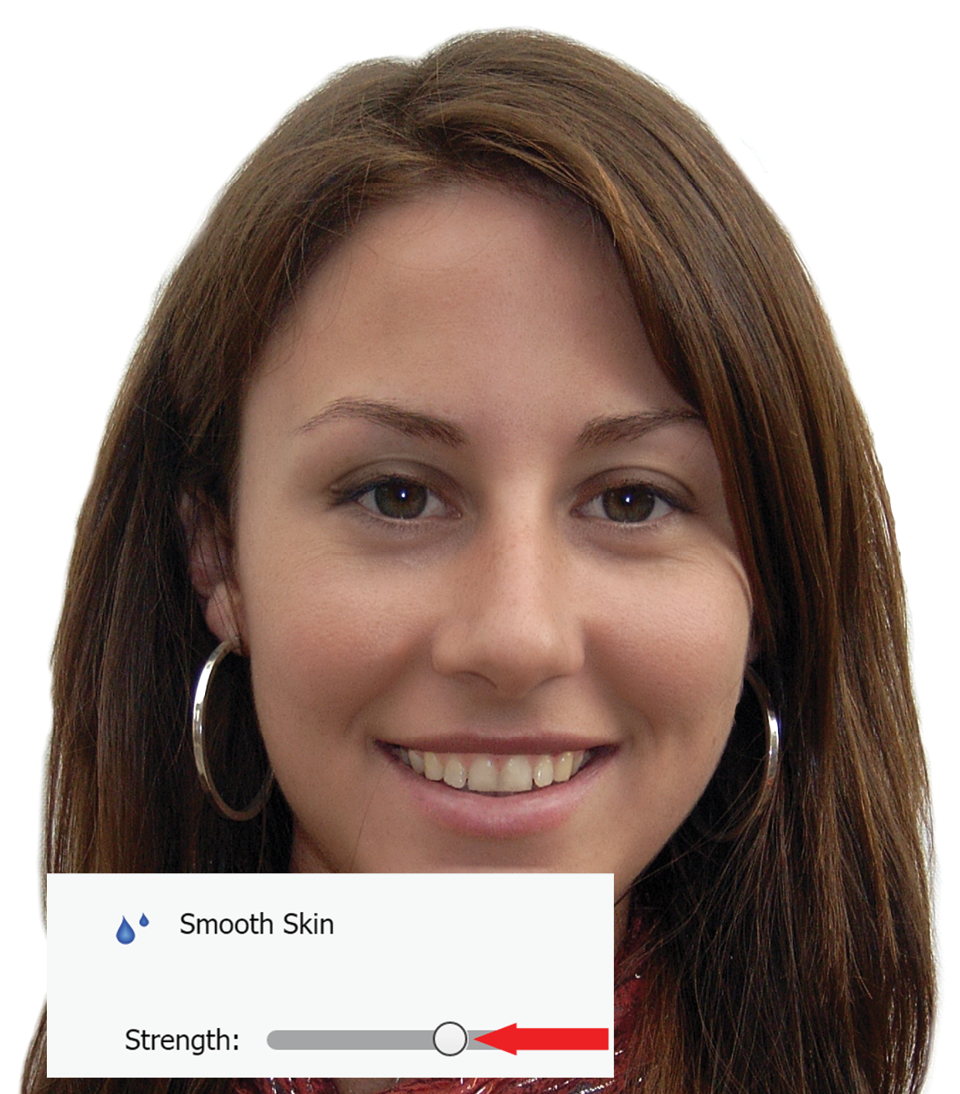
What you'll find in this chapter is a list of great features - features that you might have never used if all you do with Elements is a bit of simple editing. As mentioned, most of these tools encompass some really complex actions - like selections, sharpening, chromatic aberration removal, smoothing, blending, re-composing, warping and even facial reconstruction (in the case of the Open Closed...