
JavaScript is a high-level, dynamic, untyped, and interpreted programming language. There are several, languages that are based on JavaScript. In the case of Jupyter, the underlying JavaScript is really Node.js. Node.js is an event-based framework that uses JavaScript that can be used to develop large, scalable applications. Note, this is in contrast to the earlier languages covered in this book that are primarily used for data analysis (Python is a general language as well, but has clear aspects that deal with its capabilities of performing data analysis).
In this chapter, we will cover the following topics:
Adding JavaScript packages to Jupyter
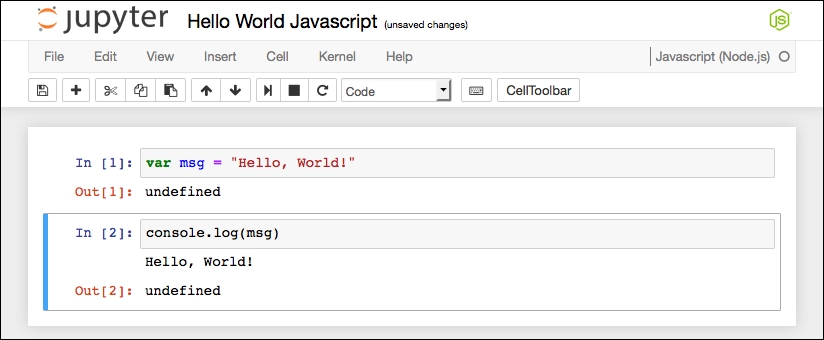
JavaScript Hello World Jupyter Notebook
Basic JavaScript in Jupyter
Node.js d3 package
Node.js stats-analysis package
Node.js JSON handling
Node.js canvas package
Node.js plotly package
Node.js asynchronous threads
Node.js decision-tree package