


Improving our scripts with attributes and XML comments
We could stop working with the PlayerBehaviour class script here, but I want to touch on a couple of things that we can use in order to improve the quality and style of our code. This becomes especially useful when you start building projects in teams. As you’ll be working with other people, some of them will be working on code with you. Then, there will be designers and artists who will not be working on code with you but will still need to use the things that you’ve programmed.
When writing scripts, we want them to be as error-proof as possible. Making the rb variable private starts that process, as now the user will not be able to modify that anywhere outside of this class. We want our teammates to modify dodgeSpeed and rollSpeed, but we may want to give them some advice as to what it is and/or how it will be used. To do this in the Inspector window, we can make use of something called an attribute.
Using attributes
Attributes are things we can add to the beginning of a variable, class, or function declaration, which allow us to attach additional functionality to them. There are many of them that exist inside Unity, and you can write your very own attributes as well, but right now, we’ll talk about the ones that I use most often.
The Tooltip attribute
If you’ve used Unity for a period of time, you may have noted that some components in the Inspector window, such as Rigidbody, have a nice feature—if you move your mouse over a variable name, you’ll see a description of what the variables are and/or how to use them. The first thing you’ll learn is how we can get the same effect in our own components by making use of the Tooltip attribute. If we do this for the dodgeSpeed and rollSpeed variables, it will look something like this:
[Tooltip("How fast the ball moves left/right")]
public float dodgeSpeed = 5;
[Tooltip("How fast the ball moves forward  automatically")]
public float rollSpeed = 5;
Save the preceding script and return to the editor:

Figure 1.10 – Tooltip attribute example
Now, when we highlight the variable using the mouse and leave it there, the text we placed will be displayed. This is a great habit to get into, as your teammates can always tell what it is that your variables are being used for without having to actually look at the script itself.
Note
For more information on the Tooltip attribute, check out https://docs.unity3d.com/ScriptReference/TooltipAttribute.html.
The Range attribute
Another thing that we can use to protect our code is the Range attribute. This will allow us to specify a minimum and maximum value for a variable. Since we want the player to always be moving forward, we may want to restrict the player from moving backward. To do that, we can add the following highlighted line of code:
[Tooltip("How fast the ball moves forward  automatically")]
[Range(0, 10)]
public float rollSpeed = 5;
Save your script, and return to the editor:
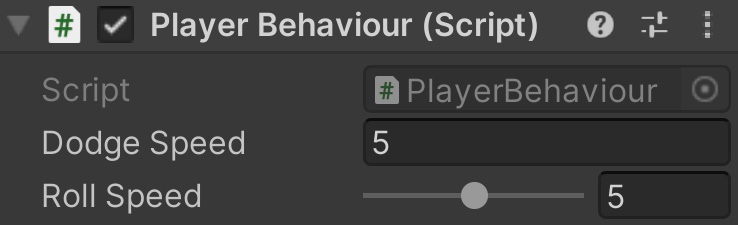
Figure 1.11 – Range attribute example
We have now added a slider beside our value, and we can drag it to adjust between our minimum and maximum values. Not only does this protect our variable from being changed to an invalid state but also makes it so that our designers can tweak things easily by just dragging them around.
The RequireComponent attribute
Currently, we are using the Rigidbody component in order to create our script. When working as a team member, others may not be reading your scripts but are still expected to use them when creating gameplay. Unfortunately, this means that they may do things that have unintended results, such as removing the Rigidbody component, which will cause errors when our script is run. Thankfully, we also have the RequireComponent attribute, which we can use to fix this.
It looks something like this:
using UnityEngine;
[RequireComponent(typeof(Rigidbody))]
public class PlayerBehaviour : MonoBehaviour
By adding this attribute, we state that when we include this component in a GameObject and it doesn’t have a Rigidbody component attached to its GameObject, the component will be added automatically. It also makes it so that if we were to try to remove the Rigidbody component from this object, the editor will warn us that we can’t, unless we remove the PlayerBehaviour component first. Note that this works for any class extended from MonoBehaviour; just replace Rigidbody with whatever it is that you wish to keep.
Now, if we go into the Unity Editor and try to remove the Rigidbody component by right-clicking on it in Inspector and selecting Remove Component, the following message will be seen:
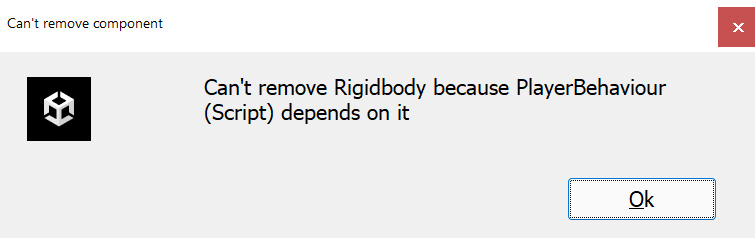
Figure 1.12 – Can’t remove component window
This is exactly what we want, and this ensures that the component will be there, allowing us not to have to include if checks every time we want to use a component.
Note that, previously, we did not use a Tooltip attribute on the private rb variable. Since it’s not being displayed in the editor, it’s not really needed. However, there is a way that we can enhance that as well: using XML comments.
XML comments
We can achieve a couple of nice things with XML comments that we otherwise couldn’t with traditional comments, which we were using previously. When using variables/functions instead of code in Visual Studio, we will now see a comment about it. This will help other coders on your team with additional information and details to ensure that they are using your code correctly.
XML comments look something like this:
/// <summary>
/// A reference to the Rigidbody component
/// </summary>
private Rigidbody rb;
It may appear that a lot more writing is needed to use this format, but I did not actually type the entire thing out. XML comments are a fairly standard C# feature, so if you are using MonoDevelop or Visual Studio and type ///, the action will automatically generate the summary blocks for you (and the param tags needed, if there are parameters needed for something such as a function).
Now, why would we want to do this? Well, if you select the variable in IntelliSense, it will display the following information to us:
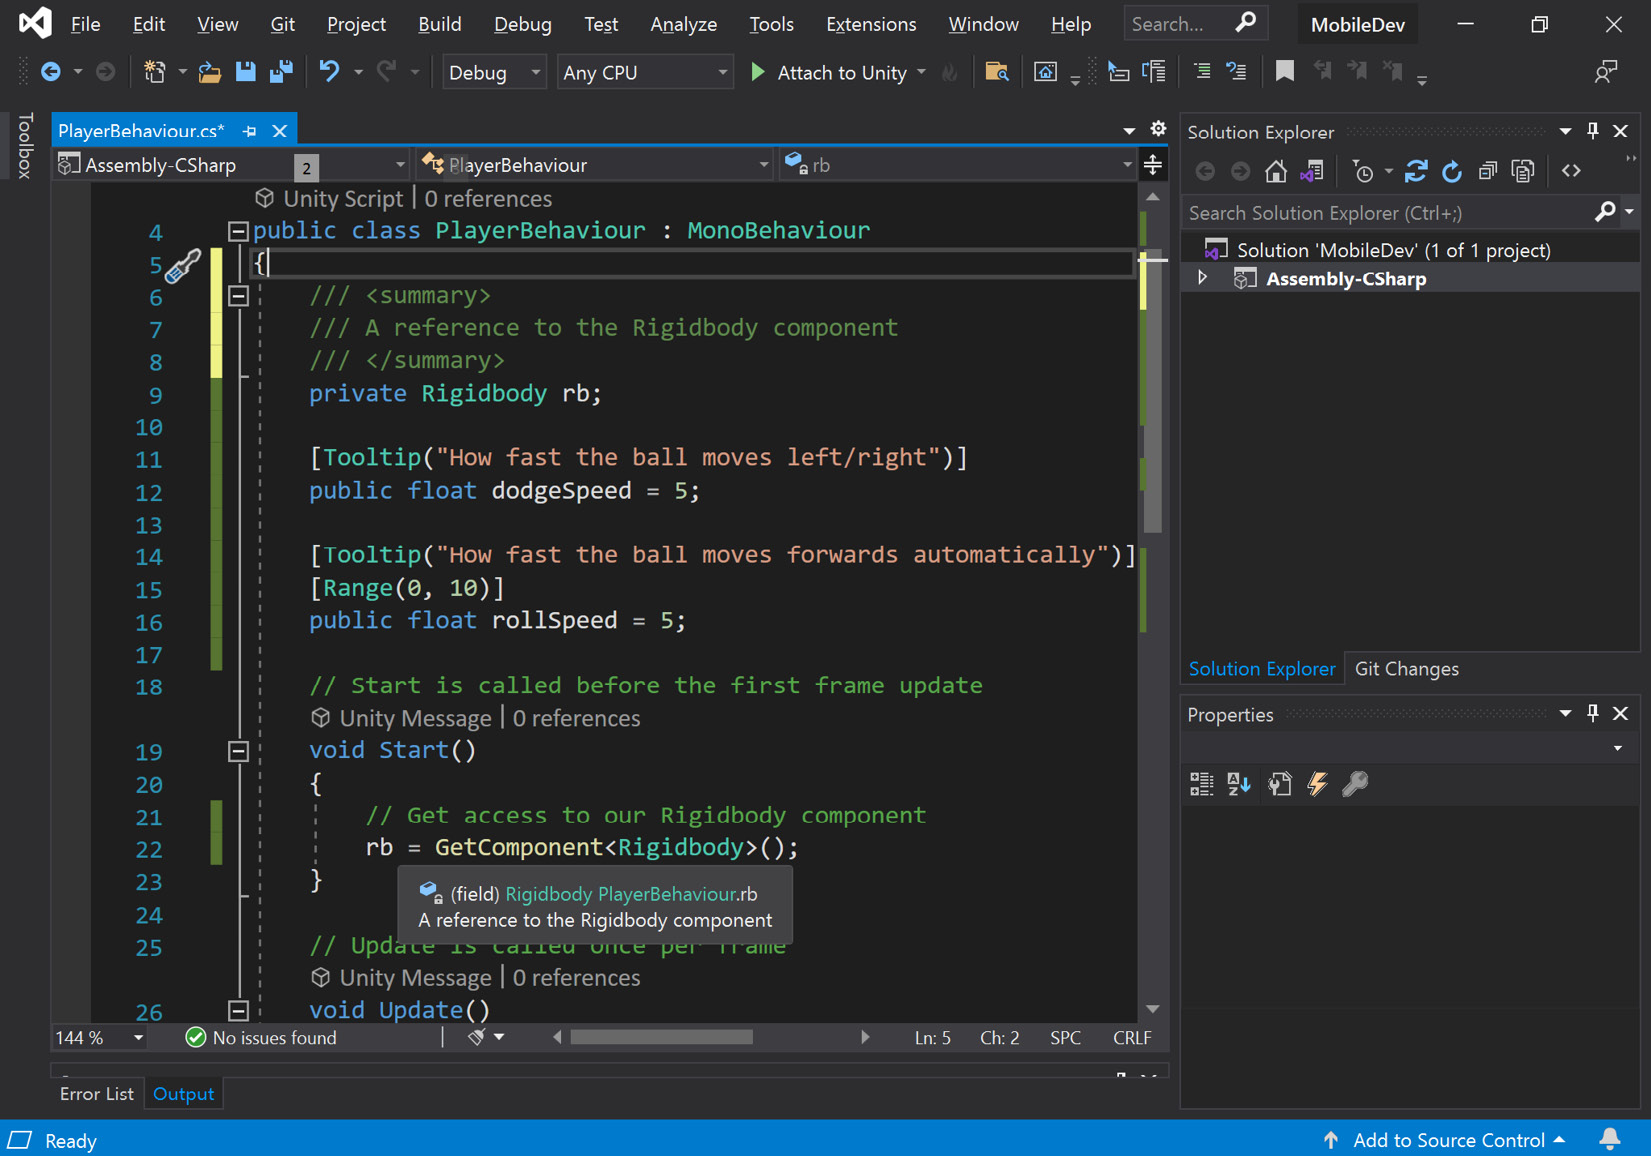
Figure 1.13 – An example of tooltips from XML comments
This is a great help when other people are trying to use your code and it is how Unity’s staff write their code. We can also extend this to functions and classes to ensure that our code is more self-documented.
Unfortunately, XML comments do not show up in the Inspector, and the Tooltip attribute can’t be used for some aspects of projects such as functions. With that in mind, I use Tooltip for public instructions and/or things that will show up in the Inspector window and XML comments for everything else.
Note
If you’re interested in looking into XML comments more, feel free to check out https://msdn.microsoft.com/en-us/library/b2s063f7.aspx.
Now that we have looked at ways of improving the formatting of our code; let’s look at how we can improve the performance by looking at some of the different Update functions Unity provides.


