

Building an NPC That Allows Us to Travel
Non-Player Characters (NPCs) are characters that we usually find in video games. They have scripted behavior and serve mainly to offer the real player some kind of service. I am sure you have interacted with one of them in a video game.
In our metaverse, we will learn how to program our own NPC. For us, this character will serve as a gateway to other scenes. Her script will be to show us a list of available worlds. This will be achieved by launching a query to the Firestore Worlds collection.
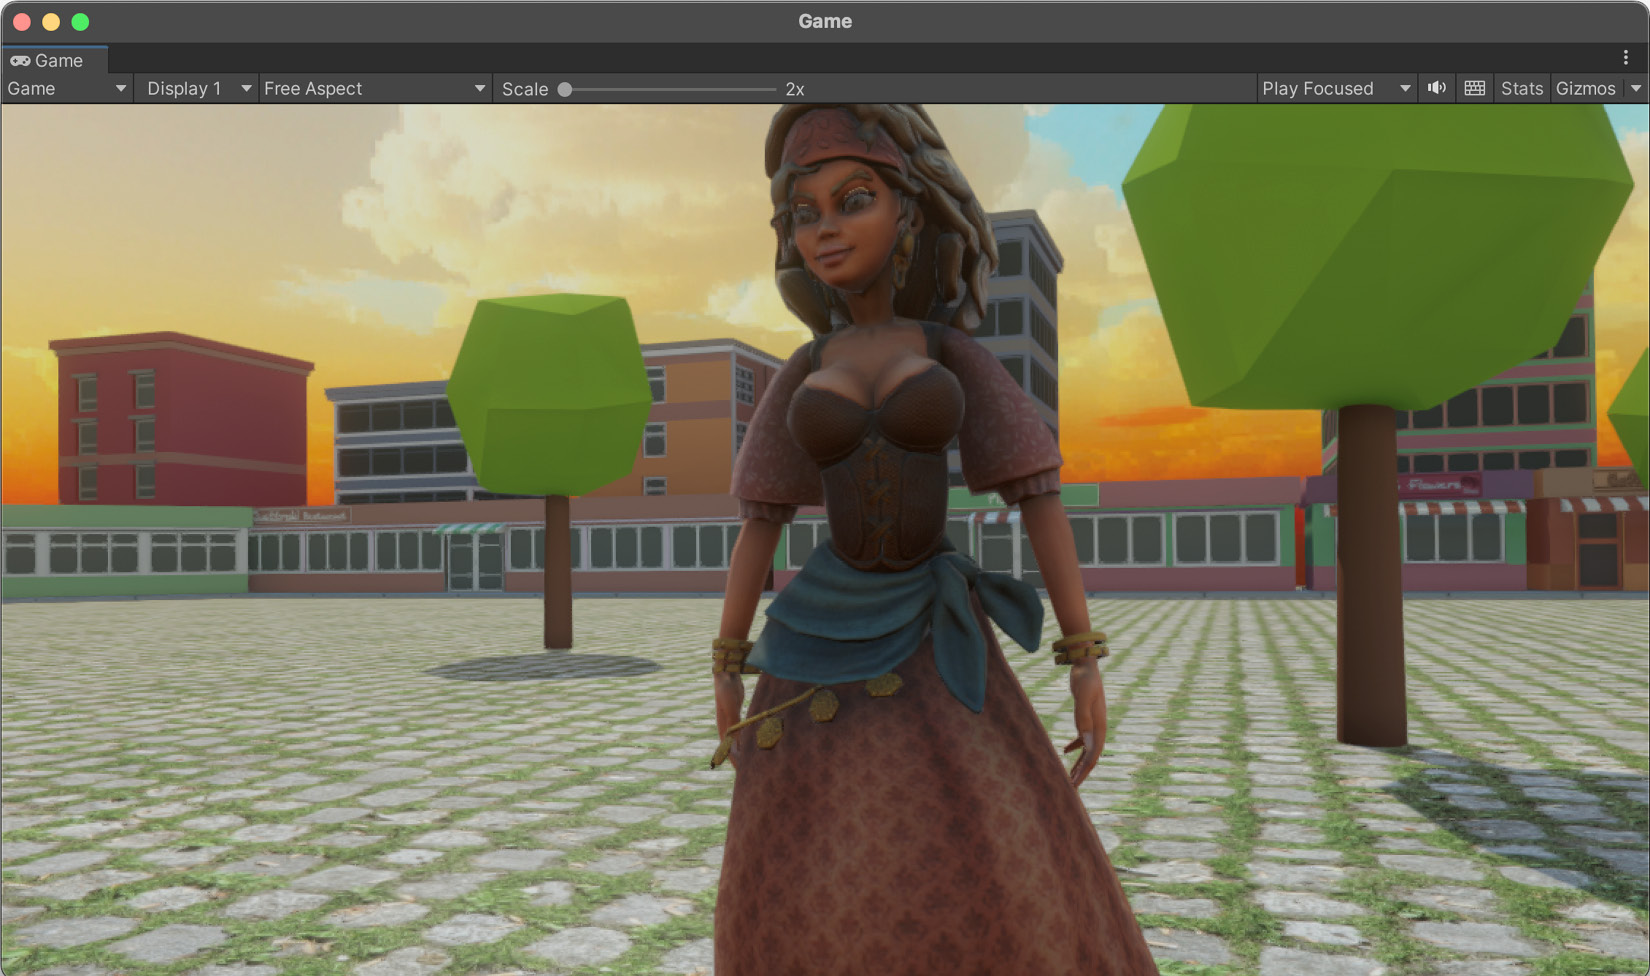
Figure 7.1 – Final result of the NPC created in this chapter
We will cover the following topics:
- Choosing an aspect
- Bringing the NPC to life
- Triggering when we are close
- Showing the available worlds in a window
- Traveling to the selected world


