
Exploring the Gizmo, PolyGroups, and Masking
In this chapter, you will explore some of ZBrush’s most powerful functionality, demonstrated on the DemoSoldier 3D model from ZBrush’s content library, LightBox. We will examine ZBrush’s individual 3D model units called subtools, and how to modify and move these subtools in 3D space.
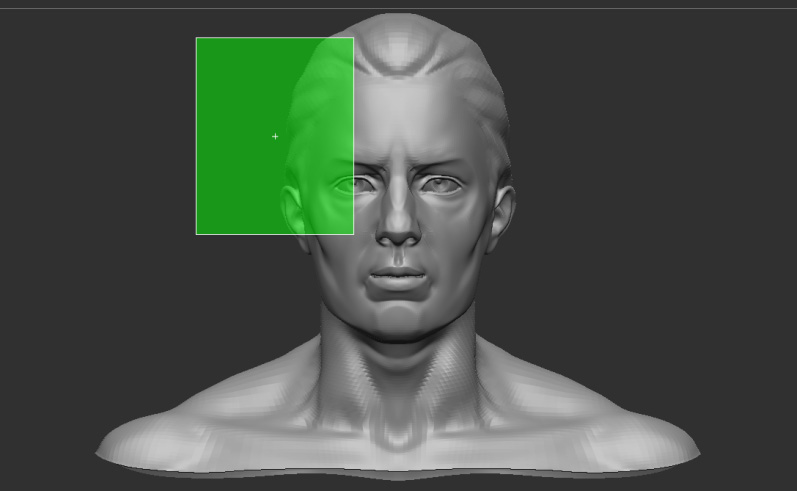
Then we’ll introduce ZBrush’s powerful Masking and Selection tools, using them to make additional modifications to our model, as well as looking at PolyGrouping, an efficient way to organize your models, make local changes, and maximize your efficiency as a modeler or sculptor.
After completing this chapter, you will be able to navigate ZBrush’s project structure and create your own 3D model consisting of multiple subtools, which you can deform and transform using various techniques.
So, we’re going to cover the following topics:
- Managing your 3D model
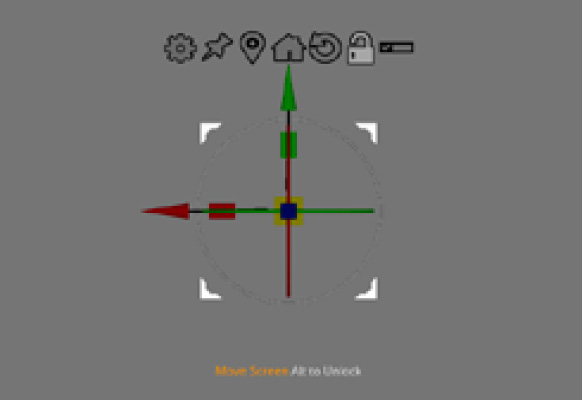
- Using the Gizmo to move objects
- Understanding...