Reader small image

You're reading from  Arduino for Kids

Product typeBook
Published inMar 2017
PublisherPackt
ISBN-139781785884818
Edition1st Edition
Tools
Concepts
Right arrow
Authors (2):
Rishi Gaurav Bhatnagar
author image
Rishi Gaurav Bhatnagar

Rishi Gaurav Bhatnagar is a creative technologist who likes to work at the intersection of design and technology. He is an Intel software innovator, Arduino maker fellow, a volunteer at Random Hacks Of Kindness, also Campus Diaries 25 under 25- Science & Tech. When he is not tinkering with technology and storytelling, he spends time building new modules for students that help fuel their curiosity and build their innovation muscle.
Read more about Rishi Gaurav Bhatnagar

Vijay Varada
Vijay Varada
author image
Vijay Varada

Vijay Varada is an artist, engineer, and entrepreneur whose motto is, create positive change in the world through art, design and technology for sustainable and exponential development and progress. He is the CEO, and cofounder of Fracktal Works, which is engaged with design and research in the field of additive manufacturing, rapid prototyping, and product design with its line of desktop and industrial 3D printers aimed at using the technology to empower the abilities of students, engineers, designers, and industries. Vijay actively contributes to open source hardware projects, particularly assistive technologies for the blind.
Read more about Vijay Varada

View More author details
Right arrow

Get the LEDs working


Let's brainstorm, what do we know about LEDs? We know how they work, we know there is an example on making LEDs blink, we know how we can use the LED on pin 13 to do quick checks if the board is working fine.

As a first step, let's get the LEDs working through the pin 13 using the LED blink example. You already know how to navigate to the example don't you my friend?

Here is how the code looks like right now:
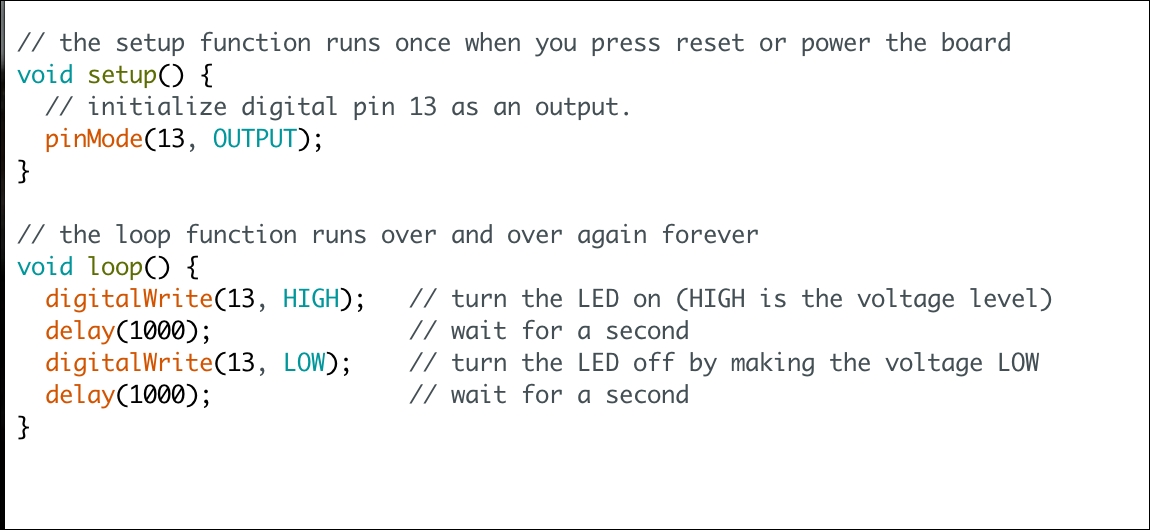
Code:

// the setup function runs once when you press reset or power the board
void setup(){
  // initialize digital pin 13 as an output.
  pinMode(13, OUTPUT); 
} 
// the loop function runs over and over again forever
void loop() {
  digitalWrite(13, HIGH); // turn the LED on (HIGH is the voltage level)
  delay(1000); // wait for a second
  digitalWrite(13, LOW); // turn the LED off by making the voltage LOW
  delay(1000); // wait for a second
} 

Let's go ahead and upload this code on our board. I am using...

lock icon
The rest of the page is locked
Previous PageNext Page
You have been reading a chapter from
Arduino for Kids
Published in: Mar 2017Publisher: PacktISBN-13: 9781785884818

Authors (2)

author image
Rishi Gaurav Bhatnagar

Rishi Gaurav Bhatnagar is a creative technologist who likes to work at the intersection of design and technology. He is an Intel software innovator, Arduino maker fellow, a volunteer at Random Hacks Of Kindness, also Campus Diaries 25 under 25- Science & Tech. When he is not tinkering with technology and storytelling, he spends time building new modules for students that help fuel their curiosity and build their innovation muscle.
Read more about Rishi Gaurav Bhatnagar

author image
Vijay Varada

Vijay Varada is an artist, engineer, and entrepreneur whose motto is, create positive change in the world through art, design and technology for sustainable and exponential development and progress. He is the CEO, and cofounder of Fracktal Works, which is engaged with design and research in the field of additive manufacturing, rapid prototyping, and product design with its line of desktop and industrial 3D printers aimed at using the technology to empower the abilities of students, engineers, designers, and industries. Vijay actively contributes to open source hardware projects, particularly assistive technologies for the blind.
Read more about Vijay Varada