
The first thing we must do to use Unity is to create a project. Just like word processing software using a document to create a letter, Unity uses projects to create games. Projects are the enveloping structure for all the scripts, game objects, art, and other source files that are used in a game. You'll see later in this chapter how the external file structure of project files is replicated in Unity.
When Unity is launched, the first screen you should see is the welcome screen window, as shown in the following screenshot:
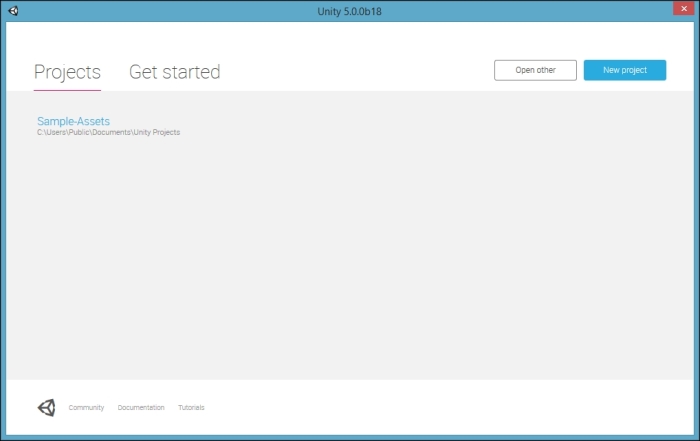
From this dialog window, you can easily open projects that you've recently worked on; they'll be listed on the left under the Projects link. You can also open a new project by clicking on the New project button in the upper-right section of the window.
Let's walk through creating a new project. Our first step is to click on the New project button. This brings up the new project dialog window, as shown in the following screenshot:

There are four decisions you need to make on this screen before you click on the Create project button. First, you'll need to give your project a name. This is like naming a file, and I recommend including the version number. For example, if you are working on the first version of a new game called Java For Everyone, you might name your project Java4Everyone 1.0, java_for_everyone_1.0, or something similar.
The next step is to tell Unity where you want the project saved. You can accept the default or click on the eclipse icon to open a File Explorer window. Using this window, select where you want your project to be saved. I recommend selecting a folder or directory that is automatically backed up or linked to a cloud-based file system. This will help to ensure that you do not lose your work.
Next, we need to indicate whether we are creating a 2D or 3D project. If you are creating a platform or side-scrolling game, you'll select 2D. Otherwise, you'll select 3D. You can certainly have both 2D and 3D components to your game. Unity gives us a lot of flexibility in this regard. So, our initial selection simply indicates our primary focus.
Our last decision to make is what, if any, asset packages we want to import. If you already know what packages you will need, you can have them loaded when the project is created. Alternatively, you can easily import packages after you've started working on your project. This is the method I recommend because it ensures you only load what you absolutely need. We'll discuss how this is done in a later chapter.
Once you've made the four decisions, click on the Create project button, as shown in the following screenshot:

Unity will create your project and depending on how many packages you selected to be included, it could take more than a few seconds to create. If the window disappears and you do not see any indication that your project is being created, don't panic. Unity is working in the background and will open the main interface as soon as the project has been created.
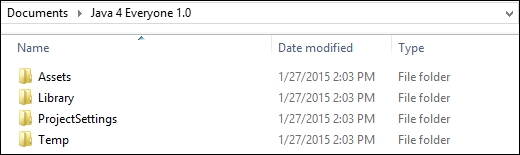
If you look at your filesystem, you'll see that Unity has created a folder with the name of your project. In that folder, you'll find four subfolders titled Assets, Library, ProjectSettings, and Temp. Unity keeps projects well organized with these primary folders. As new game objects are added to your project, they will be placed in these folders. You can also create additional folders to be even more organized.