Reader small image

You're reading from  Mobile DevOps

Product typeBook
Published inMar 2018
Reading LevelIntermediate
PublisherPackt
ISBN-139781788296243
Edition1st Edition
Languages
Concepts
Right arrow
Authors (2):
Rohin Tak
Rohin Tak
author image
Rohin Tak

Rohin Tak is a mobile and web development enthusiast with expertise in and several years of experience of .NET technologies. Professionally, Rohin has worked for IBM and OnMobile Global as a .NET developer and Xamarin developer respectively. Rohin is now working as a senior software engineer at LeadSquared, one of the fastest growing sales and marketing automation solutions in India. In his spare time, Rohin is mostly found trekking in the Himalayas and exploring new places around the globe.
Read more about Rohin Tak

Jhalak Modi
Jhalak Modi
author image
Jhalak Modi

Jhalak Modi is a DevOps engineer with a deep interest and expertise in implementing large-scale cloud, big data, CI/CD, and automation solutions on a variety of public/private/hybrid clouds, as well as on-premises. She is an AWS Certified Solutions Architect and DevOps professional with more than 10 certifications in trending technologies. She is also a public speaker at AWS events, universities, meet-ups, and corporate trainings. Currently, working with KOGENTiX, Singapore, she has previously worked with Wipro Technologies and Electromech Corporation.
Read more about Jhalak Modi

View More author details
Right arrow

Writing Your First Android Application with Xamarin

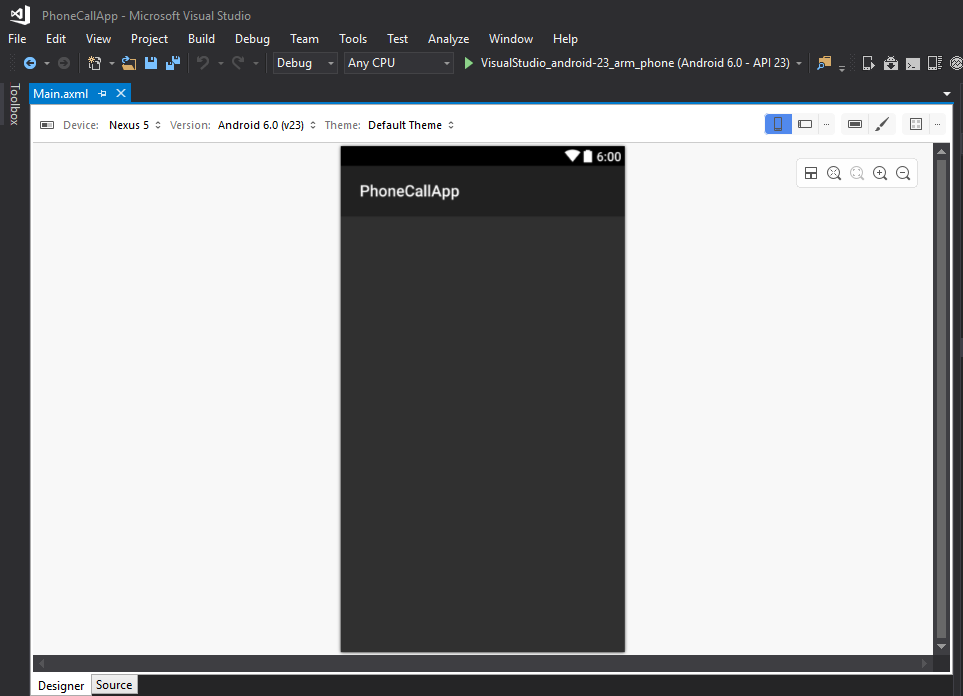
Now that Visual Studio is installed on your Windows machine to start development, and the Android Virtual Device (AVD) is ready, we can get started with our first Android application.

In this chapter, we are going to build our first Android application using Xamarin in Visual Studio, while learning some fundamentals of Android application development.

Create your first Android project

To create a new Android project in Visual Studio, follow these steps:

  1. Click on File | New | Project:
  1. From the left pane, click on Android and then select Blank App (Android):
  1. In the Name section, give a name to the project, select a preferred location for your project, and click on the OK button. You'll get the screen shown in the following screenshot:

Congratulations, you've created your first Android project in Visual Studio.

Xamarin solution structure

Once the project is created, you'll see the solution structure shown in the following screenshot:

The main parts of the solution that we need to understand for now are as follows:

  • References: This section lists all the required libraries for the project. As we can see in the preceding screenshot, it references Mono.Android, which is the library for Xamarin.Android.
  • Resources: It contains all the resources, for example, images, layouts, and much more.
  • The MainActivity.cs file has our C# code for handling events and other things in our main screen.

Creating the UI for the application

  1. Let's expand the Resources folder we saw in the previous screenshot, and then the layout folder in Solution Explorer. Double-click on Main.axml to open it. This is the layout file for the app's screen. By default, it gets opened in Android Designer; you can also click on the Source tab at the bottom to see the XML code for it. This layout file is the main UI file that we'll add our UI controls to, and what we'll see when we run our app once it is finished:

Let's add an input field to enter a phone number. Drag the Phone field from the Toolbox (left pane) into the Designer view of the Main.axml file:

Having the phone text field gives us the advantage of restricting the user to entering a phone number. Also, when the user taps on the input box, they'll only get a number pad instead of a full text keyboard.

Now...

Handling user interactions

User interaction is the most important aspect of developing a mobile application. A mobile app should be interactive and easy to use.

In this basic application, we will be writing our user interaction code in C# and it will be part of the MainActivity.cs file:

  1. Let's click on the MainActivity.cs file from the Solution Explorer on the left and open it:

It has some autogenerated code that we are going to modify in order to make our application work.

  1. We need to write our code inside the OnCreate() method of the MainActivity.cs file:

Before we start writing user interaction code, let's understand the autogenerated code first:

base.OnCreate(savedInstanceState); 

This piece of code calls the OnCreate() method of the parent/base class of MainActivity.cs, which is Activity.cs.

SetContentView(Resource.Layout.Main); 

As the comments already say...

Adding permissions to Android Manifest

Our application needs only one permission as of now, and that is to place a call. To modify or add permissions for the application, we need to edit Android Manifest.

  1. To edit Android Manifest and give the permission, follow these steps:
    1. Open Solution Explorer.
    2. Double-click on Properties under the project.
    3. This should open a UI to edit project properties.
    4. Now, from the left-hand menu, click on Android Manifest to open it:
  1. In the Required permissions section, scroll down, find the CALL_PHONE permissions, and select this option:
    1. Press Ctrl + Shift + S to save all the changes to the project.
    2. Close the Properties window.
    3. We are done adding permissions to the application.
    4. We need to build the solution now, so the resulting installation file has all the changes we made.
  1. Rebuild the project; right-click on Solution | Rebuild Solution...

Adding an icon for the Android app

App permissions are set and it's ready to run, so let's add an icon for our app:

  1. Download an icon file that you like and that best suits your phone call app.
  2. Go to Solution Explorer and add the downloaded file to the drawable folder under Resources.
  1. Right-click on drawable | Add | Existing Item, as shown in the following screenshot:
  1. A File Explorer window will open. Navigate to the icon file location, select the icon file, and click Add:
  1. The icon should now be added to the drawable folder of the project:
  1. Rename the icon file to icon.png by right-clicking on the file and then clicking Rename:
  1. After renaming the file, rebuild the project like we did in the previous steps.
  2. Once the rebuild is done successfully, let's add the icon to the application's Manifest file.
  3. Double-click on Properties from Solution Explorer...

Testing user interaction

Click on the app on Android Emulator and run it. Repeat the previous steps of testing the application and at the end press the CALL button to make a call:

This time, the application has the required permission, we have written the code to handle CALL button interaction, and we are creating a callIntent in MainActivity.cs to make a call.

So, the call should be placed by clicking the CALL button, and we should get a screen as shown in the following screenshot:

Awesome! You just created your first working Android application using Xamarin and C# in Visual Studio.

Now that we have done the difficult part, let's understand some fundamentals of the Android application we just developed and see how it all comes together.

Application fundamentals

There are many topics that can be covered while explaining Android application fundamentals. But for the scope of this book we'll try to understand the most important ones that we used in the development of our PhoneCallApp:

  • Android APIs: Android has different API levels for different versions of Android. These API levels basically state which version of Android libraries our code uses and which versions of the Android OS our app is compatible with.

There are different configurations to be specified while developing an Android application. These configurations include:

    • Target framework
    • Minimum Android version
    • Target Android version

You'll read about these configurations in more detail.

  • Resources: Resources encapsulate many features used in Android to make a better Android application. An Android application uses many resources, such...

Android APIs

Android APIs are known by an API level, for example, API level 23.

An API level represents a specific Android release. If you open Android SDK Manager in Visual Studio, you will see the following screen:

Each API level is specific to an Android release. An Android release is known by multiple names:

  • The API level, such as API level 23
  • The Android version, such as Android 6.0
  • A code name, such as Marshmallow

So, we can say that APIs have an integer value, a number to identify the release, because with each release this API level changes, and users upgrade their Android versions as they get released.

An Android app should be able to run on different APIs and should be compatible with previous versions of releases, so that old devices can run applications as well, and when a user updates their OS version to a new one, existing apps don't break on their phones...

Resources

When we created a new Xamarin.Android application project, a folder named Resources was created in Solution Explorer:

Let's analyze the structure of our Resources folder in detail.

For an Android application structure, almost everything other than the actual code is a resource.

A resource can be any of the following, but are not limited to the following:

  • Images
    • Any image or icon used in the application
    • They go in the drawable folder
  • Application View
    • View files for the application, that is, the Main.axml file that we created
    • Goes in the layout folder
  • Strings
    • These are text strings that are used across the application
    • For instance, the CALL text on the text button
    • It helps keep consistency throughout the application
    • Goes in the values folder

Resources we used in the application

The main files that we used in our application in the Resources folder are...

Understanding Activities

Activities are something very specific to Android application development. Usually, in other applications, we have an entry point or a main method as an entry point to start the application.

But in Android, the same purpose is fulfilled by Activities. Android applications can be started from any activity that is specified as a starting activity for the application using MainLauncher:

Activity class

The Activity class contains the code that controls the user interface. The Activity class is basically responsible for creating the UI and handling user interactions such as button clicks or touches.

Now, let's take an example of our PhoneCallApp application. We have only one Activity in our project, and that is the MainActivity.cs class. It is the main entry point for the OS into this application, since we have set it as MainLauncher:

If we look closely, the MainActivity class inherits the Activity class, that is, it is a child of the Activity class. That means now MainActivity is also an Activity.

Also, it is important to note that we have an Activity attribute defined above the MainActivity class, which specifies the Label and the MainLaucher property as well. This attribute tells Android that the MainActivity class is part of the application and is managed...

Deploying an application on a mobile device

So far, we have tested our application on Android Virtual Device (Android Emulator). But it's always a good practice to test the application on a physical device. So, let's learn how to set up an actual Android device for testing an application.

Screenshots shown in this topic were taken using an Android device running Lollipop; your device settings may differ depending on your device version.

Here are the steps to set up a device for debugging:

  • Enable debugging on the device: We will need to enable debugging on the device. By default, it will not be possible to debug applications on an Android device.
  • Install USB drivers: On our Windows computers, we will need to install USB drivers for our device.
  • Connect the device to the computer: The final step involves connecting the device to the computer with a USB cable.
...

Enable debugging on the device

To enable debugging on the device, we need to perform the following steps:

  1. Click on the Settings icon from the notification bar:
  1. Open Settings.
  2. Scroll down to the end and click on About phone:
  1. Scroll down to Build number.
  2. Tap on Build number seven times until it says You are now a developer!:
  1. Go back to the Settings menu and scroll down till the end:
  2. You should be able to see a new menu entry now for Developer options just before About phone:
  3. Click on Developer options:
  1. Find the option to enable USB debugging and enable it:

Install USB drivers

For different devices, different drivers might need to be installed for the computer to recognize the device. Please make sure all the device drivers are properly installed and the computer can recognize your device properly.

If you are downloading the device driver and want to install it manually on the computer, perform the following steps for Windows 7:

  1. Connect your device to the computer with a USB cable.
  2. Right-click on the Computer from your desktop or Windows Explorer and select Manage.
  3. Select Devices in the left pane.
  4. Locate and expand other devices in the right pane.
  5. Right-click the device name and select Update Driver Software.
  6. This will launch the Hardware Update Wizard.
  7. Select Browse my computer for driver software and click Next.
  8. Click Browse and locate the USB driver folder.
  9. Click Next to install the driver.
...

Connect the device to a computer

If you connect the device with a USB cable to a computer, android debug bridge (adb) should be able to communicate with the device and you should see a notification on the device saying USB debugging connected, as shown in the following screenshot:

Now, you can go to Visual Studio, select your device listed in the running device list, and run the application. This will install the application on your device and run it.

Pushing code to a Git repository

The application development is done. Let's save our code to our Git repository so we can access the code from anywhere:

  1. In Visual Studio, in the bottom-right corner, click on Add to Source Control and then select Git:
  1. Click on Connect | Settings:
  1. Click on Global Settings:
  1. Enter your GitHub account username and email and click Update:
  2. Click on the up arrow icon (push icon) at the bottom of the Team Explorer.
  3. Then, click on Publish Git Repo under Push to Remote Repository.
  4. Notice that it says there is no remote repository configured for this local repository. That is because we haven't connected our remote GitHub repository to our local project:

Log in to your GitHub account and create an empty Git repository for your project, as we learned in Chapter 2, Working with Code Repository Systems, and copy that URL to the textbox...

Summary

In this chapter, we learned to develop an Android application using Xamarin and Visual Studio. We also learned some detailed fundamentals of an Android application, Activities, and their life cycle. We ran the application on Emulator as well as set up an actual physical device to run the application; finally we pushed our code to a Git repository.

In the next chapter, we'll learn about implementing continuous testing using Xamarin Test Cloud.

lock icon
The rest of the chapter is locked
You have been reading a chapter from
Mobile DevOps
Published in: Mar 2018Publisher: PacktISBN-13: 9781788296243
Register for a free Packt account to unlock a world of extra content!
A free Packt account unlocks extra newsletters, articles, discounted offers, and much more. Start advancing your knowledge today.
undefined
Unlock this book and the full library FREE for 7 days
Get unlimited access to 7000+ expert-authored eBooks and videos courses covering every tech area you can think of
Renews at $15.99/month. Cancel anytime

Authors (2)

author image
Rohin Tak

Rohin Tak is a mobile and web development enthusiast with expertise in and several years of experience of .NET technologies. Professionally, Rohin has worked for IBM and OnMobile Global as a .NET developer and Xamarin developer respectively. Rohin is now working as a senior software engineer at LeadSquared, one of the fastest growing sales and marketing automation solutions in India. In his spare time, Rohin is mostly found trekking in the Himalayas and exploring new places around the globe.
Read more about Rohin Tak

author image
Jhalak Modi

Jhalak Modi is a DevOps engineer with a deep interest and expertise in implementing large-scale cloud, big data, CI/CD, and automation solutions on a variety of public/private/hybrid clouds, as well as on-premises. She is an AWS Certified Solutions Architect and DevOps professional with more than 10 certifications in trending technologies. She is also a public speaker at AWS events, universities, meet-ups, and corporate trainings. Currently, working with KOGENTiX, Singapore, she has previously worked with Wipro Technologies and Electromech Corporation.
Read more about Jhalak Modi