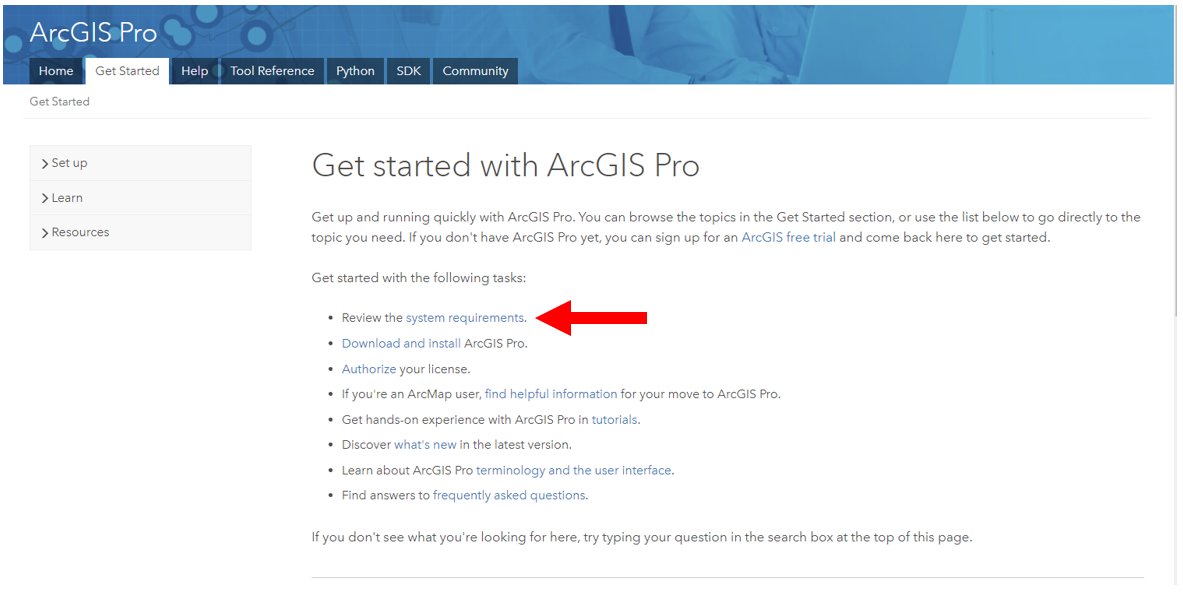
Adding and configuring layers
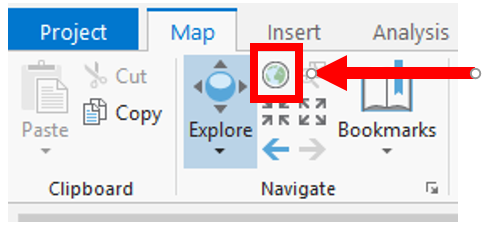
Now you know how to start ArcGIS Pro and open a project so you can begin accessing functionality. You have learned how to open an existing map and navigate within the map. You can even see information about features displayed within the map using the Explore tool.
But how did those layers get added to the map? How did ArcGIS Pro know how to display the layers you saw within the map? That is your next step in your ArcGIS Pro journey.
In this recipe, you will learn various methods for adding new layers to a map. You will then discover how to configure various properties associated with a layer, such as its name and symbology.
If you have already completed the previous recipes, you should be ready for this one. If you have not completed them, you will need to do so. This recipe builds on the past ones.
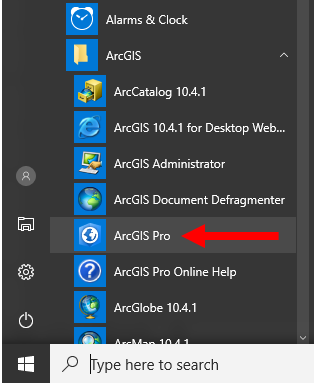
- Start ArcGIS Pro and open the
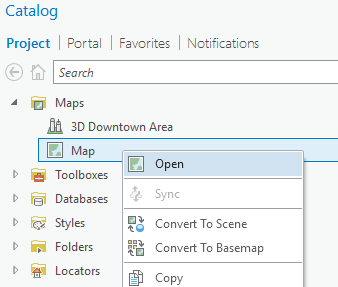
Chapter 1 Ex 1A.aprx project if you closed ArcGIS Pro at the end of the last recipe. - Open the map named
Map if it is not already open.
Note
If you are not sure how to open the map, you should refer back to the previous exercise.
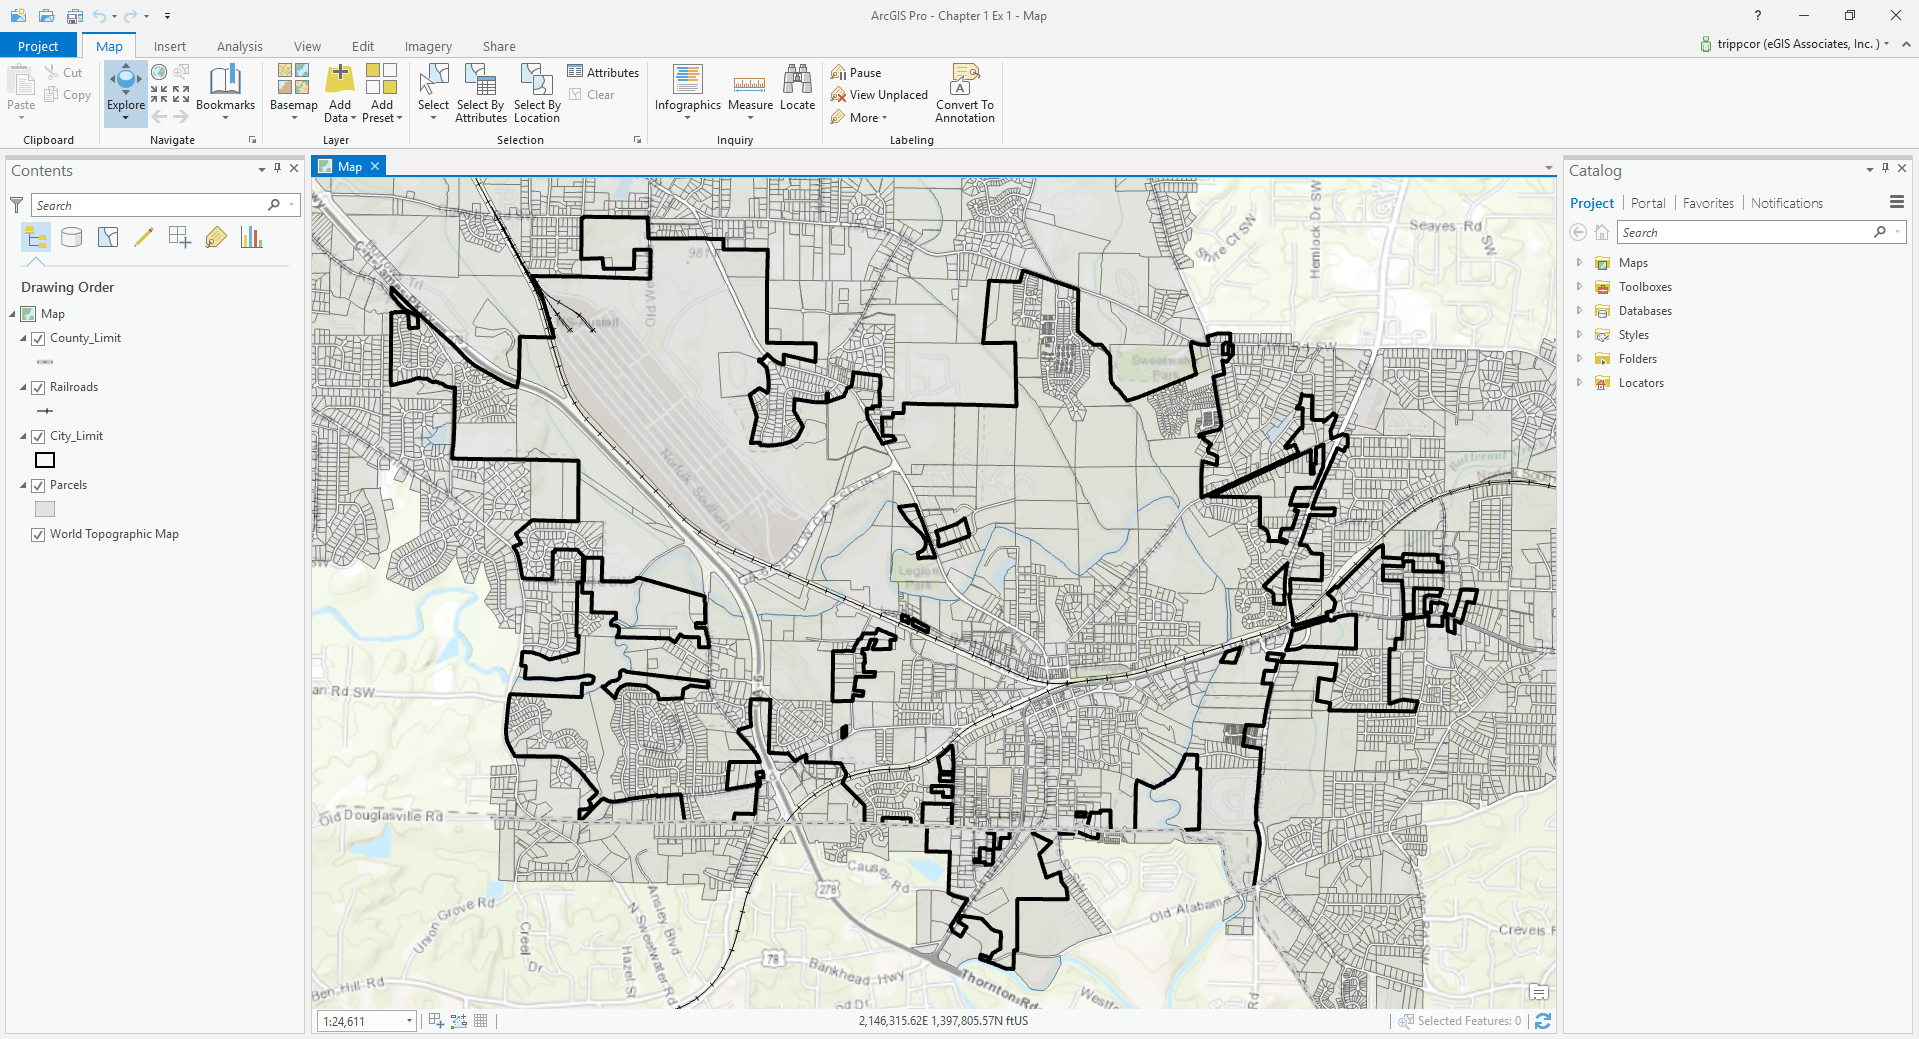
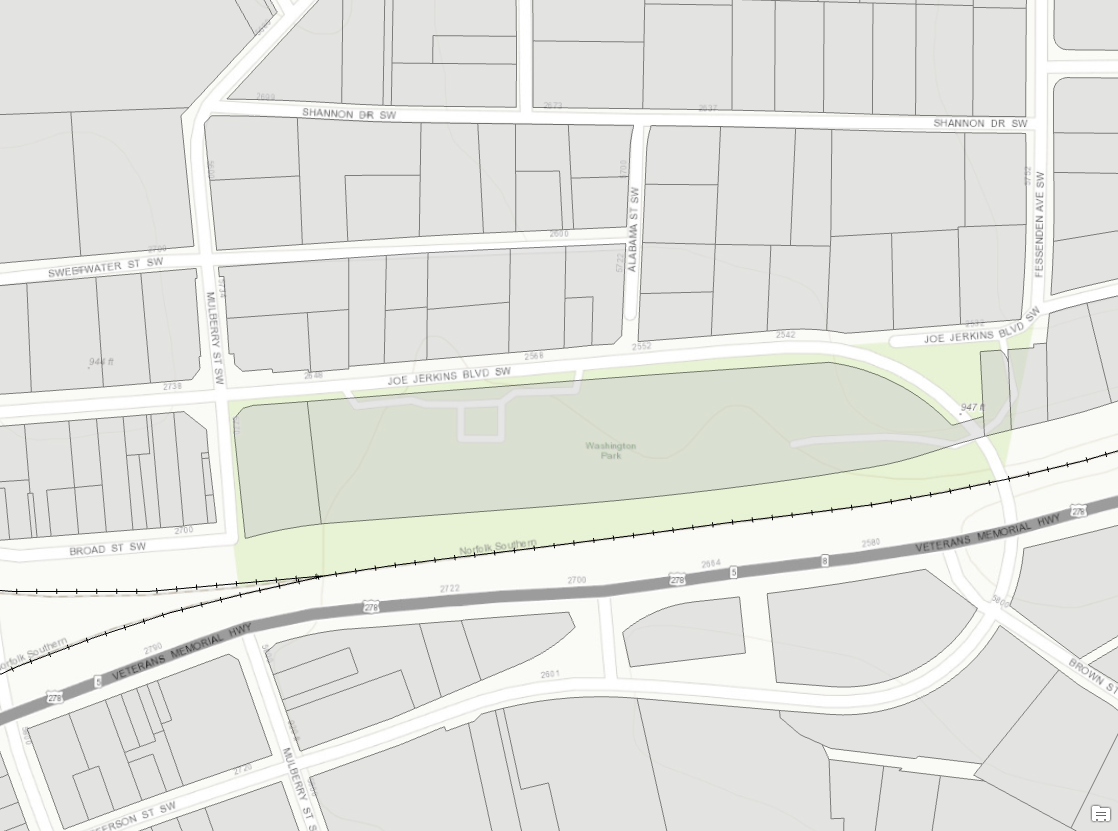
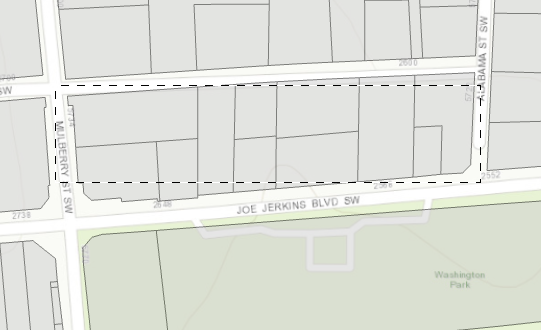
As you can see, this is a very simple map. You will want to add some new layers to show additional information.
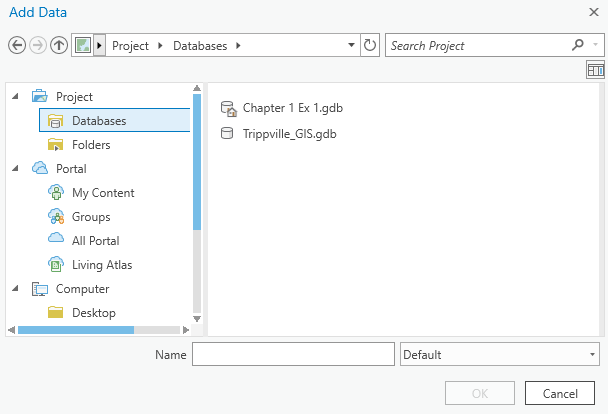
- Click the
Add Data button. Do not click the words Add Data. You want to click the icon located above the words. - In the left window in the
Add Data dialog box, expand Project by clicking the small arrowhead located to the left of Project if you do not see the contents in the following image.
- Double click
Databases so you see two databases in the window to the right of the dialog box. You should see the Chapter 1 Ex 1 and Trippville_GIS geodatabases:
- Double-click the
Trippville_GIS geodatabase to reveal its contents. - Double click the
Base feature dataset. - Select the
Buildings feature class. - While holding down the Ctrl key, click the
Natwtr_Body and Natwtr_Stream feature classes. - Once you have selected those three feature classes, click
OK to add them as three new layers to your map.
You have just added three new layers to your map using the Add Data button. This is just one of several methods that you can use to add a new layer to a map. You will use some other methods later in this recipe. Now, you will adjust some of the properties associated with the layers you just added.
Note
When you add a new layer to a map in ArcGIS Pro, the software will display the new layer using a random color. Also, it will automatically add the new layers to your map contents based on what type of layer it is. Point layers will be added to the top. Line layers will be added below points. Polygon layers will be added below the line layers. Raster layers are added below the polygons, and base maps are placed at the very bottom. In a map, the drawing order starts with the layers at the bottom of the list and draws each succeeding layer on top of the previous, so that the last layer drawn is the one on the top of the list.
- Right-click the
Natwtr_Stream layer you just added to your map and select Properties, located at the bottom of the menu that appears. - Click through the list of options located in the window on the left of the dialog box. Look at some of the properties of the layer that you can configure from this dialog box. You will make some adjustments to these as you work through the recipe.
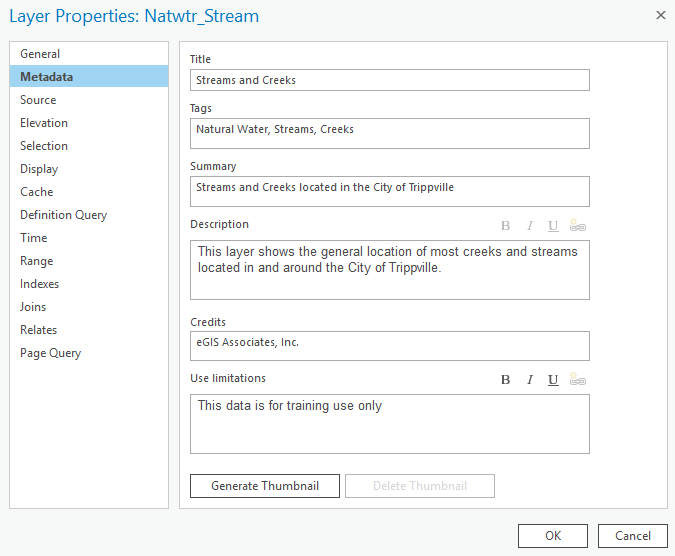
- In the
Layer Properties dialog box, select General from the window on the left side. - In the cell located below
Name, where it says Natwtr_Stream, replace that with Streams and Creeks. - Click
Metadata in the left window. - Type the following values into the metadata as shown in the screenshot:
Title: Streams and CreeksTags: Natural Water, Streams, CreeksSummary: Streams and Creeks located in the City of TrippvilleDescription: This layer shows the general location of most creeks and streams located in and around the City of Trippville.Credits: eGIS Associates, Inc.Use Limitations: This data is for training use only
Your Layer Properties window should now look like the preceding screenshot.
- Click
OK to apply the changes you have just made to the properties of the Natwtr_Stream layer. - Repeat this process for the
Natwtr_Body layer you added using the following values to update its properties. Remember to click OK when you're done:
- General:
Name: Lakes and Ponds - Metadata:
Title: Lakes and PondsTags: Natural Water, lakes, pondsSummary: Lakes and ponds located in the City of TrippvilleDescription: This layer shows the general location of most lakes and ponds located in and around the City of Trippville.Credits: eGIS Associates, Inc.Use Limitations: This data is for training use only
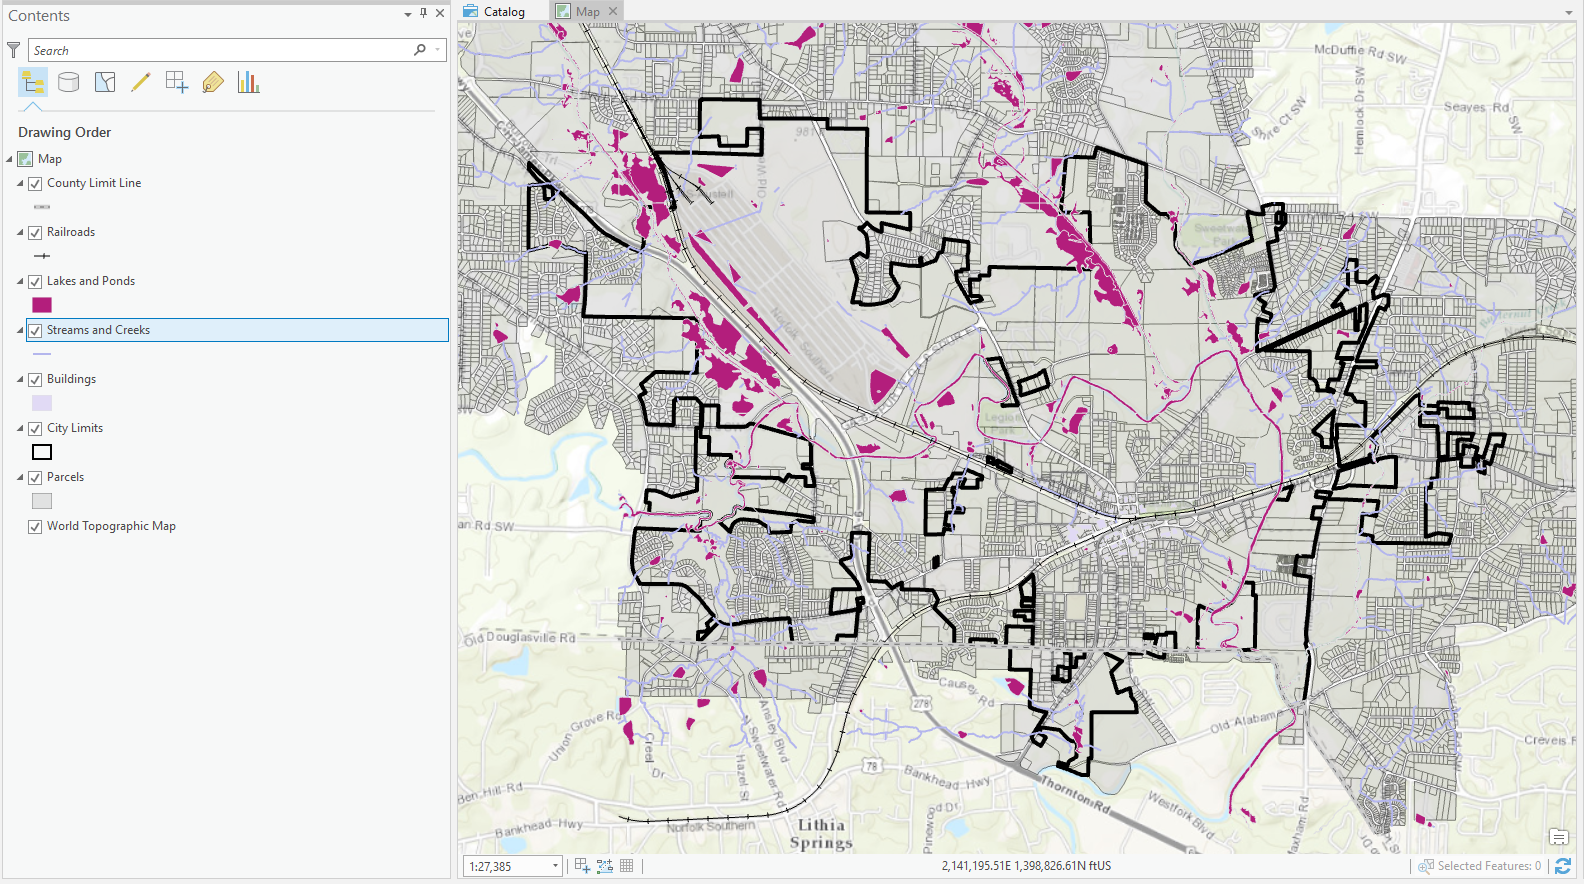
Now you will move the Streams and Creeks layer so it is beneath the Lakes and Ponds layer.
- Select the
Streams and Creeks layer in the Contents pane. - Holding your left mouse button down, drag the layer so it is below the
Lakes and Ponds layer. Your Contents pane should look similar to the following image when you are done. Remember, your colors may be different:
- Click the symbol patch located beneath the
Lakes and Ponds layer so you can adjust the Symbology settings.
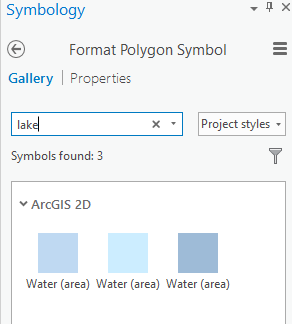
- The
Symbology pane will open on the right side of the interface. Make sure you are viewing the Gallery and type lake into the search cell:
- Select one of the presented symbols. Any will work.
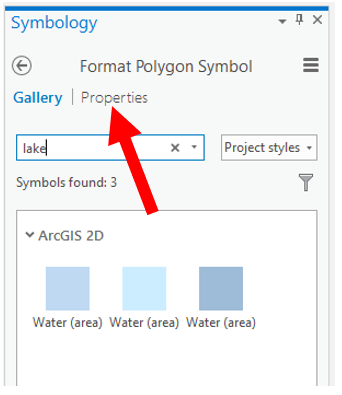
- Click the
Properties tab located next to Gallery in the Symbology pane, as illustrated in the following screenshot:
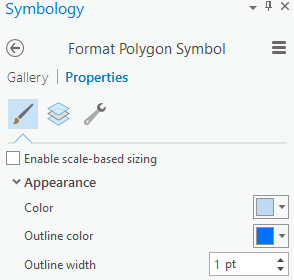
- Click the drop-down arrow for the
Outline Color, select Cretan Blue from the color palette that is presented. - Set the
Outline Width to 1 pt, as shown here:
- Click
Apply, located at the bottom of the Symbology pane. - Following that same process, click the symbol patch for the
Streams and Creeks layer. - Search
Stream in the Gallery and select the Water (Line) symbol that should be presented.
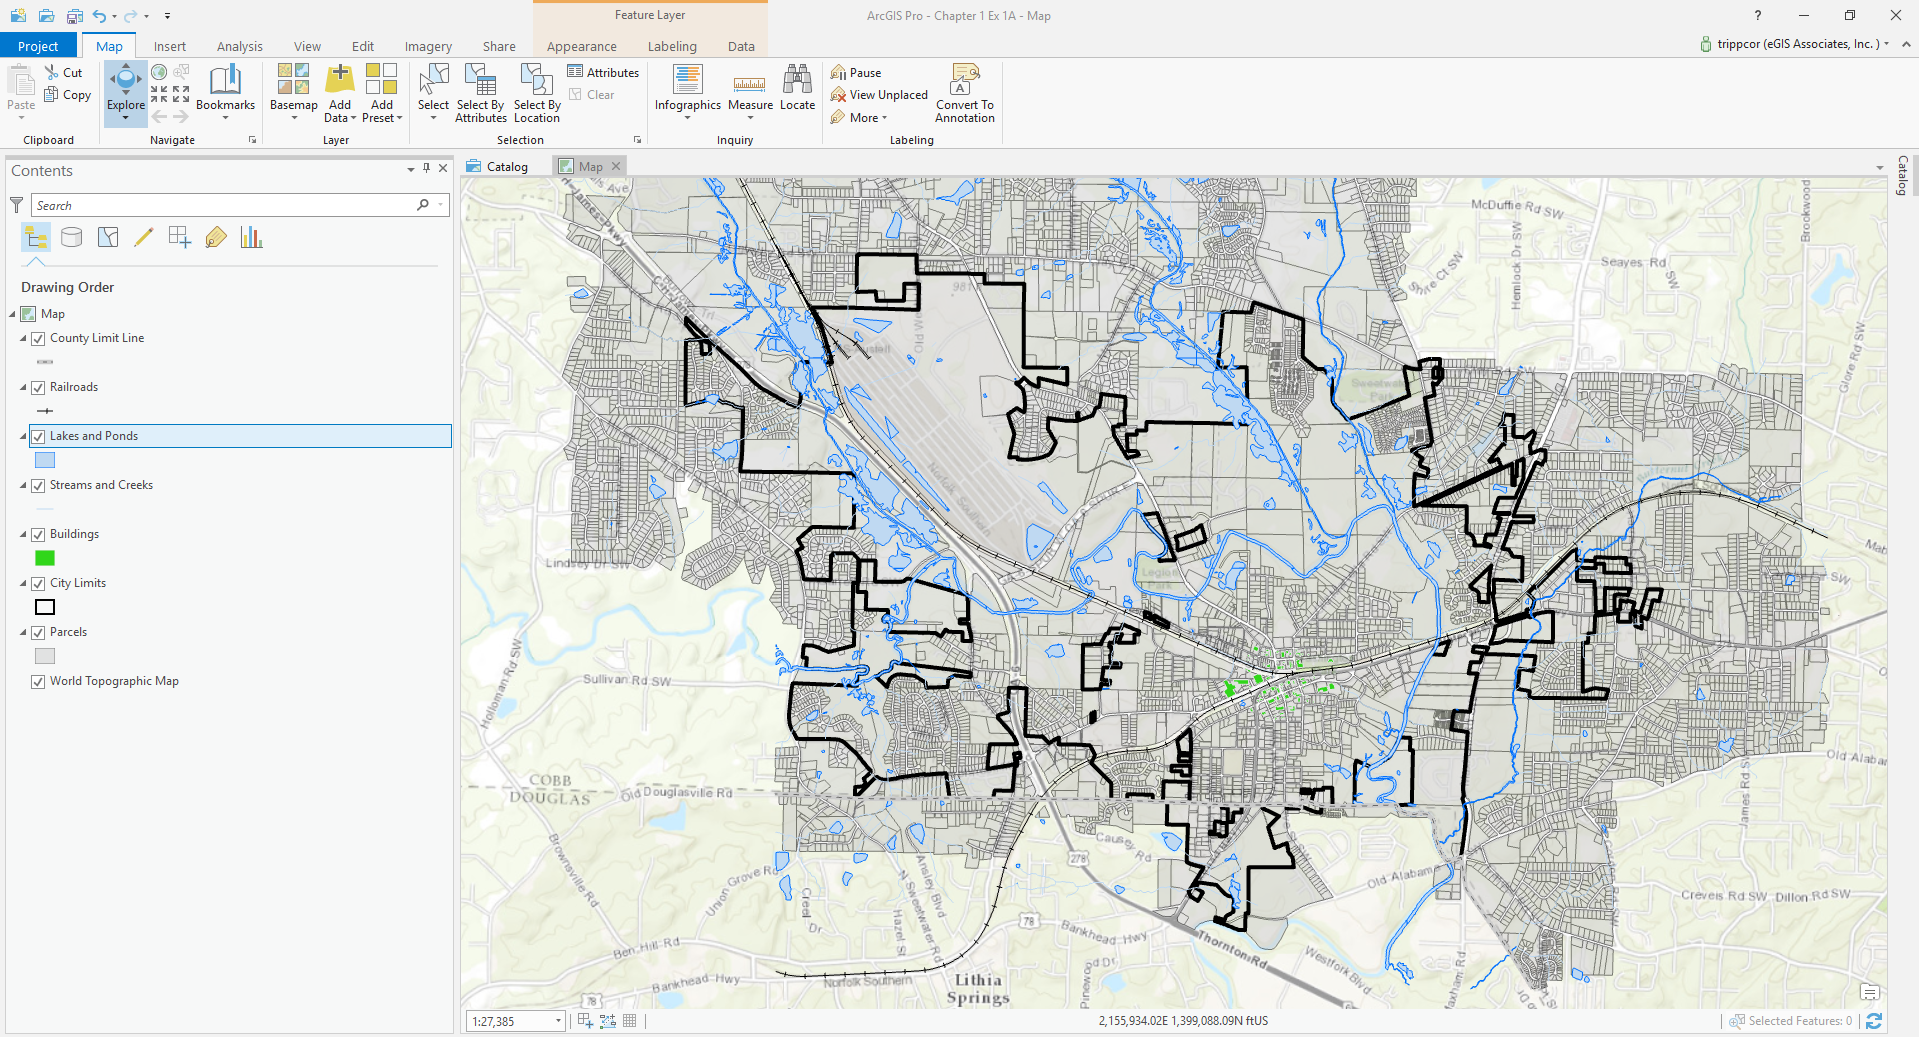
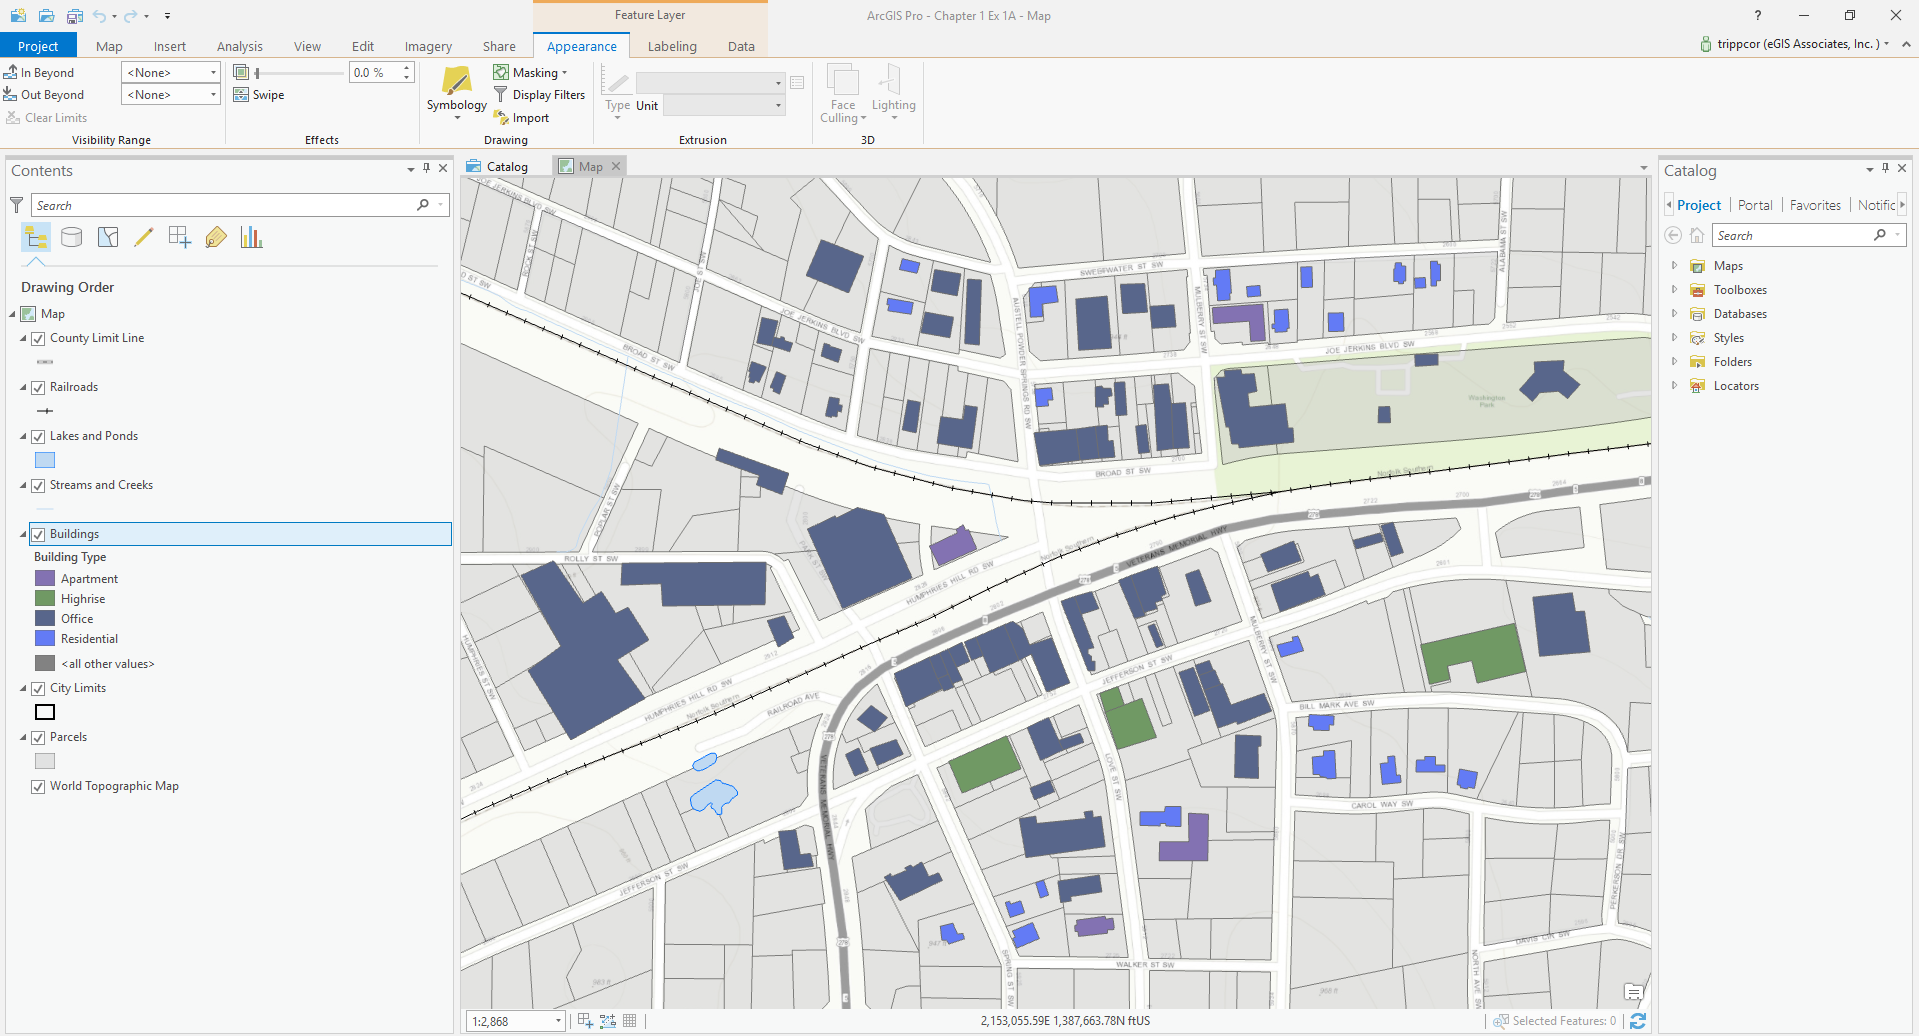
Your map should now look like this. The color of the Buildings layer may be different, depending on what ArcGIS Pro assigned it when you added the layer:
- Now you will change the symbology for the buildings so that you can determine the type. Select the
Buildings layer in the Contents pane. - Select the
Appearance tab in the Feature Layercontextual menu in the ribbon. - Click the small arrowhead located below the
Symbology button. - Select
Unique Values from the presented menu. - The
Symbology pane will open once again, though it will look a bit different. Next to Field 1, click the drop-down menu and select Building Type. - Click the
Color scheme and select a desired color scheme, such as Basic Random. Notice the symbology for the Buildings layer has changed in the Contents pane to reflect your new symbology settings. - Close the
Symbology pane.
- Right-click the
Buildings layer in the Contents pane and select Zoomto Layer. You can now see the type for each building, as shown in the following screenshot. Your buildings may be displayed with different colors depending on the color scheme you selected:
- Save your project by clicking the
Project tab in the ribbon and selecting Save.
It is recommended that you save your projects often. This will help to prevent you from losing work if ArcGIS Pro or your system experiences a problem.
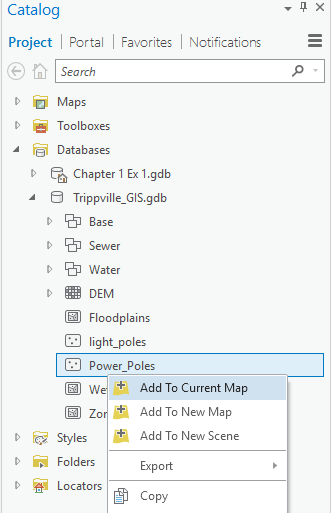
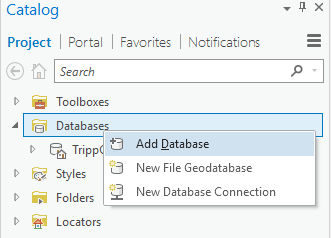
- In the
Catalog pane, expand the Databases folder by clicking the small arrowhead located to the left.
Note
If you accidentally close the Catalog pane or Contents pane, click on the View tab in the ribbon to reopen them.
- Expand the contents of the
Trippville_GIS geodatabase. - Right-click the
Power_Poles feature class and select Add to Current Map:
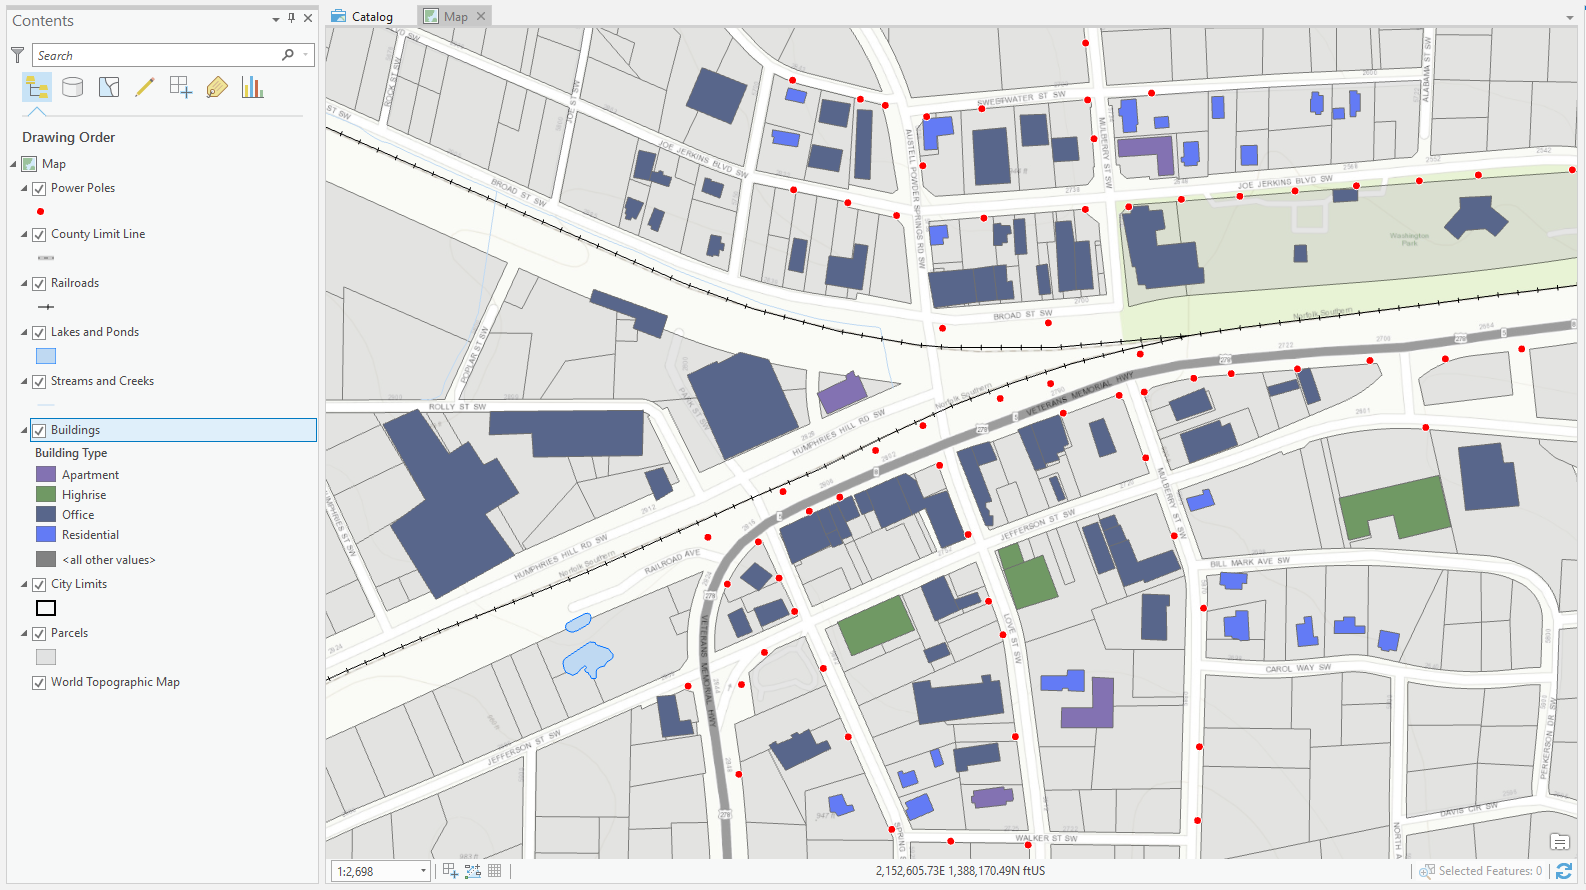
- The
Power Poles layer has been added to you map. Right-click the symbol under the layer name to display a color palette.
- Select Mars Red from the color palette to change the color of the symbol for the
Power Poles layer. Your map should now look similar to this one:
- Click the
Share tab in the ribbon. - Select
Map File from the Save As group in the Share tab. - Select
C:\ in the left side of the Save Map AS MAPX File window. - Scroll down if needed and double-click the
Student folder. - Double-click the
ArcGISProCookbook folder. - Double-click the
MyProjects folder. - In the
Name cell located at the bottom of the Save Map AS MAPX File, type TrippvilleBuildingTypeMap and click Save.
You just created a Map File that will allow you to add this same map to other projects quickly and easily. You will use this file in the next recipe.
- Close ArcGIS Pro and save your project if asked to.
In this recipe, you started by adding new layers to a map. You added multiple layers at one time using the Add Data button. Once you added the new layers, you began to adjust their properties so that they would be more useful within the map. First, you renamed the layer using a more descriptive and understandable name than the one originally associated with the feature class in the geodatabase. Then, you updated the metadata for the layer so others using the map would have a better understanding of its purpose.
After you updated some of the basic properties of the layers you added, you worked on the symbology so that the map was easier to read. You made the Streams, Creeks, Lakes, and Ponds layers blue so they resembled the features they represent, also, people are accustomed to seeing them presented this way in a map. You made these adjustments by clicking the symbol patch located beneath each layer and then changing the symbol properties in the Symbology pane.
The Buildings layer required a little more effort, because you needed to change the symbology so that you could tell each building type from within the map. This required you to base the symbology on an attribute of the buildings that was stored in a field found in the attribute table of the Buildings layer. To do this, you went to the Appearance tab and selected the Unique Values symbology. Then, you configured this symbology type to use the Building Type field from the attribute table for the layer. Once you pointed the symbology type to that field, it automatically created a unique symbol for each building type it found. In this case, it created a unique symbol allowing you to determine the type of buildings (for example, houses or apartments).
You added the Power Poles layer from the Catalog pane by right-clicking the feature class within the geodatabase and selecting Add to Current Map. You then adjusted the color of the Power Poles symbol to red by right-clicking the symbol and selecting Mars Red from the presented color palette.
Finally, you created a Map File based on the map you made, so you will be able add the map to other projects quickly and easily. The map will be added with all the layer properties and settings that you just configured, so you will not need to go through that process again.
 Argentina
 Australia
 Austria
 Belgium
 Brazil
 Bulgaria
 Canada
 Chile
Chile
 Colombia
 Cyprus
 Czechia
 Denmark
 Ecuador
 Egypt
Egypt
 Estonia
 Finland
 France
 Germany
 Great Britain
 Greece
 Hungary
 India
India
 Indonesia
 Ireland
 Italy
Italy
 Japan
Japan
 Latvia
 Lithuania
 Luxembourg
 Malaysia
 Malta
Malta
 Mexico
 Netherlands
 New Zealand
 Norway
 Philippines
 Poland
 Portugal
 Romania
 Russia
 Singapore
 Slovakia
 Slovenia
 South Africa
 South Korea
 Spain
Spain
 Sweden
 Switzerland
 Taiwan
 Thailand
 Turkey
 Ukraine
 United States