Reader small image

You're reading from  Creative Motion Mastery with Adobe After Effects

Product typeBook
Published inFeb 2024
PublisherPackt
ISBN-139781804617281
Edition1st Edition
Right arrow
Author (1)
Vishu Aggarwal
Vishu Aggarwal
author image
Vishu Aggarwal

Vishu Aggarwal is a Passionate, Professional & Multi Vendor Certified Trainer. He's an enthusiastic learner, creative designer, and an individual always eager to explore more in the fields of Graphic & Web Designing, Digital Video-Sound Editing, Instructional Design, Digital Marketing, UX/UI, 3D Animation, Virtual Reality, and Game Design. Being a career focused professional, he supports businesses across industries with extensive media and digital marketing services. His all-around experience and expertise in delivering niche multimedia and graphic design training, video editing, and many such media-related areas enable him to contribute towards accelerated organizational branding and performance with unparalleled creative outcomes.
Read more about Vishu Aggarwal

Right arrow

Creating Motion Graphic Templates for Premiere Pro

In this chapter, we will look into creating motion graphic templates (also known as MOGRTs) using the Essential Graphics panel in After Effects, which allows us to export MOGRTs to Premiere Pro.

Using After Effects, we can create these MOGRTs, which have pre-designed animations or graphics that can be easily customized and used in your Premiere Pro video projects. The MOGRT is saved as a .mogrt file in After Effects, which can then be imported into Premiere Pro, allowing you to add professional-looking motion graphics to the Premiere Pro video edits without having to create them from scratch. By using MOGRTs, video editors can save time and effort while still achieving high-quality results.

The main topics we’ll cover in the chapter are as follows:

  • Adding controls to Essential Graphics
  • Creating custom controls for layers
  • Exporting graphics templates
  • Editing MOGRT files

Technical requirements

The lesson files for this chapter can be found at https://packt.link/gbz/9781804617281.

Before starting the chapter, it is beneficial to preview the final output and end project file provided with the Chapter 6 | lesson 6 exercise files. By doing so, you can gain a clear understanding of the desired outcome and have a visual representation of what you will be working toward throughout the chapter.

Previewing the final output allows you to see the completed project, demonstrating how the various elements, effects, and animations come together. You can observe the overall look and feel, the arrangement of different components, and how they interact with each other. This preview serves as a reference point, giving you a target to aim for as you progress through the chapter.

Setting up the project

In this project, we will be creating one master composition, called Media Opener. This will have media and text placeholders that will be editable and replaceable in the MOGRT we will export from After Effects to Premiere Pro at the end of the lesson.

So, let’s first import a media placeholder graphic that can be replaced later by any other media (graphic or video) from within Premiere Pro or After Effects.

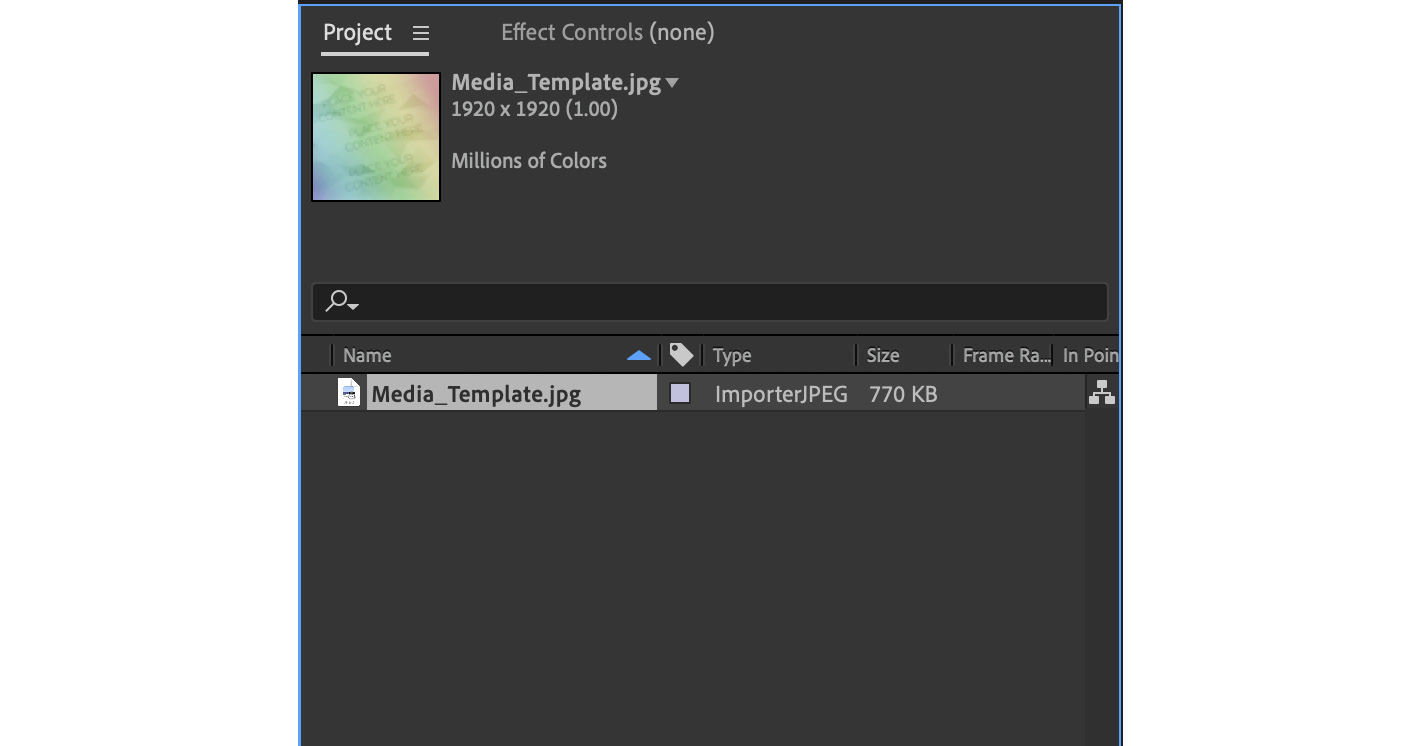
We are going to import the file needed for this project. To do so, go to File | Import | File… | Footage | Media_Template.jpg | Open.

Figure 6.1: Media_Template.jpg imported

Figure 6.1: Media_Template.jpg imported

We will use the imported media later. Now, we need a new composition for the project. Follow these steps to create it:

  1. Click on the New Composition button in the Project panel, or go to Composition | New Composition.
  2. In the Composition Settings dialog box. change the name to Media Opener.
  3. Change the preset to Social Media...

Building the Media Opener composition

Before we create the template, we need to create the composition with effects, assets, animations, media placeholders, and shape layers. The template will be based on this composition.

Creating a background

In the Media Opener composition, we will add a background using a solid layer and apply the gradient ramp effect, which is a useful effect to create backgrounds with a smooth transition between two or more colors. Follow these steps to create the gradient ramp effect:

  1. Go to the Media Opener composition in the Timeline panel. Right-click and go to New | Solid…, or go to the Layer menu | New | Solid….
  2. In the Solid Settings dialog box, change the name to Background.
Figure 6.3: The new solid layer settings

Figure 6.3: The new solid layer settings

  1. Keep the other settings as default, and click OK.
  2. Select the created Background layer in the Media Opener composition, and go to Effects | Generate | Gradient Ramp.
  3. ...

Working with Essential Graphics

Essential Graphics is a feature in After Effects that allows you to create and export MOGRTs that can be edited in Premiere Pro. These templates can include text, shapes, and other elements, and they can be customized by users of Premiere Pro without having to open After Effects.

Here are some of the benefits of using Essential Graphics:

  • You can save time and effort by creating templates that can be customized by users of Premiere Pro
  • You can create consistent branding across your projects by using the same templates in After Effects and Premiere Pro
  • You can easily share your templates with others by exporting them as .mogrt files
  • You can access a wide range of pre-made templates from Adobe Stock and the community

Note

The keyframes of animated properties will be ignored in Premiere Pro when the composition is exported as a motion graphics template.

Now that we have understood the benefits of Essential Graphics, we...

Summary

In this chapter, we created a MOGRT. We learned how to create a track matte, make custom properties, and link layer properties to them.

We also saw how to add properties in Essential Graphics and created groups for the properties. Finally, we looked at how to export a template and preview it in Premiere Pro.

We also reviewed the concepts of applying expressions, timing keyframes, and animating layer properties.

In the next chapter, we will learn how to perform color correction and grading in After Effects using the Lumetri Color effect, which is an all-in-one color correction and grading effect.

lock icon
The rest of the chapter is locked
You have been reading a chapter from
Creative Motion Mastery with Adobe After Effects
Published in: Feb 2024Publisher: PacktISBN-13: 9781804617281
Register for a free Packt account to unlock a world of extra content!
A free Packt account unlocks extra newsletters, articles, discounted offers, and much more. Start advancing your knowledge today.
undefined
Unlock this book and the full library FREE for 7 days
Get unlimited access to 7000+ expert-authored eBooks and videos courses covering every tech area you can think of
Renews at $15.99/month. Cancel anytime

Author (1)

author image
Vishu Aggarwal

Vishu Aggarwal is a Passionate, Professional & Multi Vendor Certified Trainer. He's an enthusiastic learner, creative designer, and an individual always eager to explore more in the fields of Graphic & Web Designing, Digital Video-Sound Editing, Instructional Design, Digital Marketing, UX/UI, 3D Animation, Virtual Reality, and Game Design. Being a career focused professional, he supports businesses across industries with extensive media and digital marketing services. His all-around experience and expertise in delivering niche multimedia and graphic design training, video editing, and many such media-related areas enable him to contribute towards accelerated organizational branding and performance with unparalleled creative outcomes.
Read more about Vishu Aggarwal