


Creating an NPC That Allows Us to Change Our Appearance
A fun feature for our metaverse is to allow our users to choose an alternative appearance. This will be very easy as we will follow most of the steps in Chapter 7, Building an NPC That Allows Us to Travel. The mechanism we will build in this chapter will allow you to add multiple avatars that your users will be able to select from a custom window.
We will also modify some existing scripts to allow avatar changes to be saved to PlayerPrefs, a new concept we will learn about in this chapter, so that when a user logs in again, the previously selected avatar will be loaded.
In the following figure, you can see the final result of the NPC that we are going to build throughout this chapter. It is spectacular, isn’t it?
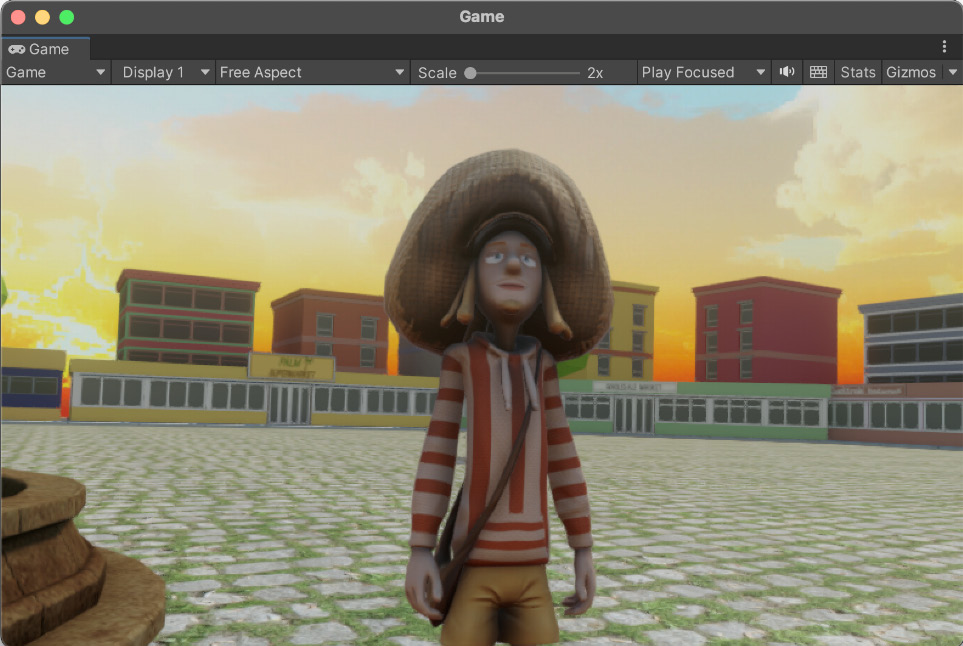
Figure 11.1 – Final result
We will cover the following topics in this chapter:
- Choosing an aspect
- Bringing the NPC to life
- Triggering the NPC when we are...


