


Splunk installation – standalone
As discussed in the preceding section, a single-server deployment consists of a single Splunk instance combining both SH and indexer functionality. The installation actually isn’t part of the admin exam blueprint; however, it is very helpful to get your hands dirty by experiencing Splunk yourself through the Splunk Web, configuration file (.conf), and CLI options that we are going to discuss in upcoming chapters. This section provides instructions for installing Splunk Enterprise 9.0.3 on the Windows operating system. Let's get into it.
Installation system requirements
Let’s look at the system requirements of the computing environment. Splunk Enterprise supports multiple operating system environments. A full list of the supported options is available here: https://tinyurl.com/2tuudjwr. Splunk has the following hardware requirements:
- A 64-bit Linux or Windows distribution
- 12 physical CPU cores or 24 vCPU @ 2 GHz or more clock speed per core
- 12 GB random-access memory (RAM)
- An x86 64-bit chip architecture
- 1 GB Ethernet network interface card (NIC)
- Free disk space of at least 3 GB for installation and more as per indexing needs
My system specifications for where Splunk version 9.0.3 is going to be installed are as follows:
- 64-bit Windows 11 Pro operating system
- 6 physical CPU cores (or 12 vCPUs) @ 2.1 GHz clock speed and 16 GB RAM
- An x86 64-bit AMD chip
- Plenty of disk space
You might have noticed the physical CPU cores in my PC are fewer than recommended, which is absolutely fine as we are not going to run production workloads on the Splunk instance. Let’s get into the installation steps, as follows.
Installation steps
As a prerequisite, you need a high-speed internet connection to download the Splunk Enterprise free software package from here: https://www.splunk.com/en_us/download.html. If you do not have a Splunk account, then sign up and log in to continue. Choose the installation package by operating system and download the latest version, which is 9.0.3 at the time of writing.
Let’s begin the installation:
- Download the
.msifile that appears assplunk-9.0.3-dd0128b1f8cd-x64-release.msi. Double-click on it to start the installation. You will be prompted to accept the license with the default installation options. Refer to Figure 1.8 and click the Next button:
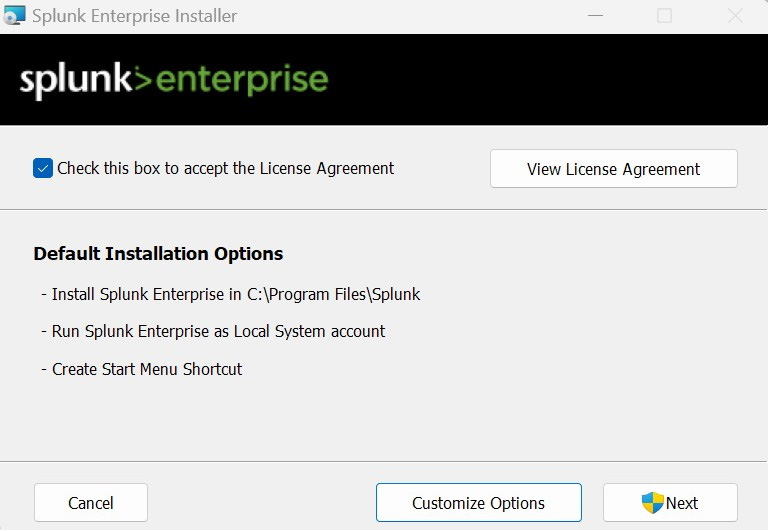
Figure 1.8: Installation – license agreement
- You will be prompted to enter administrator account credentials. Enter the details. Make sure you remember them as you will need them to log in to the Splunk instance for the first time. Click the Next button (refer to Figure 1.9):
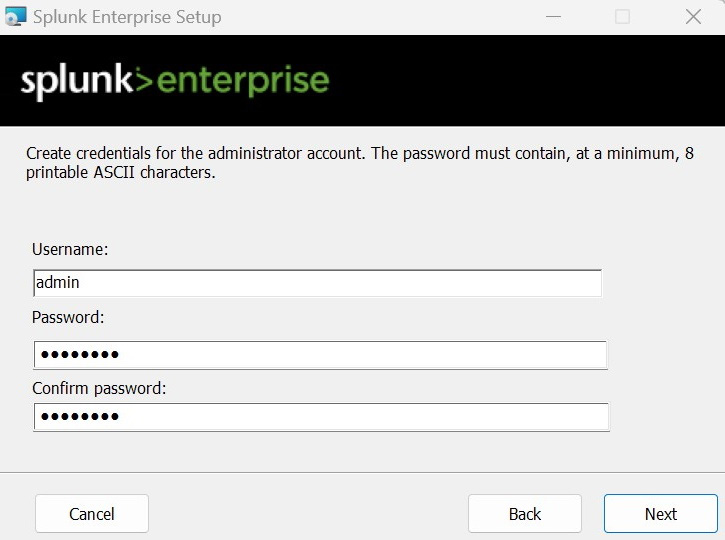
Figure 1.9: Installation – creating administrator account credentials
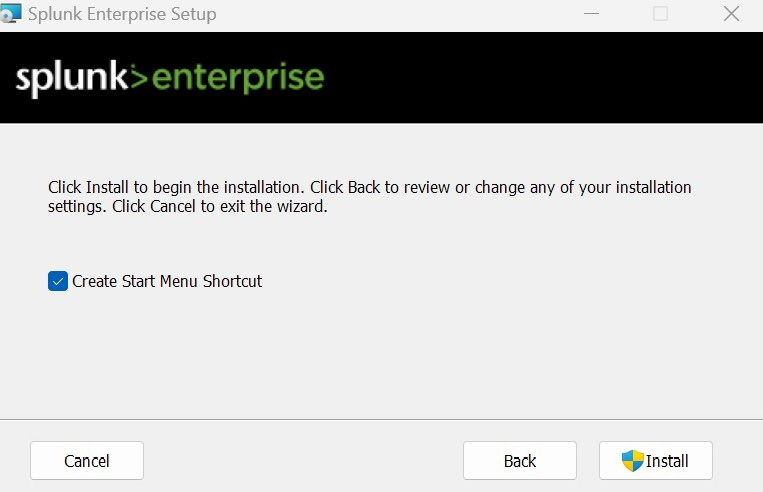
Figure 1.10: Installation – click Install to begin
- The setup wizard takes a few minutes to install Splunk Enterprise. If all goes well, a final “successfully installed” screen appears, as shown in Figure 1.11. Clicking on the Finish button will launch the browser window:
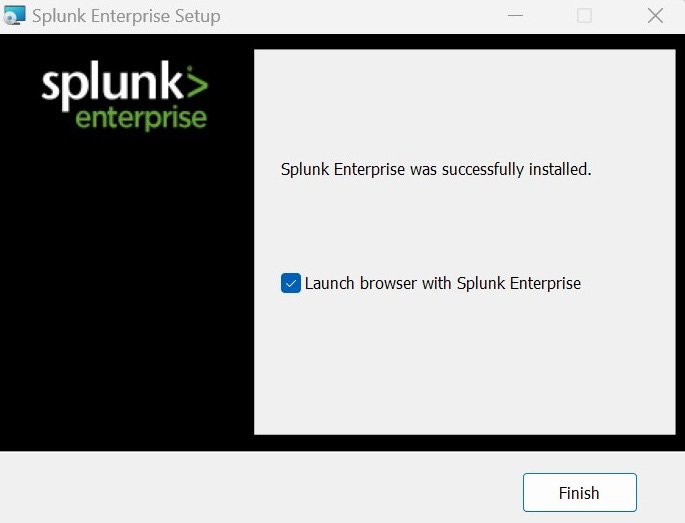
Figure 1.11: Installation successful
- You should observe the first-time login browser window URL: https://127.0.0.1:8000. Here,
8000is the default Splunk Web port and127.0.0.1is the loopback address. Enter the admin credentials created in step 2; then you will be taken to the Splunk Enterprise home page at http://127.0.0.1:8000/en-GB/app/launcher/home:
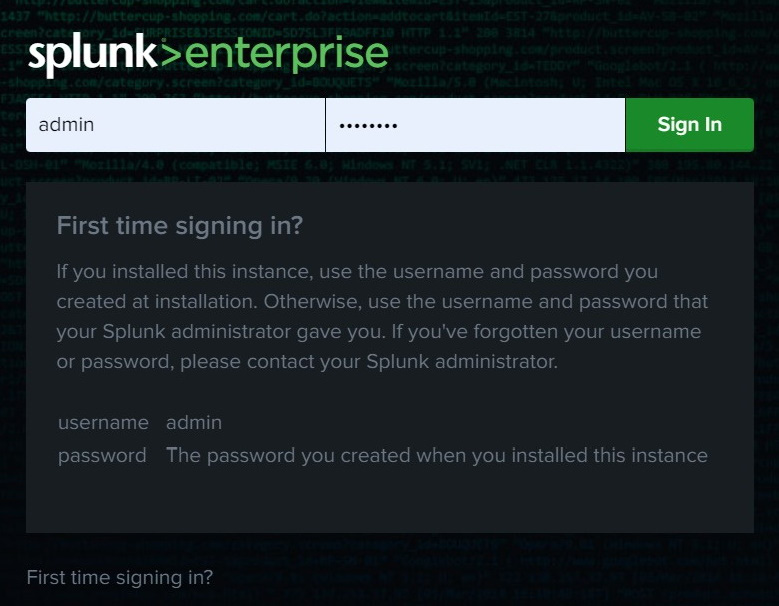
Figure 1.12: Splunk Enterprise – first-time sign-in page
The installation is successfully completed. Now, let’s summarize what we learned in this chapter in the next section.