
Serial communication is used for communication between the Arduino board and a computer or other devices. All Arduino boards have at least one serial port which is also known as a UART. Serial data transfer is when we transfer data one bit at a time, one right after the other. Information is passed back and forth between the computer and Arduino by, essentially, setting a pin to high or low. Just like we used that technique to turn an LED on and off, we can also send data. One side sets the pin and the other reads it.
In this section, you will see two examples. In the first example, Arduino will send data to the computer using serial communication, while in the second example, by sending a command (serial) from the computer, you can control the functionality of the Arduino board.
In this example, the Arduino board will communicate with the computer using the serial port, which can be viewed on your machine using the Serial Monitor.
Write the following code to your Arduino editor:
void setup()                    // run once, when the sketch starts
{
  Serial.begin(9600);           // set up Serial library at 9600 bps

  Serial.println("Hello world!");  // prints hello with ending line break
}

void loop()                       // run over and over again
{
                                  // do nothing!
}
Tip
Even if you have nothing in the setup or loop procedures, Arduino requires them to be there. That way it knows you really mean to do nothing, as opposed to forgetting to include them!
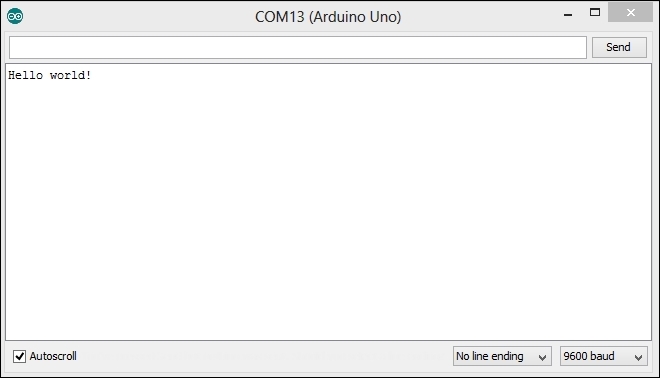
Serial.begin sets up Arduino with the transfer rate we want, in this case 9600 bits per second. Serial.println sends data from Arduino to the computer.
Once you compile and upload it to your connected Arduino board, open Serial Monitor from the Arduino IDE. You should be able to see the Hello world! text being sent from the Arduino board:
Note
If you have trouble locating Serial Monitor, check the Understanding Arduino IDE section of this chapter.
In the previous example, serial library was used to send a command from Arduino to your computer. In this example, you will send a command from the computer, and Arduino will do a certain operation (turn on/off LED) based on the command received:
int inByte; // Stores incoming command
void setup() {
Serial.begin(9600);
pinMode(13, OUTPUT); // LED pin
Serial.println("Ready"); // Ready to receive commands
}
void loop() {
if(Serial.available() > 0) { // A byte is ready to receive
inByte = Serial.read();
if(inByte == 'o') { // byte is 'o'
digitalWrite(13, HIGH);
Serial.println("LED is ON");
}
else
{
// byte isn't 'o'
digitalWrite(13, LOW);
Serial.println("LED is OFF");
}
}
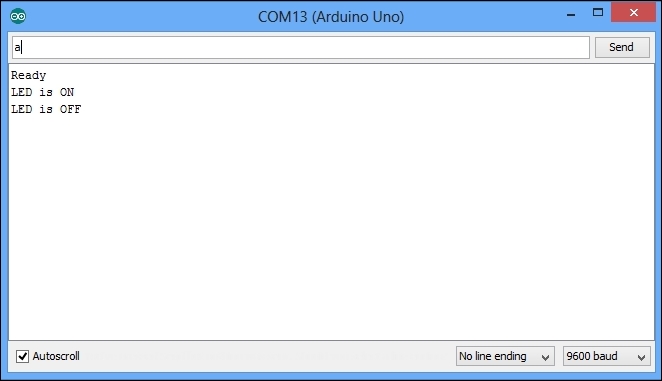
}The inByte function will store the incoming serial byte. From the previous example, you should be familiar with the commands written in the setup function. In the loop function, first you need to know when a byte is available to be read. The Serial.available() function returns the number of bytes that are available to be read. If it is greater than 0, Serial.read() will read the byte and store it in an inByte variable. Let's say you want to turn on the LED when the letter 'o' is available. For that you will be using the if condition, and you will check whether the received byte is 'o' or not. If it is 'o', turn on the LED by setting pin 13 to HIGH. Arduino will also send an LED is ON message to the computer, which can be viewed in Serial Monitor:

If it is any other character, then turn off the LED by setting pin 13 to LOW. Arduino will also send an LED is OFF message to the computer, which can be viewed in Serial Monitor: