
Working with Microsoft Forms
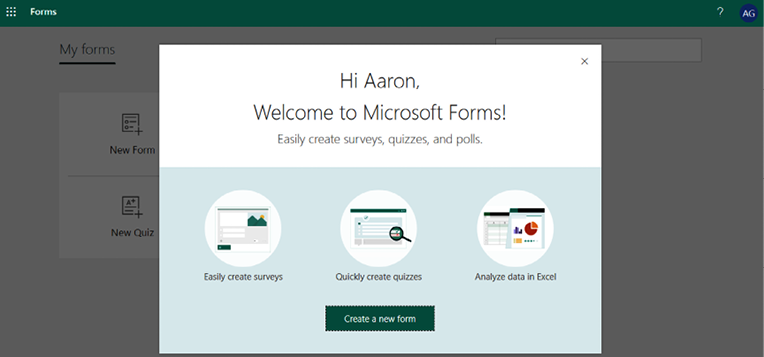
Gathering and processing feedback from users or customers is an important part of business operations. Microsoft Forms is a survey tool that can be used to capture that information, both with fixed questions and free-form text entry options.
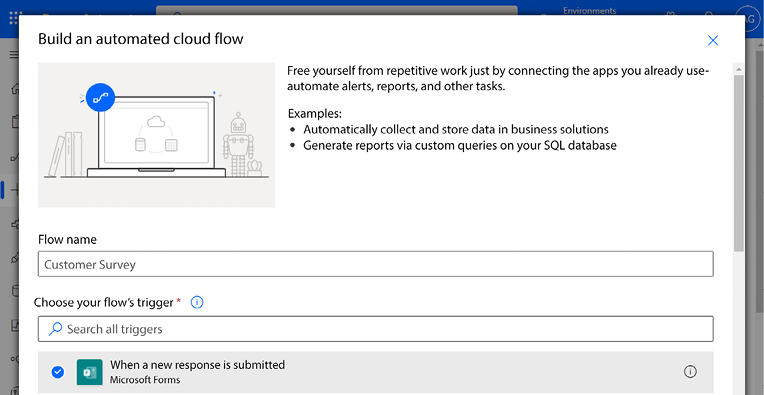
In this chapter, we’re going to build on the concepts we’ve already learned regarding conditions (Chapter 8, Working with Conditions) and adding content to a database (Chapter 12, Using a Database) to create flows based on input from Microsoft Forms and save it to a SQL database. Specifically, we’ll look at the following topics:
- Understanding the Forms connector triggers and actions
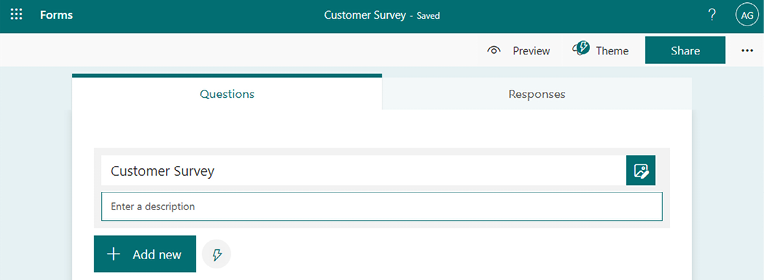
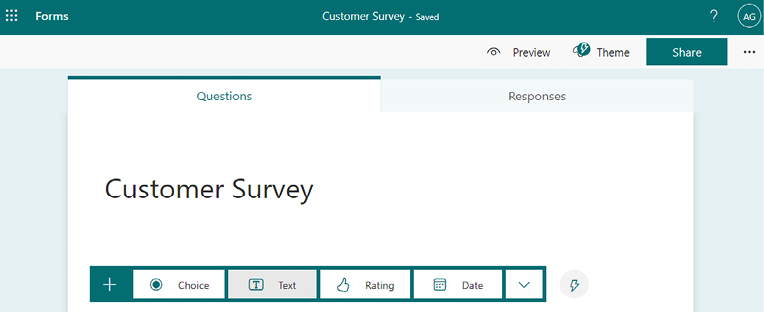
- Creating a basic form
- Processing a form with Power Automate
When you finish this chapter, you’ll have an understanding of how you can connect Forms and SQL with Power Automate.
Let’s dig in!