Animating Shape Layers
Adobe After Effects has a powerful feature known as shape layers. These layers are vector shapes that can be animated using multiple modifiers and shape layer properties. In this chapter, we will learn how to create shape layers and how to customize and connect shape layer vertex points with Null objects to create impactful results.
The main topics we’ll cover in the chapter are as follows:
- Creating shape layers
- Exploring shape tools
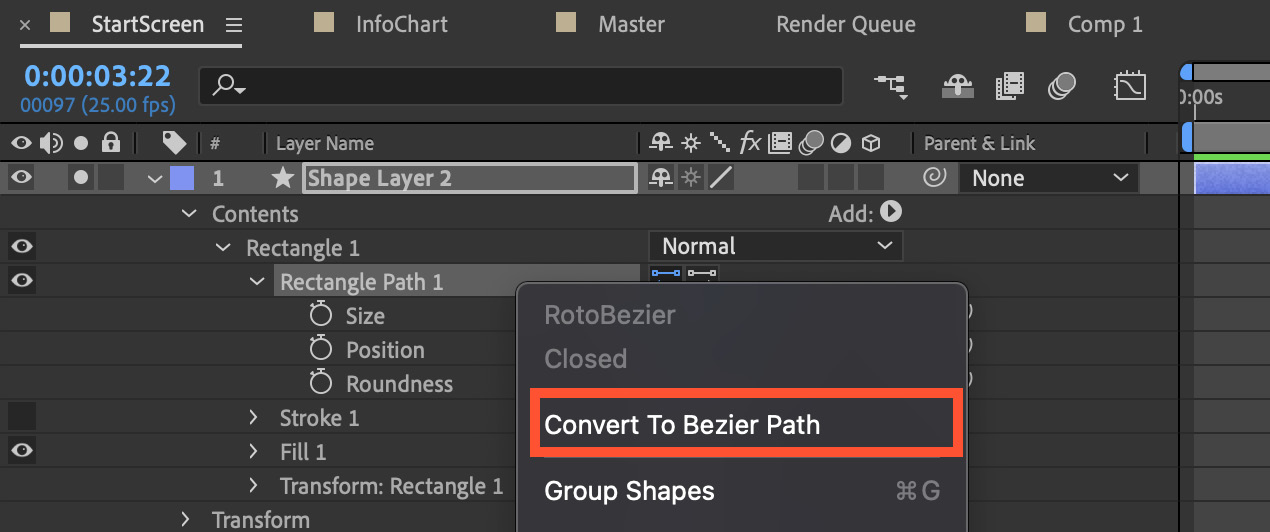
- Working with Bezier paths
- Animating shape and text layers
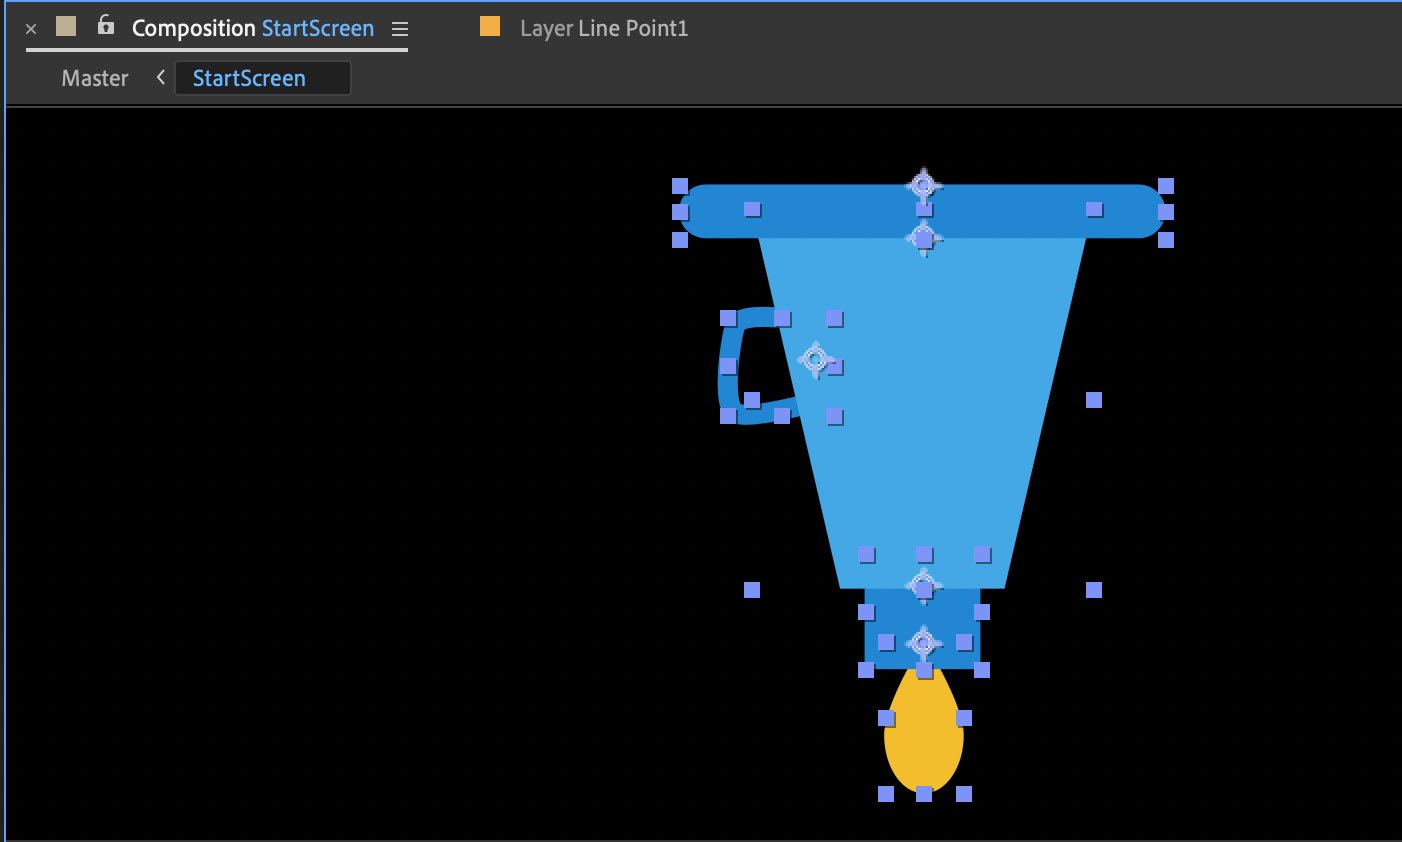
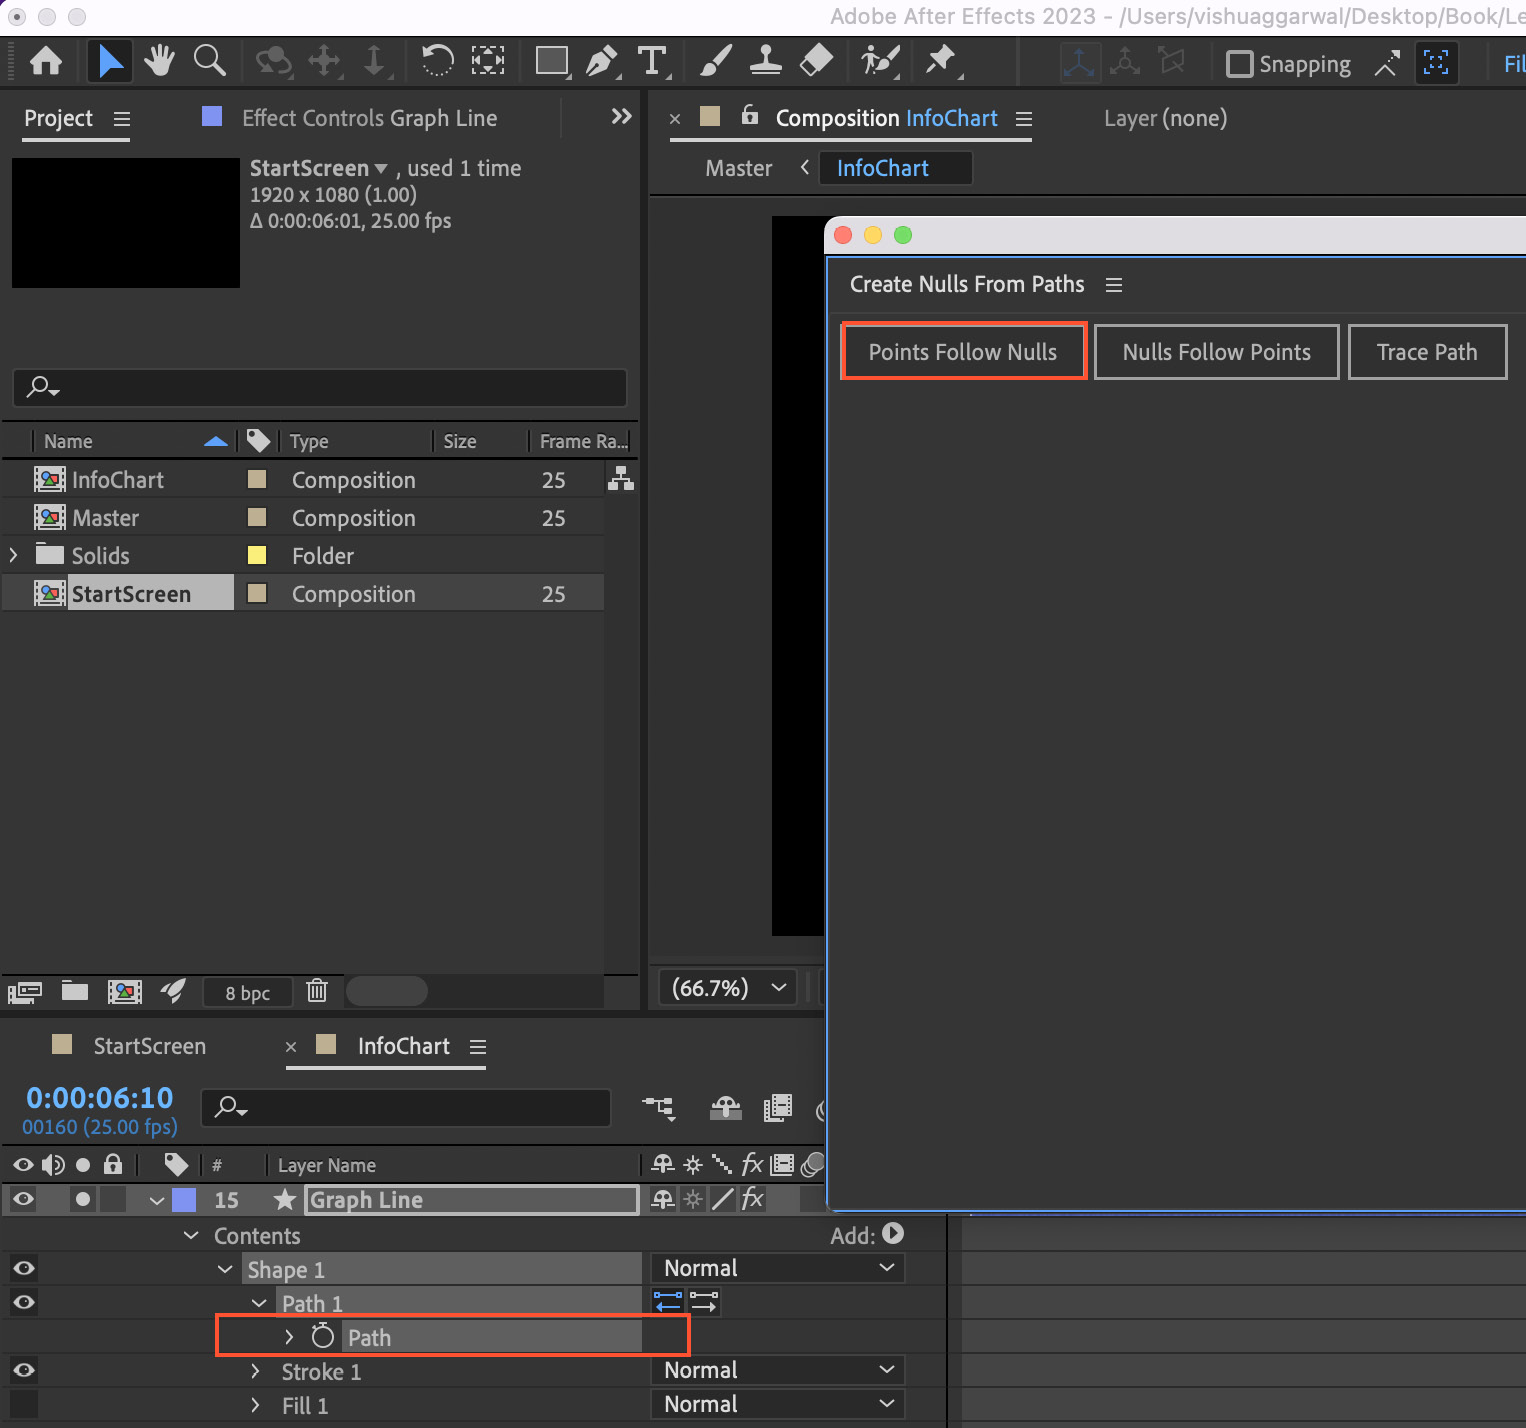
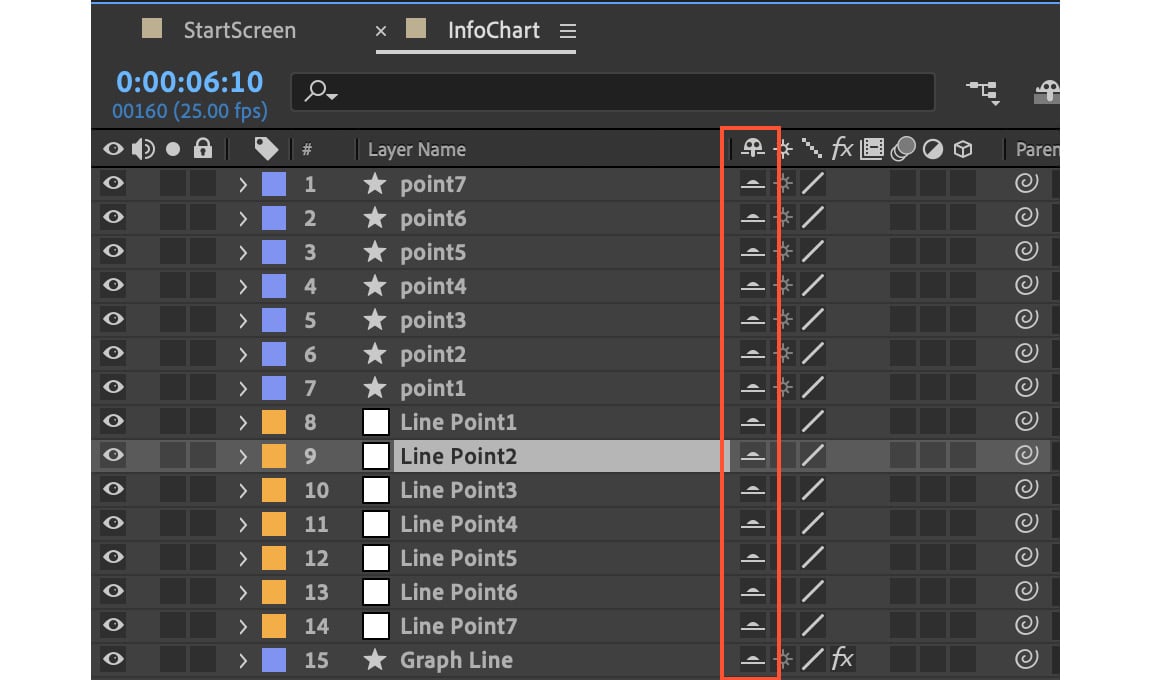
- Using Null for vertex points of Shape layers
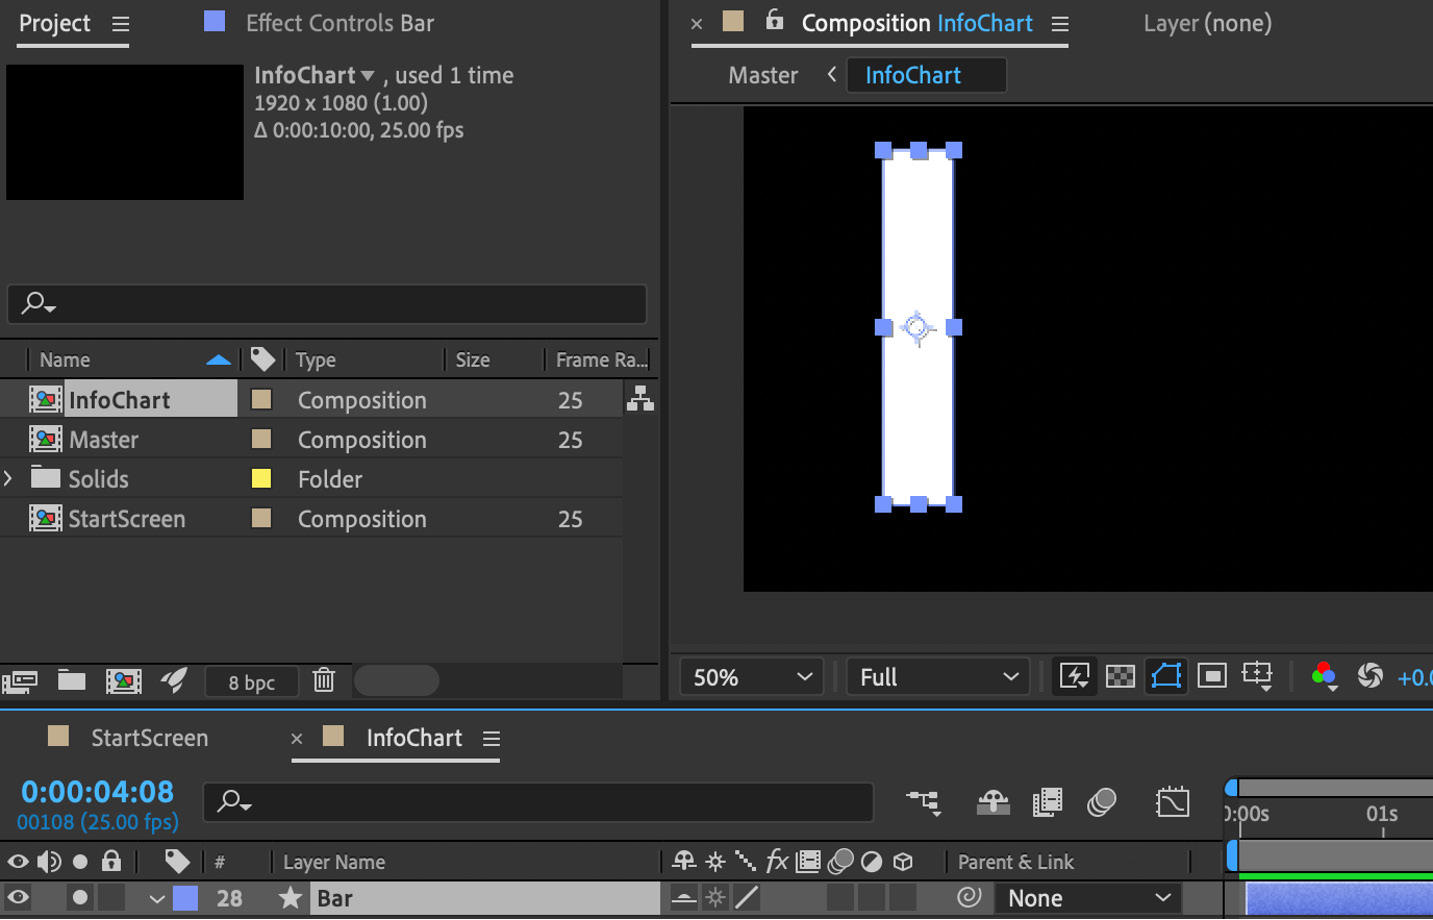
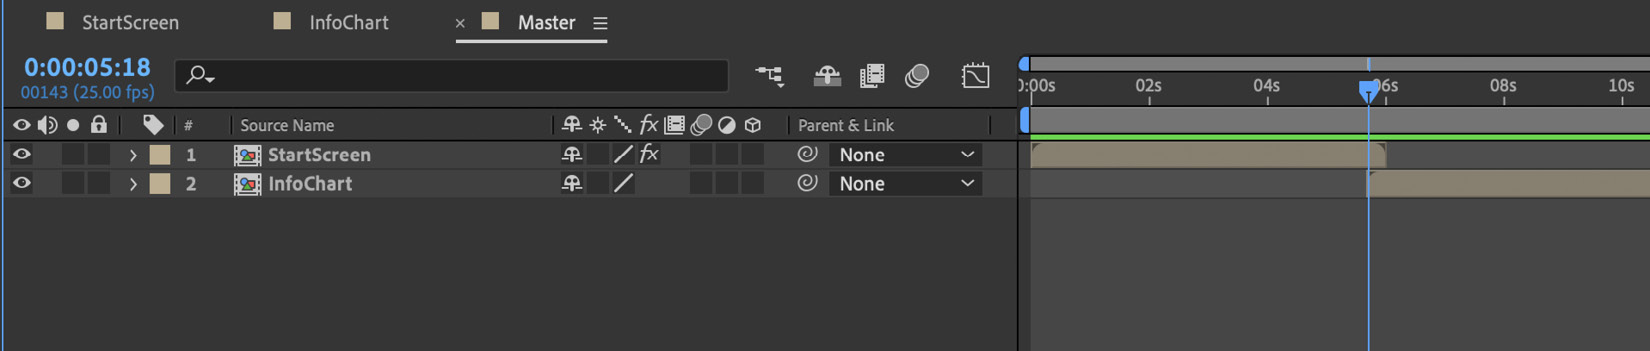
- Merging the compositions