
This chapter explains how to configure a suitable Azure AD tenant based on the decided cloud identity architecture. You will learn how to configure and manage users, groups, roles, and administrative units in order to provide a user and group-based application and self-service access, including audit functionality.
In this chapter we are going to cover the following topics:
Implementation scenario overview
Implementing a solid Azure Active Directory
Creating and managing users and groups
Assigning roles and administrative units
Providing user and group-based application access
Activating password reset self-service capabilities
Using Standard Security Reports
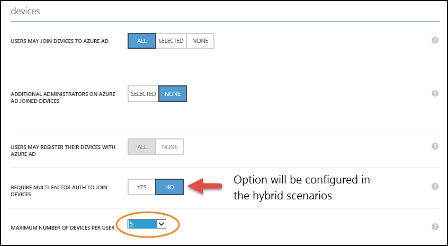
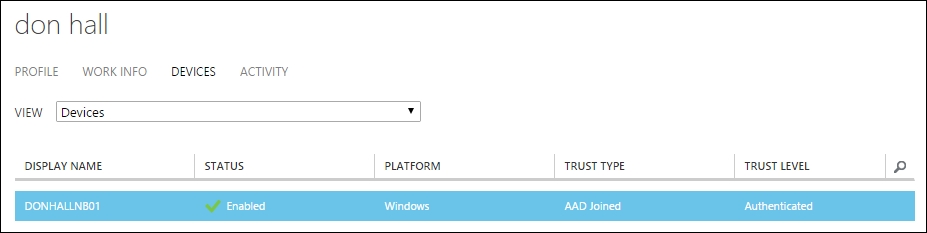
Integrating Azure AD join for Windows 10 clients