


By default, Bonita Open Solution uses the file-based h2 database for its internal operations. Let us look at the places where this is configured and also change the connections to make sure that it uses MySQL instead. This practice will allow us to learn about the configurations files as well as setting up our MySQL server as Bonita's internal database.
In the TOMCAT_HOME folder, open up the conf folder. Here, you will find the Tomcat configuration files as well as the database files for Bonita. Let us now look at the internal database used by Bonita. Open up the file context.xml in any editing tool, such as Sublime Text. In this file, we can see that the default datasource is the one used by the h2 database. Beneath that, there is a commented datasource to be used for MySQL. Let us comment the h2 datasource and uncomment the MySQL datasource. We need to change a few parameters for the MySQL datasource, too.
Tip
The way to comment in an XML file is to include the comment text commented within a <!-- opening tag and a --> closing tag.
There are two databases that Bonita uses internally for all its purposes. One is called
bonita journaland one isbonita history.Firstly, we need to change the username and password for the MySQL server that we would be using. In the Username and password fields, enter your MySQL username and password.
MySQL uses port 3306 by default, and the default names for the databases used are
bonita_journalandbonita_history. You can change this in the URL parameter of both the datasources. Create the two databases that you mentioned in the URL parameter in your MySQL server. You can let the other parameters remain the same.
This defines the data source that has to be used for Bonita. Now, we have to define the other database and hibernate properties, which we should do in two other files. These are the bonita-journal.properties and bonita-history.properties files present in the TOMCAT_HOME/bonita/server/default/conf/ directory.
Open the bonita-journal.properties file to find the different configurations for database access. The default database connections are made using the h2 database. This file has the other hibernate properties that are used to connect to the database. At the end of the file, there are commented sections that have the code for other databases. Let us uncomment the lines for MySQL, that is, line numbers 101 and 102.
The file now looks like the following code:
##
# MYSQL

hibernate.dialect                    org.hibernate.dialect.MySQL5InnoDBDialect
bonita.hibernate.interceptor org.ow2.bonita.env.interceptor.MySQLDescNullFirstInterceptor
Make sure that the bonita.hibernate.interceptor property and the value MySQLDescNullFirstInterceptor are on the same line. Now, we have uncommented the section for MySQL, so we need to comment out the sections for h2. Comment out the corresponding h2 database connection properties, found on lines 17 and 20.
You can leave the other properties unchanged; these are primarily hibernate properties. One property that you may change later is the property on line 23: hibernate.hbm2ddl.auto. This specifies that the tables required by Bonita should be created/updated as and when the database connection is made. This option is a must during the initial setup when the tables aren't set up, but it isn't needed later on when everything is up and running properly.
Make similar changes to the bonita-history.properties file. Now that we have changed all the properties, one thing that remains is the appropriate driver for MySQL. We have defined the driver com.mysql.jdbc.Driver in the context.xml file, but we do not know where to find this driver. Hence, we need to download the MySQL JAR that contains this driver class. We can download the latest MySQL Connector 5.0.8 from the following website:
http://dev.mysql.com/downloads/connector/j/
Download the platform-independent version and extract the zip file. You will find a JAR file, such as mysql-connector-java-5.1.26-bin.jar (the version may be different). Copy this jar into the lib folder of TOMCAT_HOME.
Now run startup.bat from the bin folder of Tomcat. When you navigate to http://localhost:8080/bonita, you will have to log in using the admin credentials. The first time it will be slow, as all the required tables will be created in the database. Thereafter, you will be navigated to the user inbox.
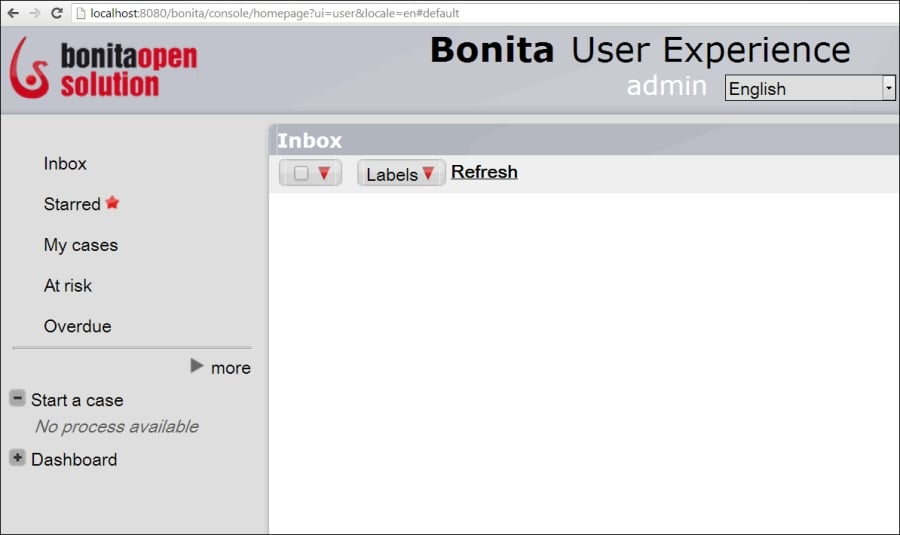
Figure 8.2: User Experience on the Tomcat server


