


Multimedia can be quite challenging on Banana Pi, and a lot of people are frustrated because of advanced low-level problems regarding hardware-accelerated video playback. Therefore, this chapter deals with multimedia-related problems. The two audio outputs (analog and HDMI) are configured. We will discuss and solve the hardware acceleration problem by compiling the important Video Decode and Presentation API for Unix (VDPAU) library. Using the previously mentioned components, we are going to configure the video players MPlayer (and its GUI frontend SMPlayer) and VLC. Furthermore, we are going to build Kodi (previously, XBMC) and work around the acceleration problem by using SMPlayer as an external player. Also, we want to introduce the reader to the IR interface, which we are going to configure using the LIRC.
There are two common ways to output audio on Banana Pi. You can pass-through the digital audio signal via HDMI to your television or audio/video receiver, or you can output the signal via the analog line out.
The following ingredients are required to handle audio on Banana Pi:
A Linux system on Banana Pi
Access to the shell
Either an HDMI connection to your TV, audio/video receiver, or…
A set of stereo headphones or stereo jack cable to any analog audio receiving device with 3.5 mm jack
Many people want to be able to play videos on their Banana Pi in 1080p. Unfortunately, this is quite a complex task, as there are unresolved issues with the software and drivers on Linux. However, it is possible to get accelerated video playback working if you know the required tricks.
In this recipe, we are going to get accelerated video playback working. To do so, we need to perform the following tasks:
Build the accelerated Xorg video driver and configure the Xorg server.
Build various libraries.
Install and configure our video players.
We are going to go through the required tasks step by step.
Another often-desired use case for Banana Pi is a media center. Kodi—formerly known as XBMC—and is the de facto standard for media centers. Therefore, people want to get Kodi on their devices.
The bad news is that to date, for several reasons, it is not possible to get hardware-accelerated video playback within the default player of Kodi on Banana Pi. It is also meaningless to just install the Kodi package from the Raspbian repository as it is compiled for the Raspberry Pi (just like VLC). Therefore, it does not work on the Banana Pi hardware.
However, we can compile Kodi from source and configure an external player to play 1080p content. Like in the previous recipe, this is also quite a complex and time-consuming task.
In this recipe, we are going to build a Kodi setup with working accelerated video playback by an external video player. To do this, it is necessary that you have configured at least one working hardware-accelerated video player (MPlayer or VLC) from the previous...
In the last recipe of this book, we will discover the possibilities of setting up an infrared remote control using the LIRC application.
The following components are needed to set up a remote control on Banana Pi:
A Linux system on Banana Pi
A remote control sending infrared signals
An HDMI connection to your TV
A keyboard and mouse connected to your Banana Pi
This recipe is valid for most remote controls. We are using a remote control (shown in the following picture) of a well-known manufacturer:
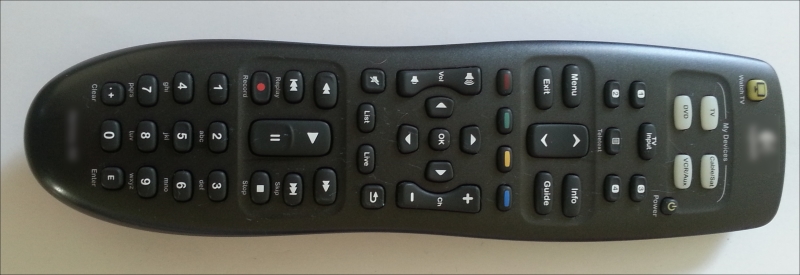
In most cases, any other remote control should work just fine if it emits infrared signals.