
Getting Started with Shape Keys
In this chapter, we will cover shape keys, going from a basic introduction to getting hands-on with making and modifying our own shape keys. After covering shape keys, we will discover how bone drivers can be used to automate the input for these shape keys, activating them based on bone movement.
In this chapter, we will cover the following topics:
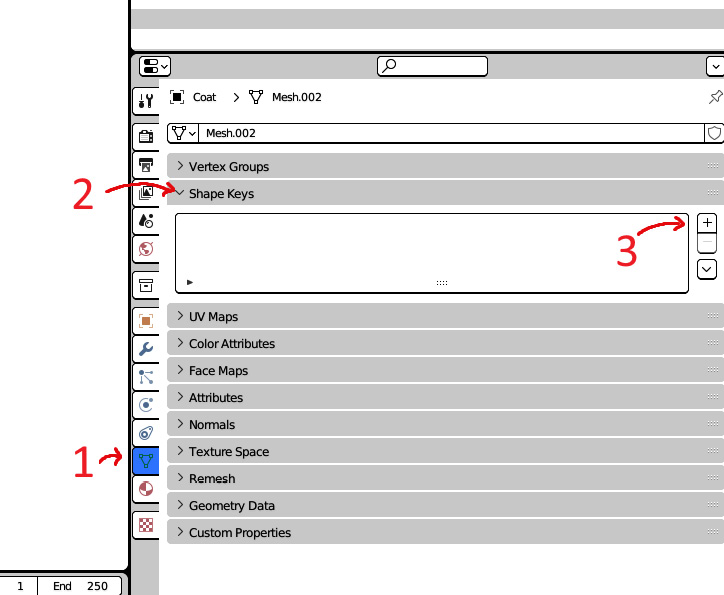
- Introducing shape keys
- Making a shape key
- Editing a shape key
- Using drivers
- Mirroring shape keys
By the end of this chapter, you will be able to add, remove, and modify shape keys to fix poor deformations and will know how to make shape keys an automatic part of a rig.