

In the previous topic, we discussed how to maintain and version your code, and how to collaborate with others to work on the same project using GitHub. In this topic, we will discuss how to test your code with Pester. But before we go ahead and jump into the topic, let me ask you some questions: How do you code? How long are those scripts? You might think "testing my code, but I am not a developer, I am a system administrator, and whenever I have a task at hand, I write some lines of code (well to be honest, it can be few hundred as well), do some testing, and then leave it as it is". Well, since the beginning of this book, I have been using the word "code" more and more, so we should accept the fact and start writing amazing new programs to make our lives easier. If you have started reading this book, then you are definitely going to write complex pieces of programs, and you should definitely know how to test them in order to perfect them. So, what is software testing?
Software testing is an investigative process conducted on the written code to find out the quality of the code. It may not find all the problems or bugs in the code, but it guarantees the working of the code under certain conditions.
Pester is an unit testing framework for PowerShell, which works great for both white box and black box testing.
Tip
White box testing (also known as clear box testing, glass box testing, transparent box testing, and structural testing) is a method of testing software that tests the internal structures or workings of an application, as opposed to its functionality (that is, black box testing). In white box testing, an internal perspective of the system, as well as programming skills, are used to design test cases. The tester chooses inputs to exercise paths through the code and determine the appropriate outputs. This is analogous to testing nodes in a circuit, for example, in-circuit testing (ICT).
Black box testing is a method of software testing that examines the functionality of an application without peering into its internal structures or workings. This method of testing can be applied to virtually every level of software testing: unit, integration, system, and acceptance. It typically comprises of mostly all higher level testing, but also dominates unit testing as well.
You can refer to https://en.wikipedia.org/wiki/White-box_testing and https://en.wikipedia.org/wiki/Black-box_testing.
Pester is a framework based on behavior-driven development (BDD), which is again based on the test-driven development (TDD) methodology. Well, I have used a lot of development jargons. Let me clarify them one by one.
Earlier, we used to write the entire code, define the test cases, and run the tests based on those definitions. In recent times, with the development of philosophies, such as "Extreme Programming", came a new concept of testing. Instead of writing some code to solve some problems, we first define what we want to achieve in the form of test cases. We run the tests and make sure that all the tests fail. Then, we write the minimum amount of code to remove the errors and iterate through the process to make sure that all the tests pass. Once this is done, we refactor the code to an acceptable level and get the final code. It's just the opposite of a traditional way of development. This is called test-driven development or TDD for short.
Behavior-driven development is a software development process, which is based on TDD, and is based on the behavioral specification of the software units. TDD, by default, is very nonspecific in nature; it can allow tests in the form of a high-level requirement or a low-level technical requirement. BDD brings more structure and makes more specific choices than TDD.
Well, now that you understand what testing is and the methodologies used, let's dive into Pester.
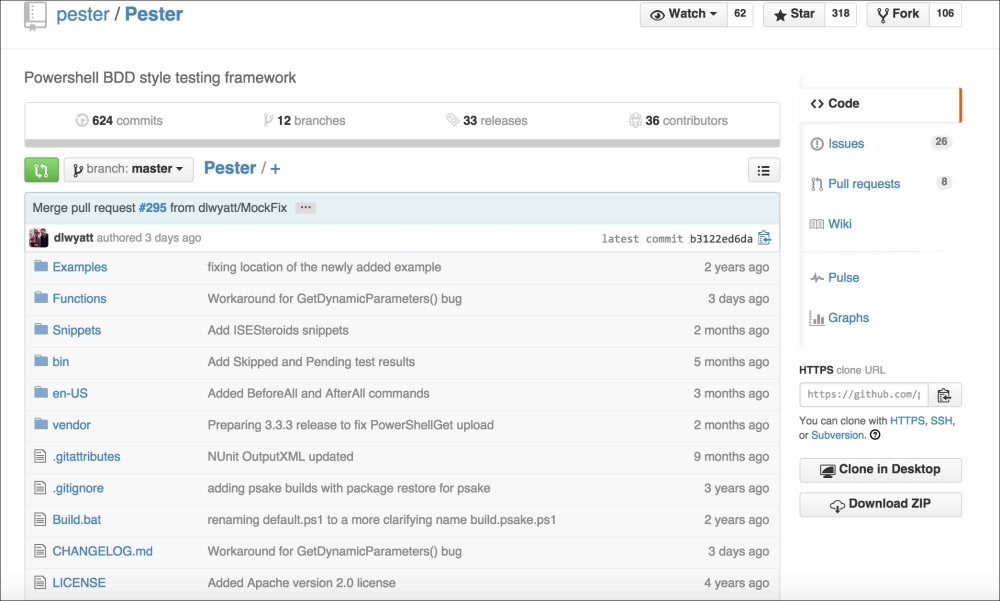
Pester is a PowerShell module developed by Scott Muc and is improved by the community. It is available for free on GitHub. So, all that you need to do is download it, extract it, put it into the Modules folder, and then import it to the PowerShell session to use it (since it is a module, you need to import it just like any other module).
To download it, go to https://github.com/pester/Pester.
In the lower right-hand corner, click on Download Zip.
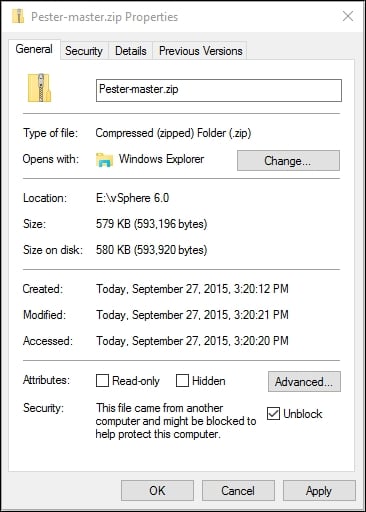
Once you download the ZIP file, you need to unblock it. To unblock it, right-click on the file and select Properties. From the Properties menu, select Unblock.
You can unblock the file from the PowerShell command line as well. Since I have downloaded the file into the C:\PowerShell Scripts folder, I will run the command as follows. Change the location according to your download location:
PS C:\> Unblock-File -Path 'C:\PowerShell Scripts\Pester-master.zip' -Verbose
VERBOSE: Performing the operation "Unblock-File" on target "C:\PowerShell Scripts\Pester-master.zip".
Now, copy the unzipped folder Pester-master to C:\Program Files\WindowsPowerShell\Modules or C:\Windows\System32\WindowsPowerShell\v1.0\Modules.
For simplicity, rename the folder to Pester from Pester-master.
Now open a PowerShell session by opening the PowerShell ISE. In the console, run the following commands:
PS C:\> Get-Module –ListAvailable –Name Pester
PS C:\>Import-Module Pester
PS C:\> (Get-Module –Name Pester).ExportedCommands
The last command will give you a list of all the commands imported from the Pester module.
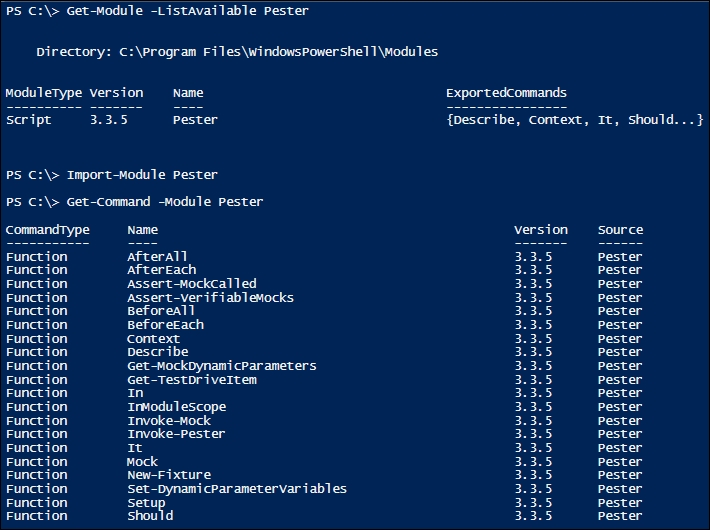
You can get a list of cmdlets available in the module by running the following command as well:
PS C:\>Get-Command -Module Pester
Now let's start writing our code and test it. Let's first decide what we want to achieve. We want to create a small script that will access any name as the command-line parameter and generate as output a greeting to the name. So, let's first create a New-Fixture:
PS C:\PowerShell Scripts> New-Fixture -Path .\HelloExample -Name Say-Hello
Directory: C:\PowerShell Scripts\HelloExample
Mode                LastWriteTime         Length Name
----                -------------         ------ ----
-a----        3/23/2015  12:39 AM             30 Say-Hello.ps1
-a----        3/23/2015  12:39 AM            252 Say-Hello.Tests.ps1
Notice that one folder named HelloExample, and two files are created in this folder. The Say-Hello.ps1 file is the file for the actual code, and the second file, Say-Hello.Tests.ps1, is the test file.
Now go to the directory and set the location as the current location:
PS C:\PowerShell Scripts> cd .\HelloExample
PS C:\PowerShell Scripts\HelloExample> Set-Location -Path 'C:\PowerShell Scripts\HelloExample'
Now, let's examine the contents of these two files.
We can see that Say-Hello.ps1 is a file with the following lines:
function Say-Hello {

}
The contents of the file Say-Hello.Tests.ps1 are far more informative, as shown here:
$here = Split-Path -Parent $MyInvocation.MyCommand.Path
$sut = (Split-Path -Leaf $MyInvocation.MyCommand.Path).Replace(".Tests.", ".")
. "$here\$sut"

Describe "Say-Hello" {
    It "does something useful" {
        $true | Should Be $false
    }
}
The first three lines extract the filename of the main script file, and then the dot sources it to the current running environment so that the functions defined in the script will be available in the current scope.
Now, we need to define what the test should do. So, we define our test cases. I have made the necessary modifications:
$here = Split-Path -Parent $MyInvocation.MyCommand.Path
$sut = (Split-Path -Leaf $MyInvocation.MyCommand.Path).Replace(".Tests.", ".")
. "$here\$sut"

Describe "Say-Hello" {
    It "Outputs Hello Sajal, Welcome to Pester" {
Say-Hello -name Sajal | Should Be 'Hello Sajal, Welcome to Pester'
    }
}
What I am expecting here is that when Say-Hello.ps1 is run from the command line with a name as a parameter, it should return Hello <name>, Welcome to Pester.
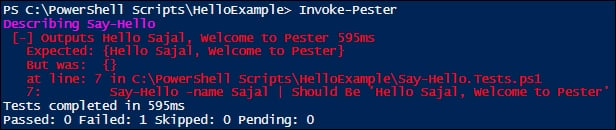
Let's run the first test. As expected, we get a failed test.
Now, let's correct the code with the following code snippet:
function Say-Hello {

    param (
        [Parameter(Mandatory)]
        $name
     )
     "Hello $name, Welcome to Pester"
}
Let's run the same test again. Now, it passes the test successfully.

Since Pester is based on BDD, which is again modeled around a domain-specific language (support natural language), Pester uses a set of defined words to specify the test cases.
We first start by using a Describe block to define what we are testing. Then, Context is used to define the context in which the test block is being run. We take the help of It and Should to define the test:
Describe "<function name>" {
   Context "<context in which it is run>" {
      It "<what the function does>" {
         <function> | Should <do what>
      }
   }
   Context "<context in which it is run>" {
      It "<what the function does>" {
         <function> | Should <do what>
      }
   }
}
Remember one point that though we call Describe, Context, and It as keywords, they are basically functions. So, when we use script blocks to call them, we need to use them in a specific way. So, the following is incorrect:
Context "defines script block incorrectly"
{
   #some tests
}
The checkpoints or assertions are as follows:
Should Be
Should BeExactly
Should BeNullOrEmpty
Should Match
Should MatchExactly
Should Exist
Should Contain
Should ContainExactly
Should Throw
Also, all the assertions have an opposite, negative meaning, which we get by adding a 'Not' in between. For example, Should Not Be, Should Not Match, and so on.
Now, you should be able to go ahead and start testing your scripts with Pester. For more details, check out the Pester Wiki at https://github.com/pester/Pester/wiki/Pester.