

Using the Piano roll and its features
In this recipe, we will delve into the world of FL Studio’s powerful Piano roll editor. The Piano roll is a versatile tool that allows you to input, edit, and manipulate MIDI notes, enabling you to compose melodies, harmonies, and intricate musical arrangements with ease. By the end of this recipe, you will be proficient in using the Piano roll and unlock its full potential to bring your musical ideas to life.
Getting ready
- FL Studio software
- MIDI controller (optional)
- Virtual instruments loaded in FL Studio
How to do it
- Launch FL Studio and open a new project.
- Add a new channel (virtual instrument) by clicking the + button in the Channel rack window:
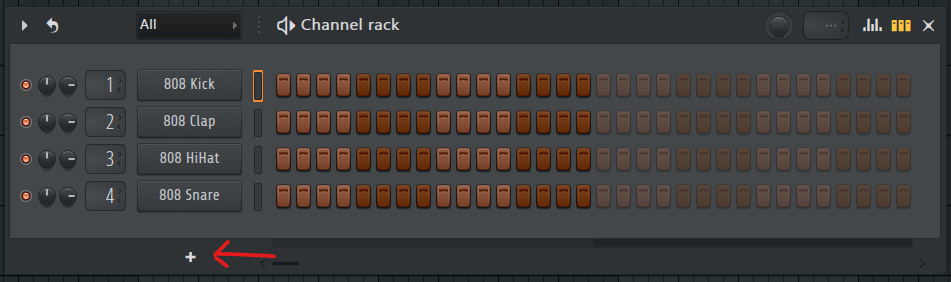
Figure 2.1: The + button in the Channel rack window
- In the Channel rack window, select a virtual instrument you want to use for your melody or harmonies. Usually, starting from piano to create your melody is recommended. Then, you can choose the appropriate instrument.
- Right-click on the newly created channel in the Channel rack window to open the Piano roll editor.
- Familiarize yourself with the Piano roll interface. You’ll see a grid representing time horizontally and pitch vertically:
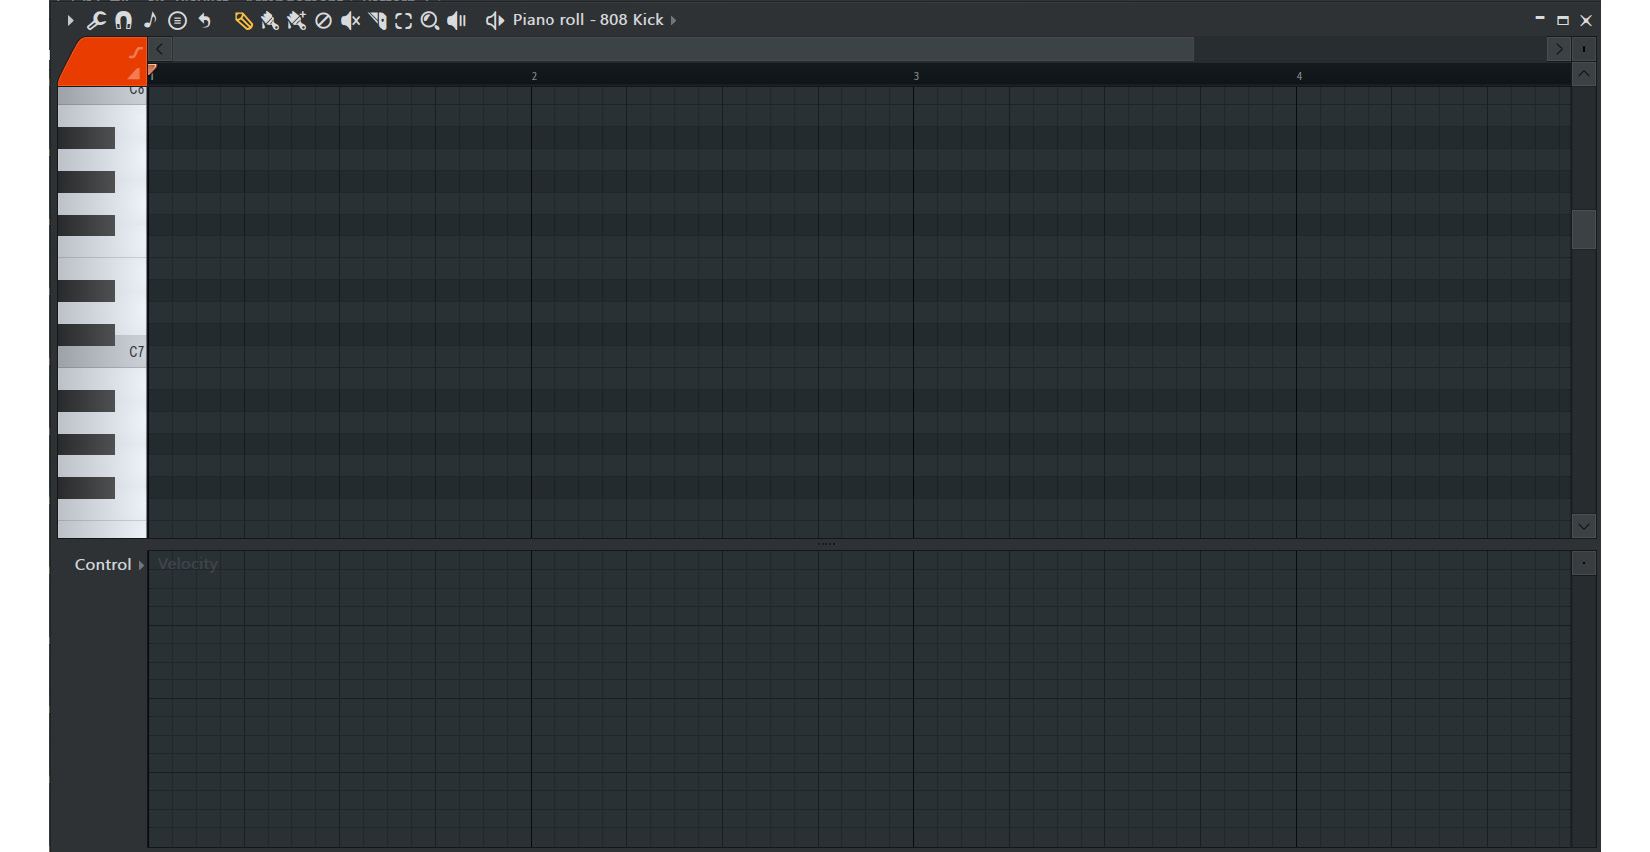
Figure 2.2: The Piano roll interface
- To input a note, simply click on the desired grid position in the Piano roll. The note will appear at that point.
- Alternatively, if you have a MIDI controller connected, you can play notes directly into the Piano roll by selecting the desired length for the notes and recording your performance:
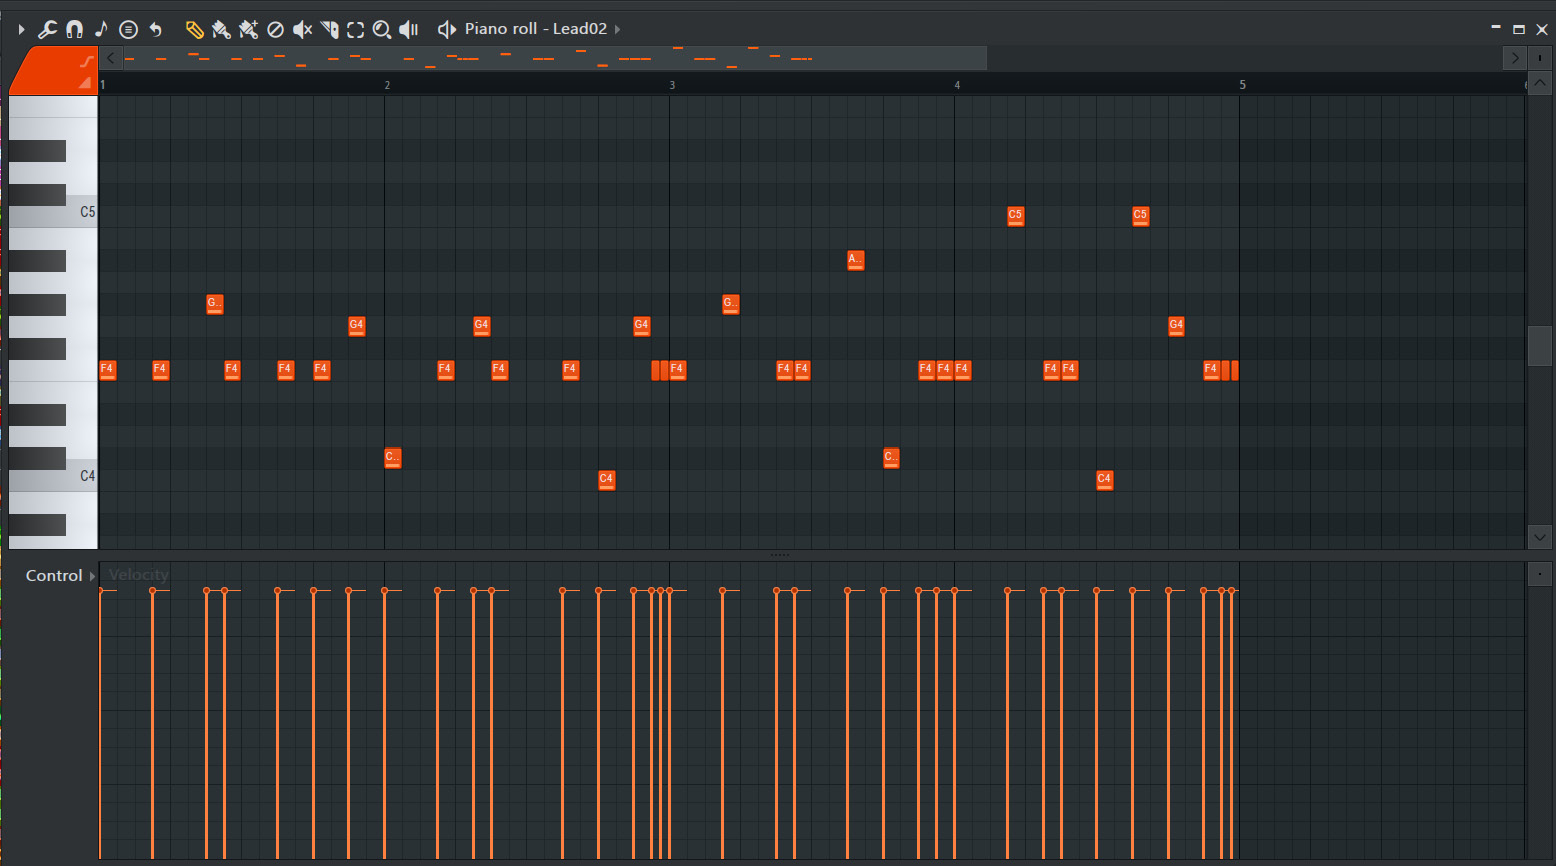
Figure 2.3: How to put notes into the Piano roll
- To edit a note, click on it and hold, then drag it horizontally to adjust its timing or vertically to change its pitch. You can also select any note you want using the Select tool and then use the Ctrl/Shift + arrow keys on your keyboard to move the selected note.
- Use Ctrl + mouse scroll wheel to zoom in or out in the Piano roll for finer adjustments.
- Experiment with different note lengths by dragging the right edge of a note to make it longer or shorter.
- To delete a note, simply right-click on it or use the Delete tool. You can also select a note using the Select tool or hold the Ctrl key on your keyboard, click on the note to select it, and press the Delete key on your keyboard to delete.
- Take advantage of the Piano roll’s selection tools. Use the Select tool to select multiple notes, the Paint tool to quickly input a sequence of notes, and the Draw tool to draw notes manually:
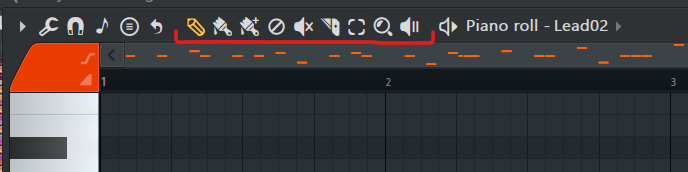
Figure 2.4: Painting notes in the Piano roll
- Use the Snap function at the top of the Piano roll to align your notes to the grid. This ensures precise timing and helps maintain a consistent rhythm.
- Adjust the velocity of each note to control its volume and expression. Simply click and drag the small square at the bottom of each note to adjust its velocity value.
- Utilize the various editing tools available in the Piano roll to refine your composition. The Move tool allows you to move selected notes, the Resize tool lets you adjust the length of selected notes, and the Mute tool silences selected notes.
- Experiment with different octaves and note positions to add depth and variation to your melody or harmonies. To transpose a selection of notes, select them and hold the Ctrl key while using the arrow keys to move them up or down in pitch.
- As you compose, consider utilizing the Piano roll’s additional features. The Snap to Grid option enables you to align notes precisely, while the Legato function allows notes to smoothly transition into each other without gaps or overlaps.
- Once you are satisfied with your composition in the Piano roll, play it back using the virtual instrument you selected. Make any necessary adjustments until it sounds just right.
There’s more
- Experiment with different note lengths, rhythms, and velocities to add variation and dynamics to your composition:
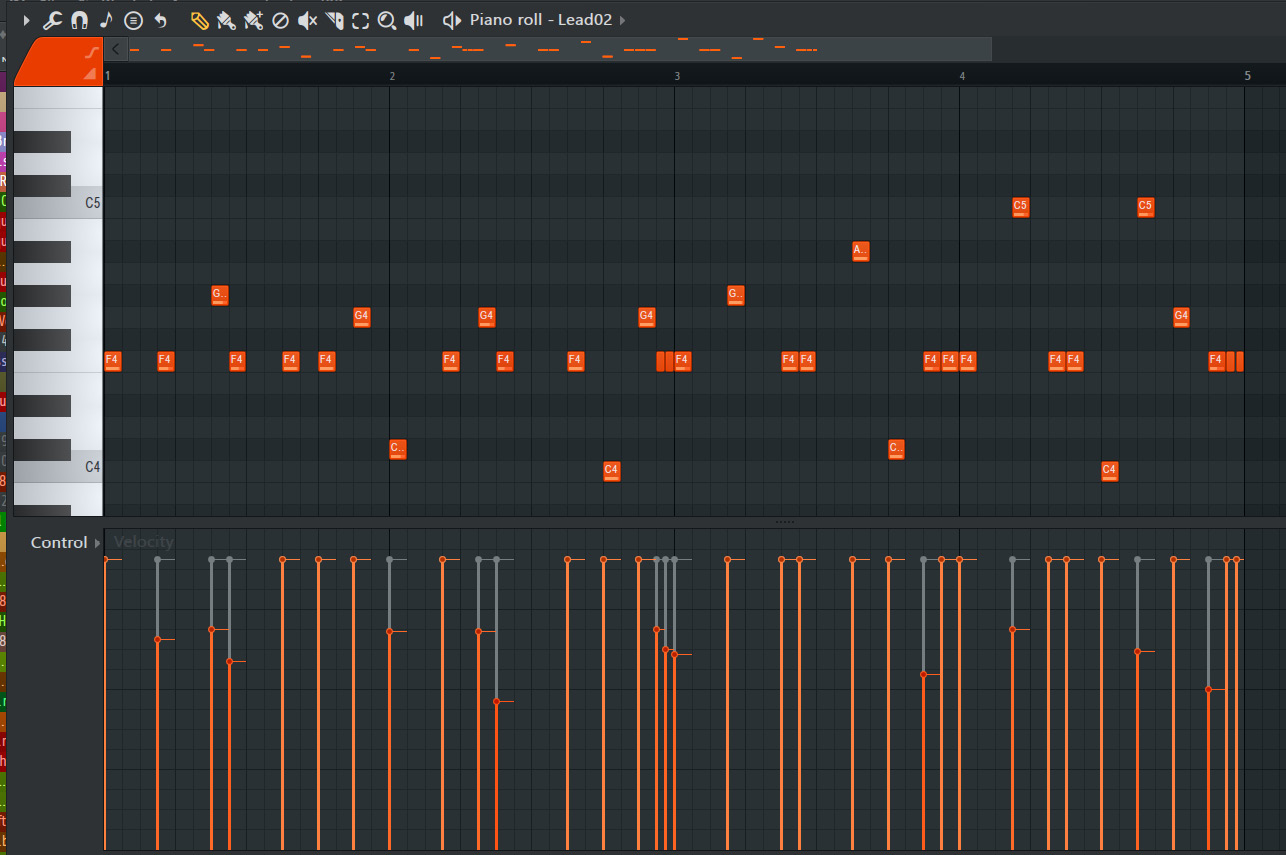
Figure 2.5: The velocity of your notes in the Piano roll
- Take advantage of the Piano roll’s editing tools, such as the Cut, Copy, and Paste functions, to rearrange or duplicate musical phrases
- Use the Scale Highlighting feature in the Piano roll’s Options menu to assist in staying within a specific scale or mode
- Explore the Piano roll’s Articulations feature, which allows you to easily add articulations, such as legato or staccato, to your MIDI notes
Don’t be afraid to experiment and explore the vast possibilities of the Piano roll. It’s a creative playground for shaping your musical ideas.
Congratulations! You’ve now become proficient in using FL Studio’s Piano roll editor. You’ve learned how to input, edit, and manipulate MIDI notes, as well as utilize various tools and functions to compose melodies, harmonies, and intricate musical arrangements. With this knowledge, you’re equipped to unlock the full potential of the Piano roll and bring your musical ideas to life.
In the next recipe, we’ll explore the process of creating a catchy melody using simple notes. Get ready to craft melodies that leave a lasting impression on your listeners!