

The era of innovation has empowered us to chip away at numerous new shrewd subjects. Social media is currently an intense medium of communication. Taking a gander at the developing pattern of online networking and innovation, we could state that the belief system of social media has advanced and wiped out many difficulties of communication. Just about a couple of decades back, the communication medium was letters. A couple of centuries back, it was trained birds. If we still look back, we will definitely get a few more stories to comprehend the way people used to communicate in those days. Now, we are in the generation of IoT, wearable smart devices, and an era of smartphones, where communication happens across the planet in a fraction of a second. Without elaborating about communication, let's build a mobile and wear application that exhibits the power of Google wear messaging APIs to assist us in building chat application with...
For Firebase, perform the steps:
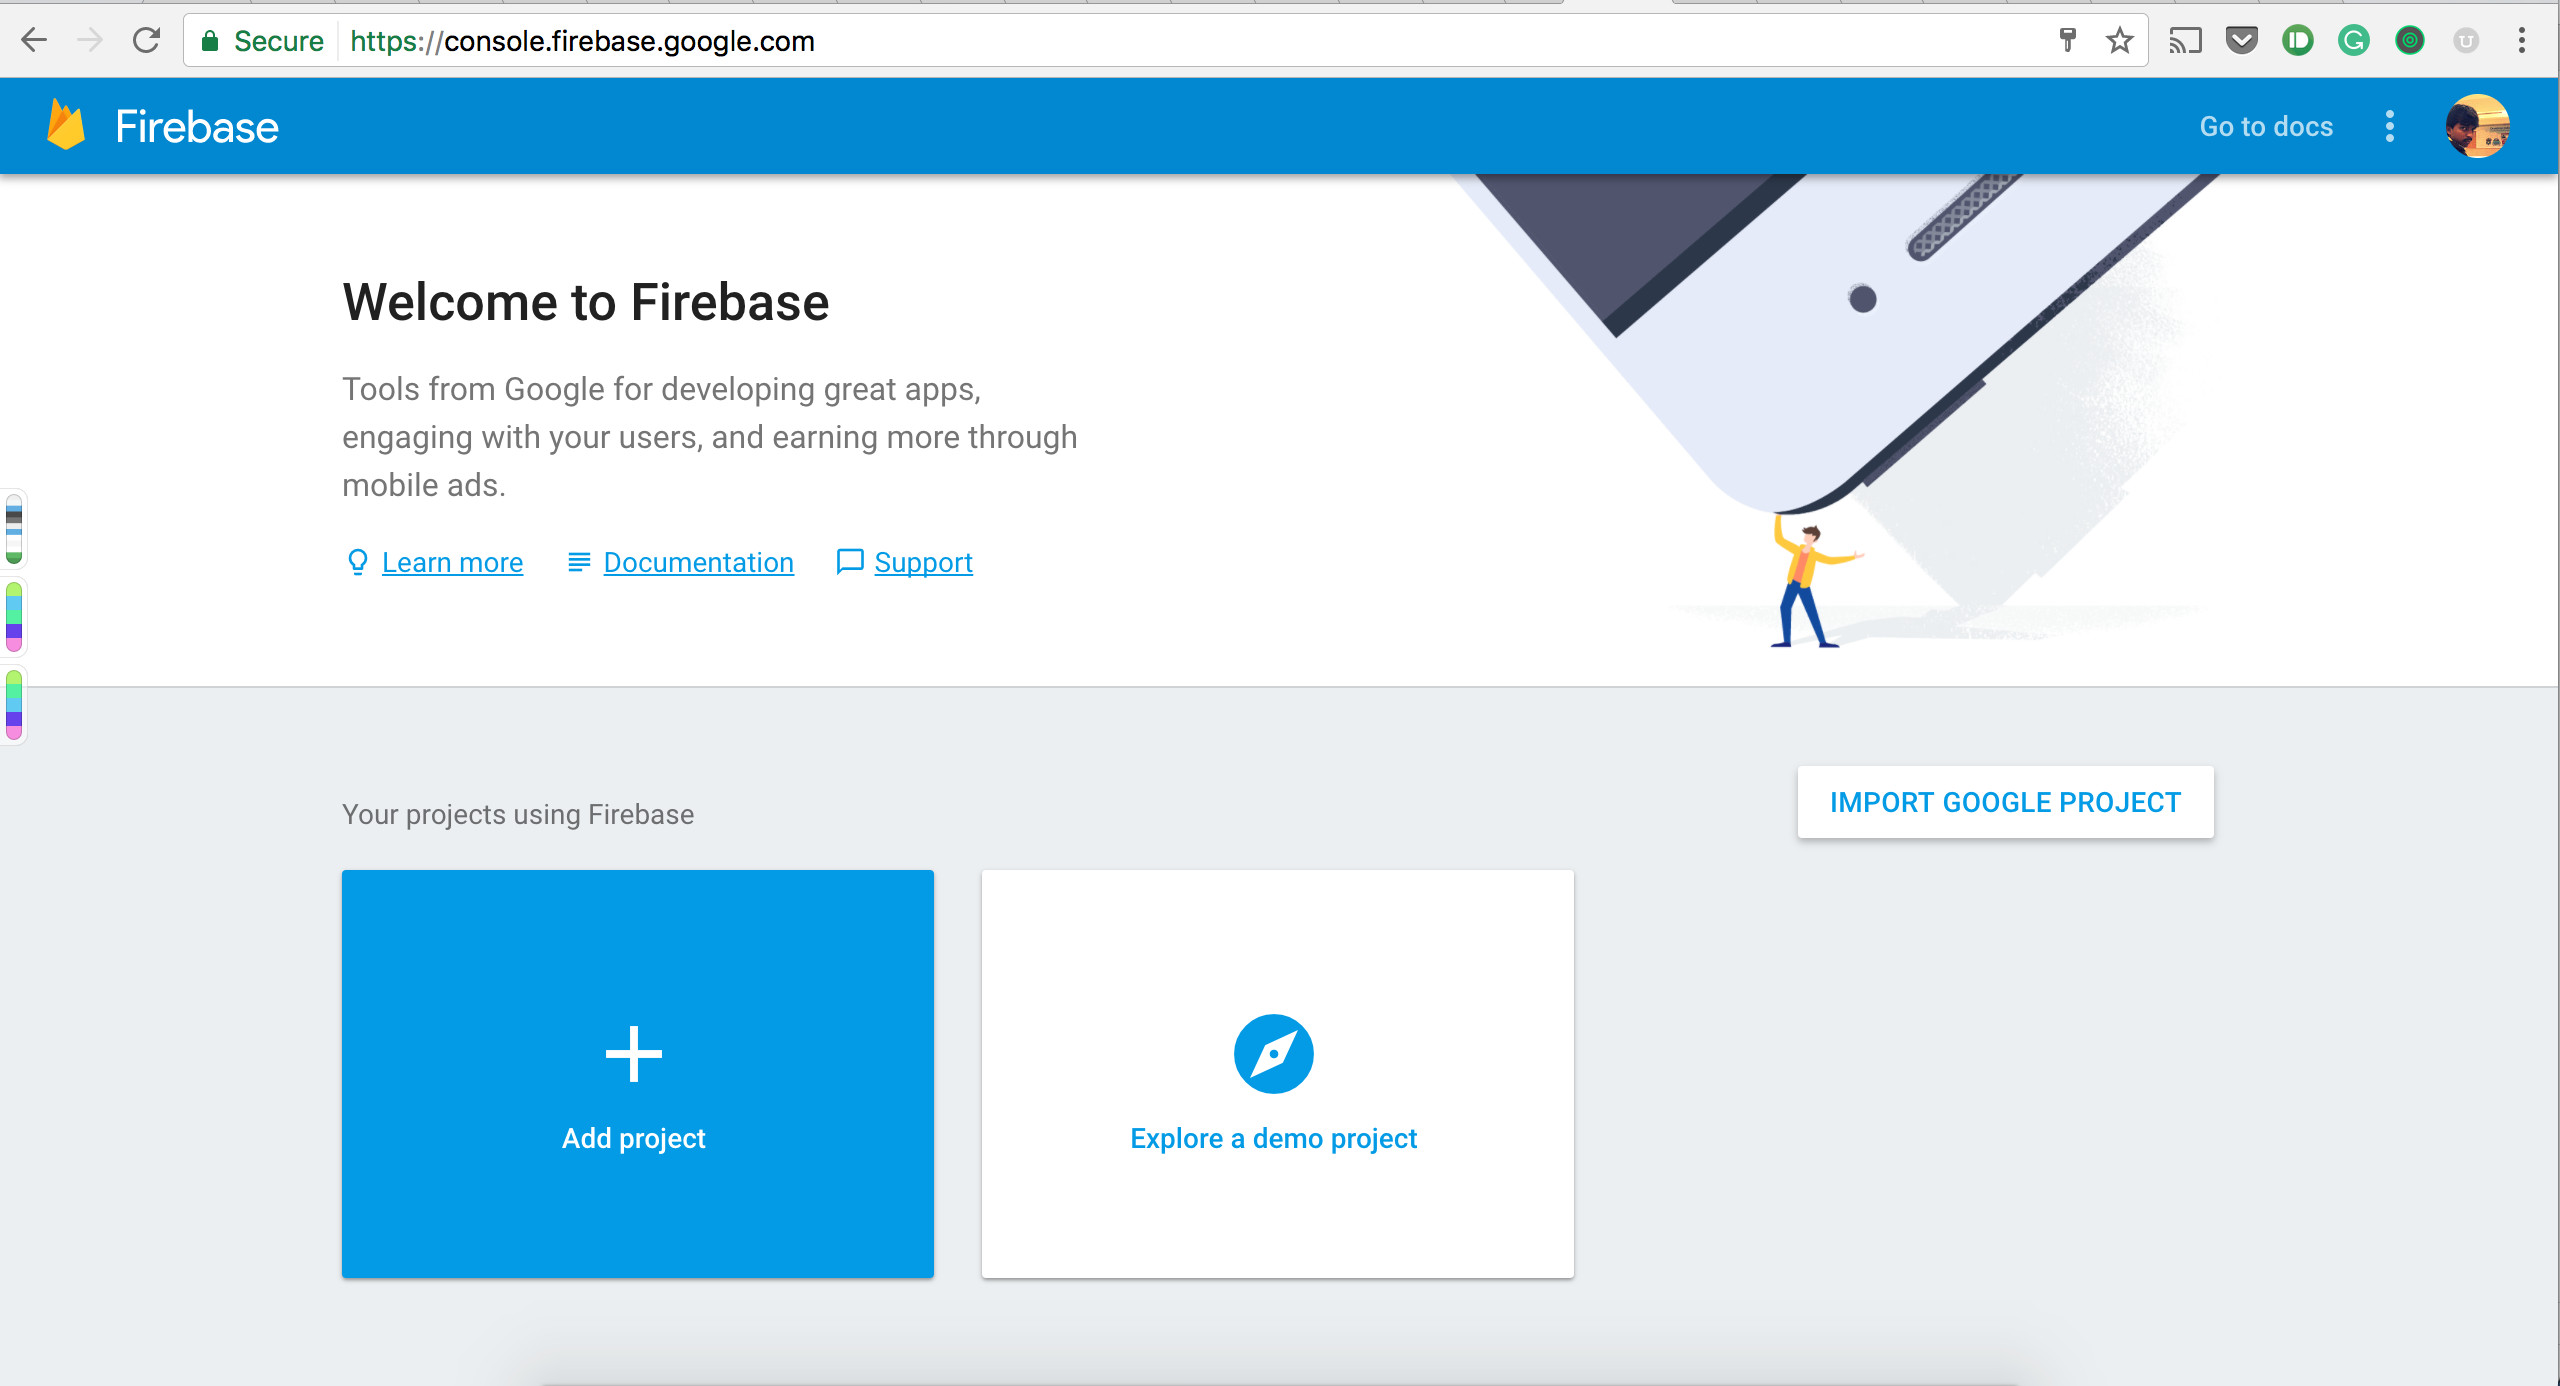
- Visit the Firebase console https://console.firebase.google.com:
- Choose
Add projectin the console and fill the necessary information about the project. After the project is added, you will see the following screen:

- The get started page helps you set up the project for different platforms. Let's choose the second option, which
Add Firebase to your Android app:
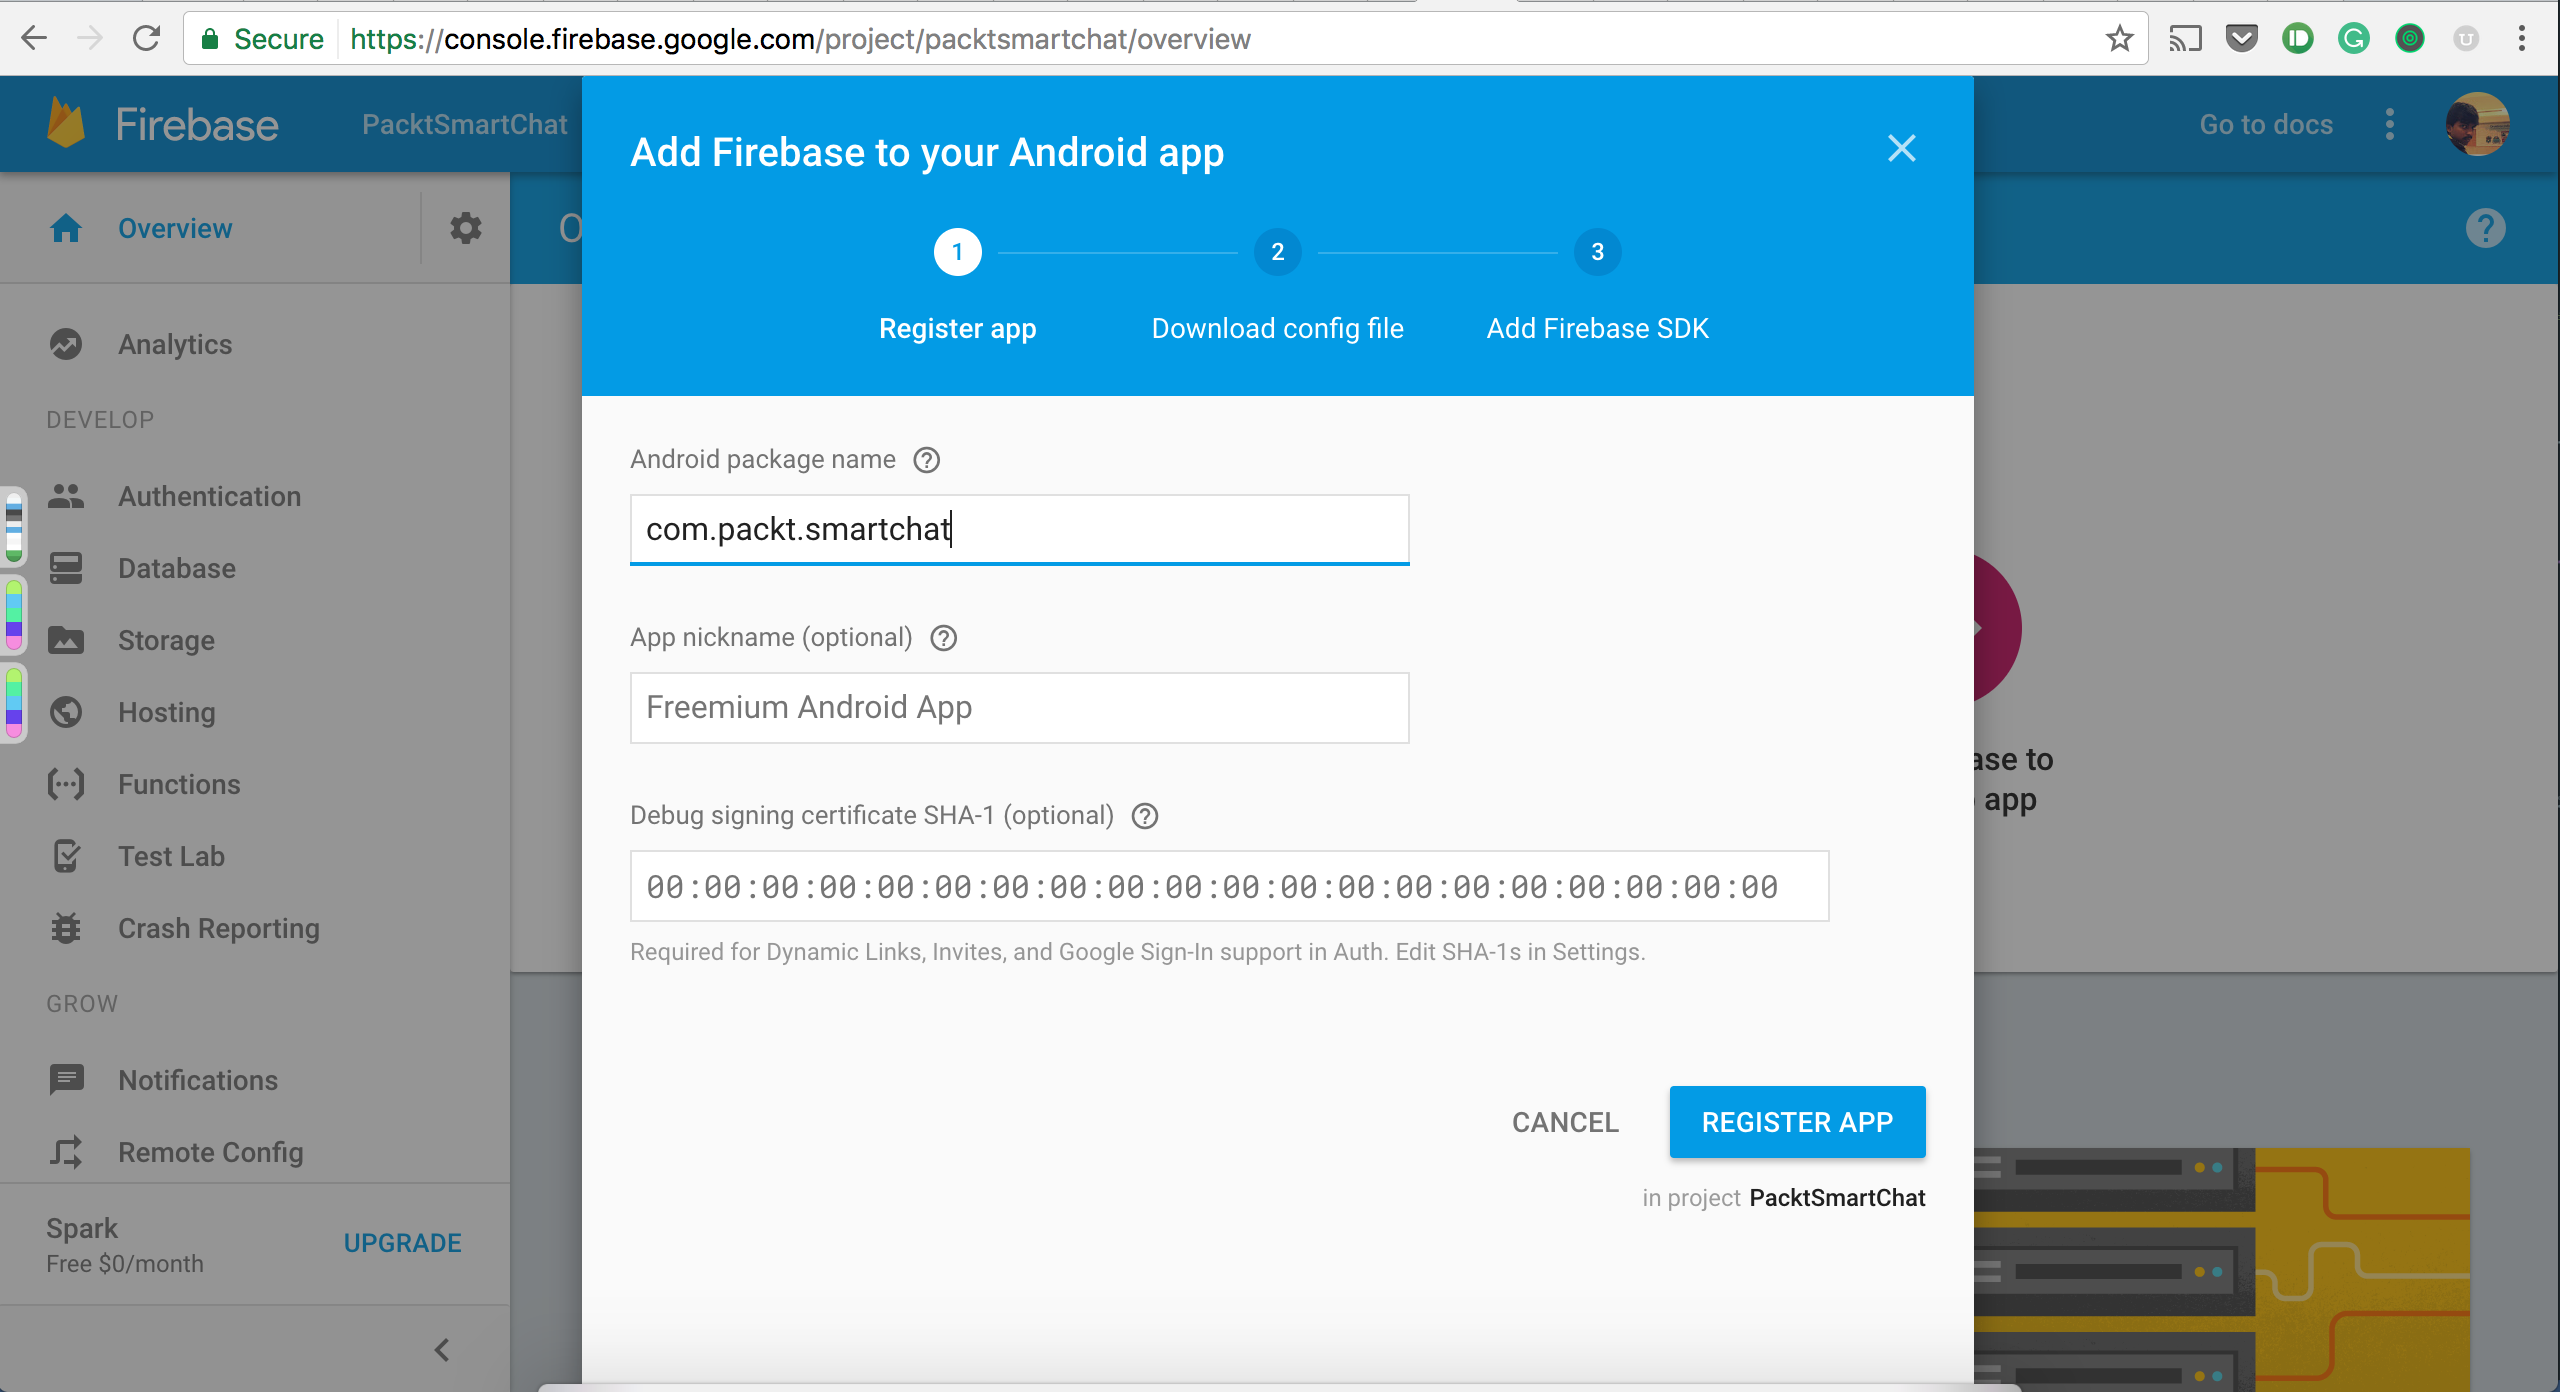
- Add the project
package nameand, for further security purposes, you can add theSHA-1fingerprint, but that is optional. Now register the app:
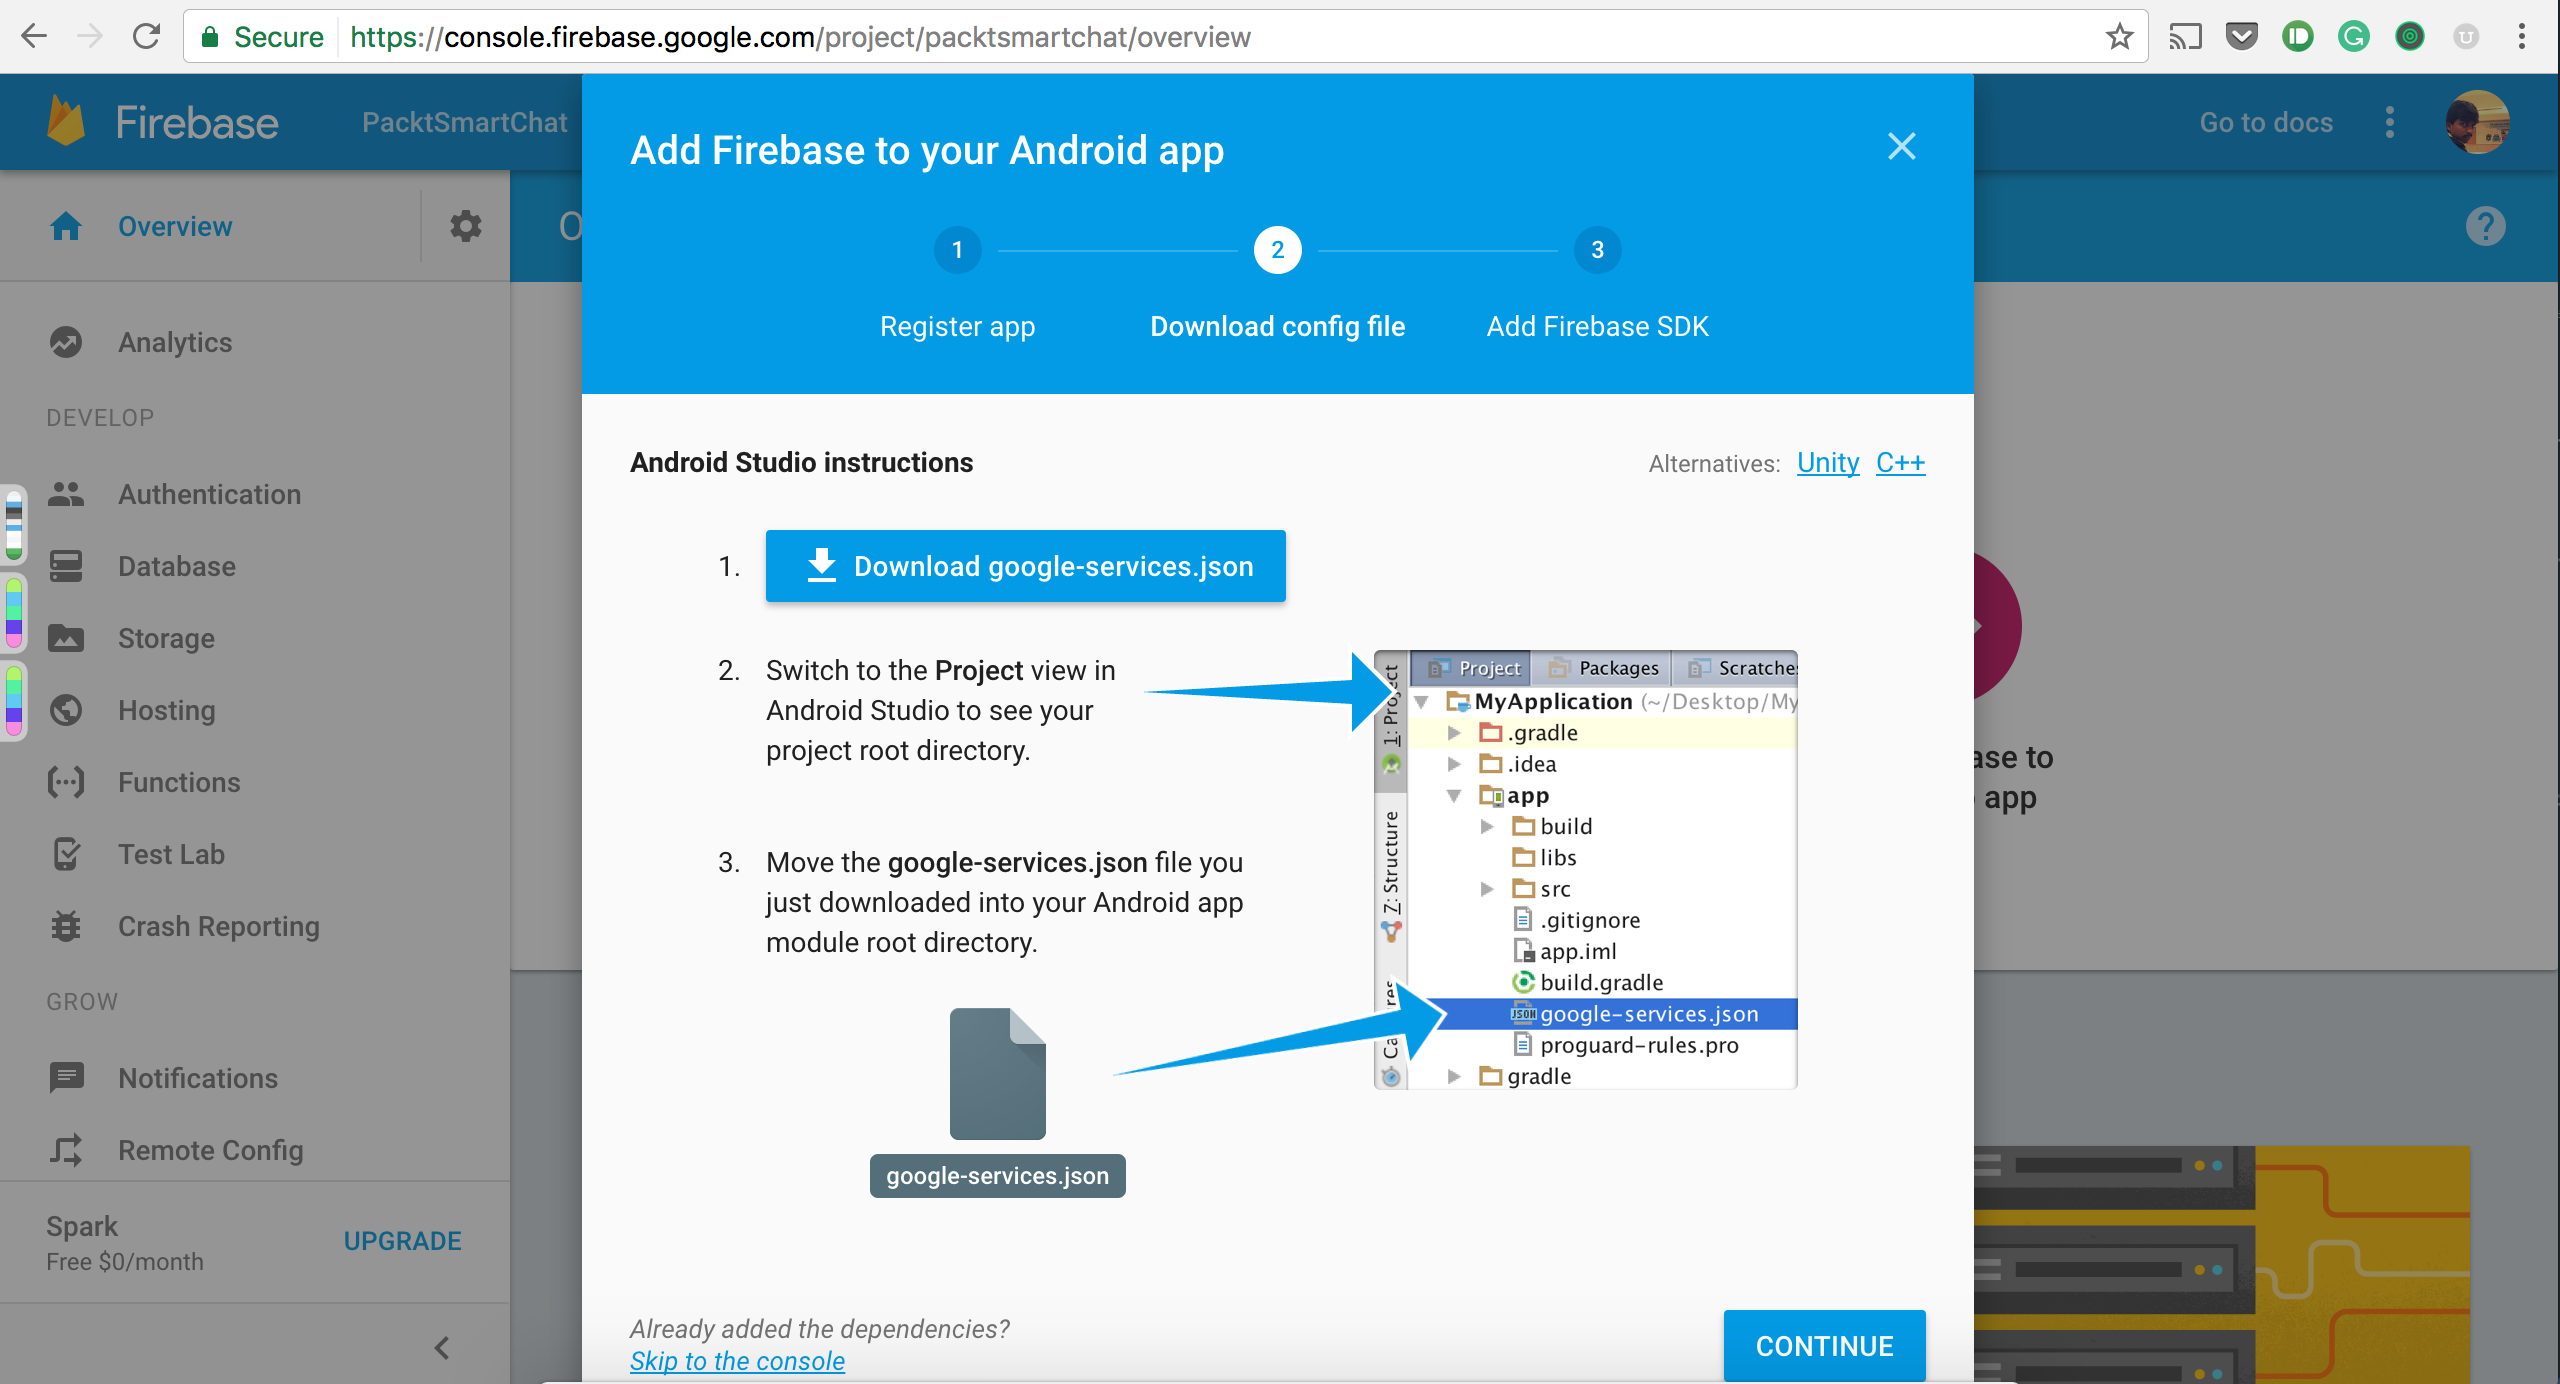
- Download the config file. The
google-services.jsonfile will have all the important configuration for the app and it in the app directory of your project structure.
Now, let's fire up Android Studio and create the project:
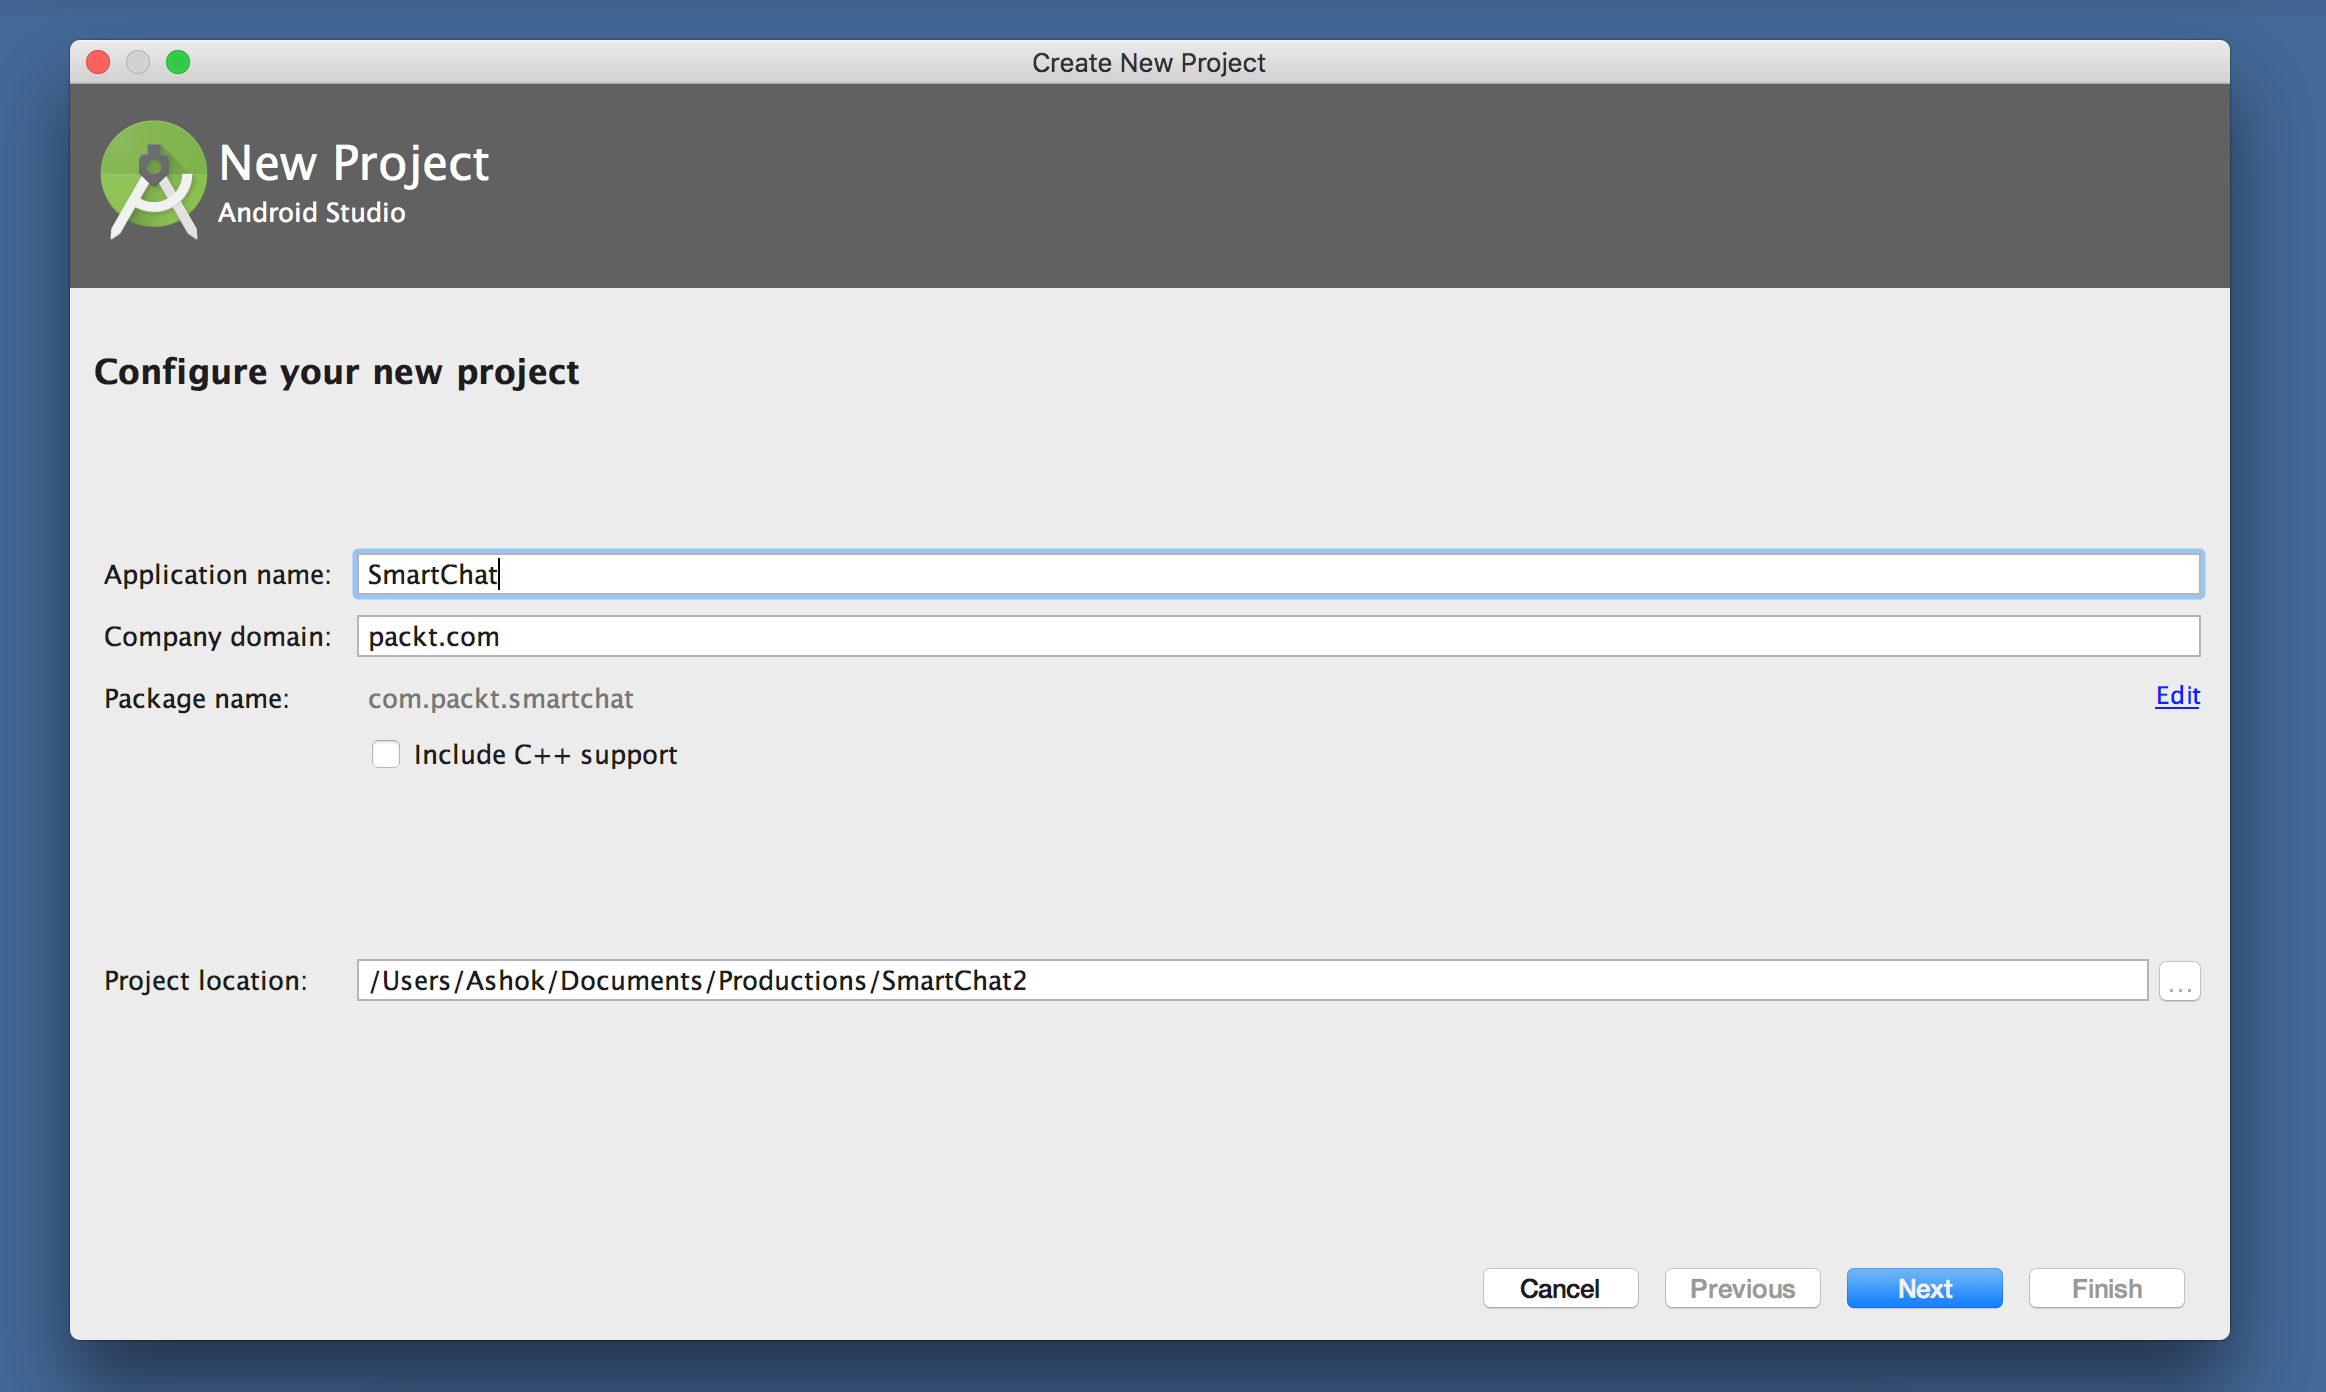
Make sure the package name is the as the one mentioned in the Firebase console.
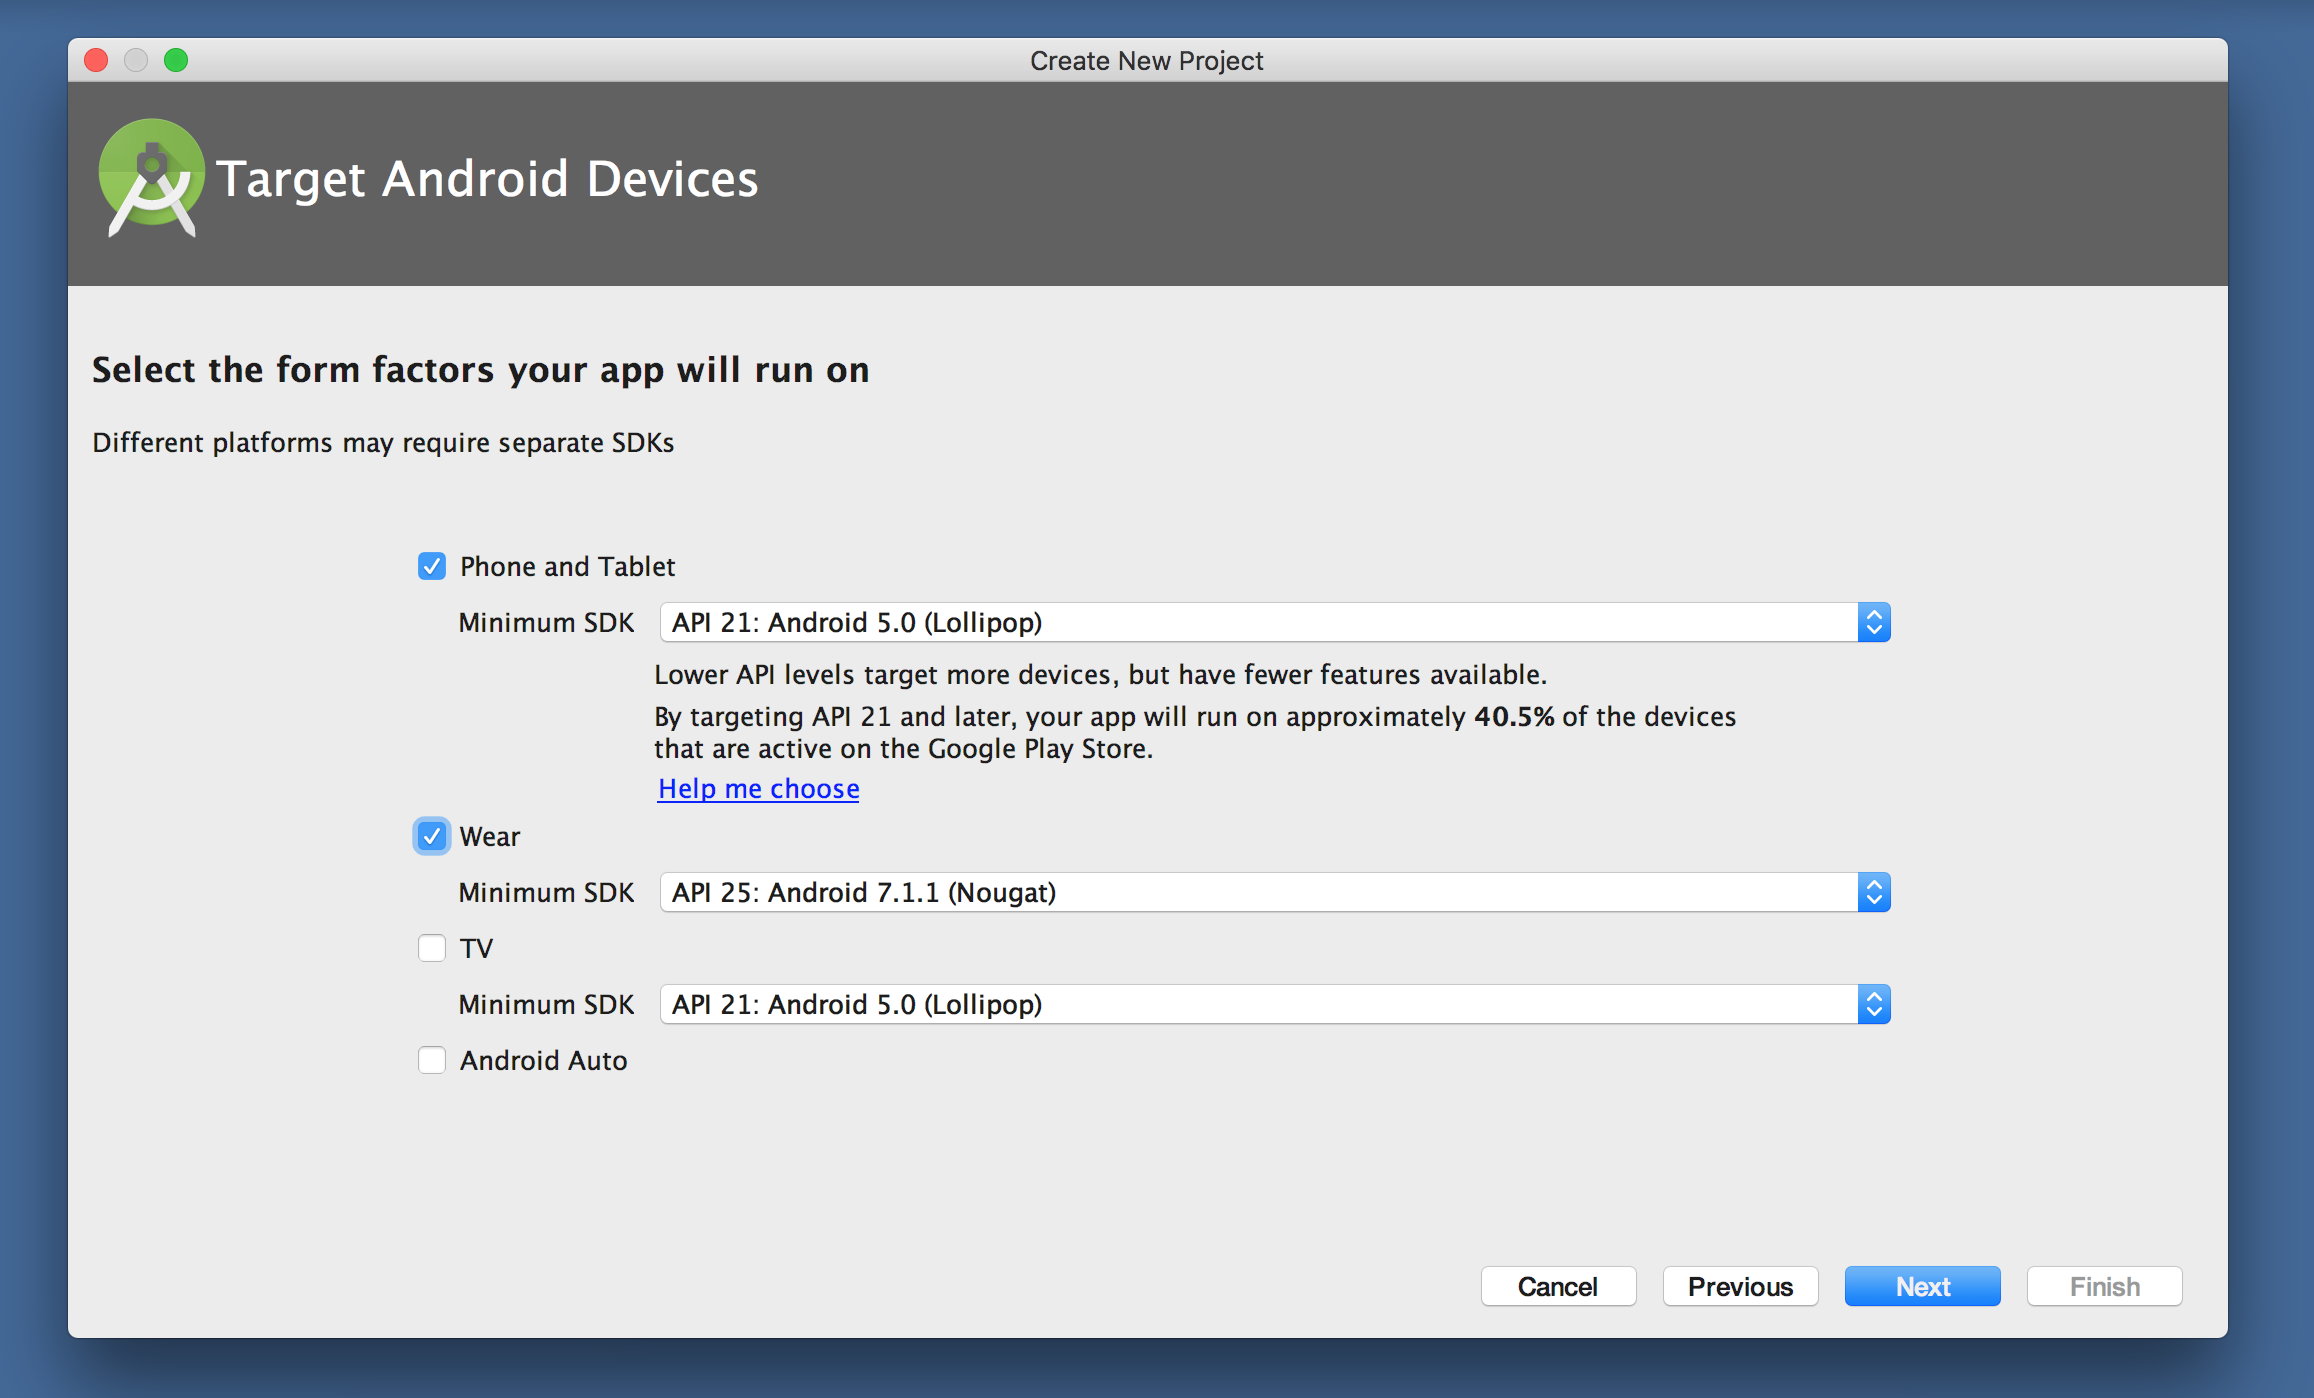
Let's choose the targeted platforms that are both phone and Wear:
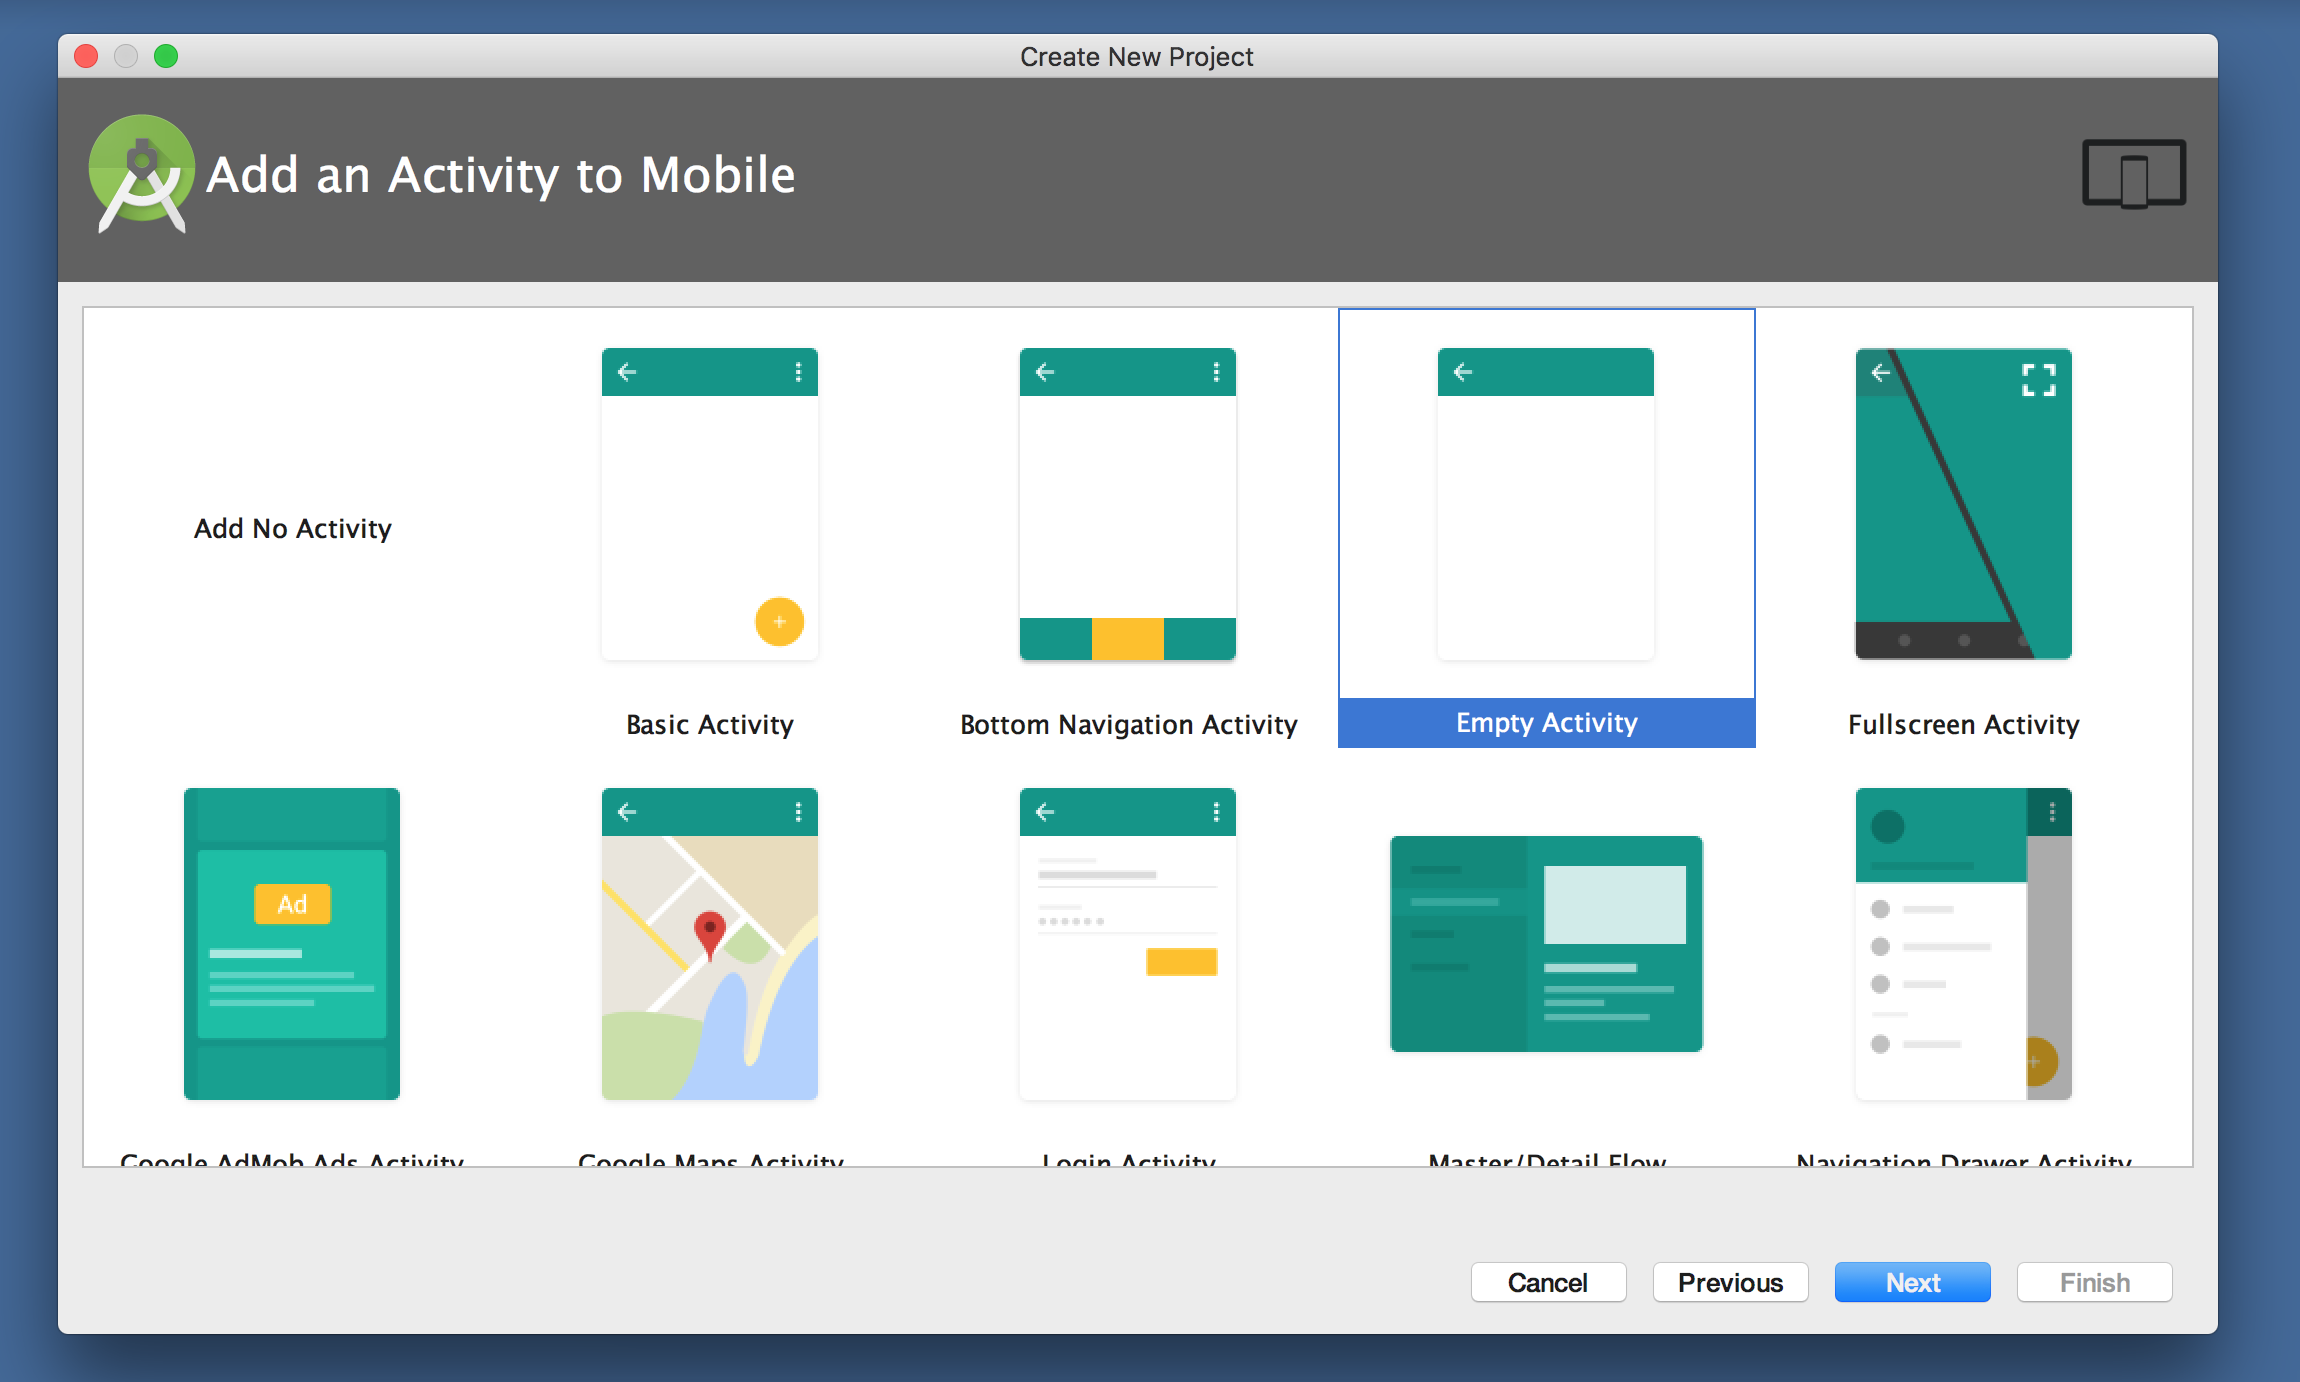
Now, add Empty Activity to the activity chooser:
Select Blank Wear Activity
A login screen with input fields for users to the credentials will look as follows:

The registration screen with input fields will look as follows:

The following screenshot the user screen that shows the list of registered users:

The chat screen with the actual chat messages will look as follows:

The Wear Chat Application will look as follows on round screens:

When a message enters the device, it should notify wear and, from the wear device, users should be able to send a reply to that message. In this chapter, we will see a working mobile and wear chat application.
Wearable Data Layer API is part of the Google Play services that establishes the communication channel to device apps and wear apps. Using the GoogleApiClient class, we can get to the Data Layer. Primarily, the Data Layer is used in the Wear app to communicate with the handheld device, but using it for connecting to the network is discouraged. When we create the...
In this chapter, we have seen how we can utilize the Firebase real-time database as a chatting medium. We assembled a straightforward messaging application that can send a reply from a wear device. There is ample space to this project to enhance the elements of the project. We have seen how a chatting application can send and receive messages crosswise over wear and handheld devices. We have conceptualised a chatting application from scratch and we have set Data Layer events for the nodes to communicate with each other. The basic idea of Messaging API is to strengthen our understanding of wearable communication. Also the GoogleApiClient class plays a noteworthy part in Play services.
In the next chapter, we will understand notifications, Firebase functions, and how push notifications can be triggered using Firebase functions.